
Resin Not Curing? How to Fix Sticky, Tacky, and Runny Dice
Is your resin sticky, soft, or tacky after 24 hours? Learn the causes of curing failures and the step-by-step rescue mission to save your dice projects.
Contents
Here is a surprising fact for your next workshop session: your resin doesn’t actually “dry.” Unlike paint or ink, which evaporates, resin cures through a chemical reaction called polymerization. If your UV resin is staying sticky, it’s often because of “oxygen inhibition” — the oxygen in the air actually blocks the surface molecules from bonding. Some makers even cure their UV resin underwater to get a perfectly hard finish.
When your dice come out of the mold feeling like a gummy bear or a strip of tape, it’s a sign that the chemical reaction stalled. It’s one of the most common hurdles for new dice makers, but it is also one of the most avoidable.
The Surprising Reason Your Resin Doesn’t Actually Dry
If you are waiting for your resin to “dry” like a puddle on the sidewalk, you are waiting for the wrong process. Because resin is a two-part chemical system, it needs the perfect balance of heat, ratio, and mixing energy to complete its transformation into a solid. Unlike water-based materials that release moisture into the air, resin molecules must physically link up with one another. If that link is broken, you are left with a liquid mess.
Adding more hardener won’t make it cure faster. In fact, it’s one of the fastest ways to ensure your dice stay sticky forever. Resin chemistry isn’t about speed; it’s about a 1:1 molecular balance. If you throw off that balance, the excess hardener stays liquid inside the piece.
The Honesty: I spent my first three months of dice making convinced that my digital scale was broken because half my batches came out soft. It turned out I was just being lazy with my mixing. I would stir for thirty seconds, see that the resin looked clear, and think I was done. I wasn’t. You can’t just stir until it looks clear; you have to scrape every single microscopic drop off the sides of that cup. I ruined dozens of molds before I finally accepted that my “shortcuts” were actually the cause of all my failures.
The Big Three (and One Extra) Curing Killers
Before you throw your dice across the room, let’s look at the most common culprits for a failed cure.
1. The Incorrect Ratio
Most hobby resins like Art ‘N Glow are 1:1 by volume. If you are using a digital scale, you have to check the manufacturer’s weight ratio, which is often different (e.g., 100g of resin to 83g of hardener). This is because resin is denser than hardener. If you measure 100g of both, you are actually putting in too much hardener, which will prevent a full cure.
2. Poor Mixing Technique
This is the “unmixed spot” disaster. If you don’t scrape the sides and bottom of your mixing cup, a thin film of unmixed resin will end up in your mold. Resin has a high viscosity and likes to “cling” to the walls of your mixing container.
If your workshop feels like the inside of a refrigerator, don’t be surprised when your dice come out feeling like cold jelly. Your resin needs a warm hug to finish its job. Trying to cure resin in a winter garage is basically asking for a tray of expensive gummy bears that you can’t even eat.
3. Temperature Stalls
As we discussed in our guide on curing temperature, if your room drops below 65°F (18°C), the chemical reaction simply stops. The molecules move too slowly to bond, and the resin will stay in a “gel” phase indefinitely. This is especially common for makers who work in garages or basements where the temperature fluctuates wildly at night.
4. Humidity and Moisture
Resin is “hygroscopic,” which is a fancy way of saying it loves water. If your workshop humidity is over 60%, moisture from the air can get trapped in the resin as you stir. This causes “amine blush” — a greasy, waxy, or sticky film on the surface of your dice. It can also make your resin look cloudy or milky.
Diagnosis: Which Type of Sticky Are You?
Not all sticky resin is the same. Identifying the symptoms will tell you exactly which mistake you made.
- Tacky (The Tape Test): The die feels like the sticky side of Scotch tape. It’s solid but leaves a fingerprint. This is usually a sign of slight temperature issues or minor ratio errors.
- Runny (The Goo): The resin is still liquid or has a honey-like consistency. This happens when you accidentally mix two parts of the same component (A+A) or completely forget to measure.
- Soft Spots (The local fail): The die is hard everywhere except for one specific face or corner. This is the classic “didn’t scrape the cup” symptom. The unmixed resin settled at the bottom of the mold.
I once ruined a set of liquid core dice because I poured directly from the mixing cup without a second stir. The unmixed resin from the wall of the cup settled on the face of the d20, leaving a permanent soft spot that I couldn’t sand away. I had to toss the whole set after forty hours of work, and I nearly quit making liquid cores right then and there.
The feeling of a glove-tip sticking to the surface of a fresh pull, the slow peel as you realize it’s not cured — it’s the universal “oh no” moment of every dice crafter. You stand there in the silence of your workshop, wondering where you went wrong.
The Rescue Mission: How to Fix Uncured Resin Dice
Can you save your dice? Usually, yes, but it’s going to take some elbow grease and a lot of patience.
The Frustration: There is nothing more tedious than sanding a sticky d20. The resin gums up your sandpaper immediately, turning a five-minute job into an hour-long ordeal. You feel like you’re just spreading the mess around, and your hands get covered in this gross, chemical slime that won’t come off with soap. It’s a punishment for not mixing long enough, and it’s one you only want to do once. It’s enough to make you want to throw your whole setup in the trash, but hang in there—the fix works if you are methodical.
Step 1: The Scraping Phase
If the resin is still liquid or “gooey,” you MUST scrape it off. Do not try to pour more resin on top of it. The fresh resin will “skin over” the liquid layer, trapping it forever. This will eventually leak and ruin your dice (and your dice bag). Use a small silicone spatula or a wooden craft stick to remove as much of the liquid as possible.
Step 2: The Isopropyl Scrub
Once you’ve scraped the bulk away, use 91% or 99% isopropyl alcohol and a lint-free cloth (like a microfiber towel or a sturdy paper towel) to scrub the residue. You need to get the surface as clean as possible. If the resin has leaked into the numbers, use an old toothbrush dipped in alcohol to scrub them out.
Step 3: The Sanding (Mandatory)
You cannot pour fresh resin onto a smooth, sticky surface and expect it to stay. It will peel off like a sticker. You must sand the affected faces with 80 or 120 grit sandpaper to create “tooth.” The surface should look scratched and matte. This gives the new resin something to grab onto.
Step 4: The Re-Pour
Once the surface is clean, dry, and scuffed, mix a small, perfect batch of resin. Use the double-cup method (see below). Use a pipette to apply a thin “doming” coat to the faces you sanded. Place the die back in a warm environment (75°F+) to ensure this thin layer cures rock-hard.
Prevention: How to Never Have Sticky Dice Again
If you want to end your streak of failed cures, you need to turn your workshop into a precision environment.
- The Double-Cup Method: This is the pro secret. Mix your resin in one cup for three minutes. Then, pour that mixture into a second, clean cup and mix for another minute. This ensures that any unmixed Part A or B from the walls of the first cup is thoroughly integrated.
- Trust the Scale: Stop eyeballing volume in plastic cups. The markings are often off by several milliliters. Use a high-precision digital scale and calculate the weight ratio. It is the only way to be 100% sure.
- The Warm-Up: Always warm your resin bottles in a water bath to 80°F (27°C) before mixing. This lowers the viscosity, making it much easier for the two parts to combine at a molecular level.
- Control the Air: If you live in a humid area, run a dehumidifier in your curing space. Aim for 40% humidity for the best surface finish.
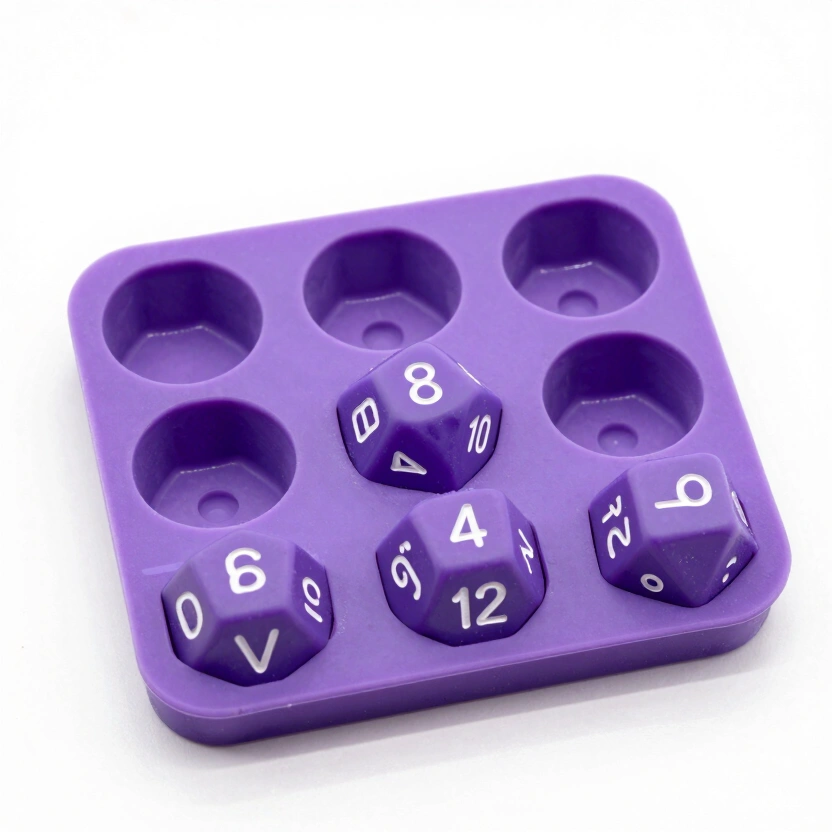
LET'S RESIN Polyhedral Dice Mold Set (7 Shapes)
Stereoscopic 7-piece silicone mold for D4-D20. Pre-made sprue channels. Top-selling beginner mold.
Check Price on Amazon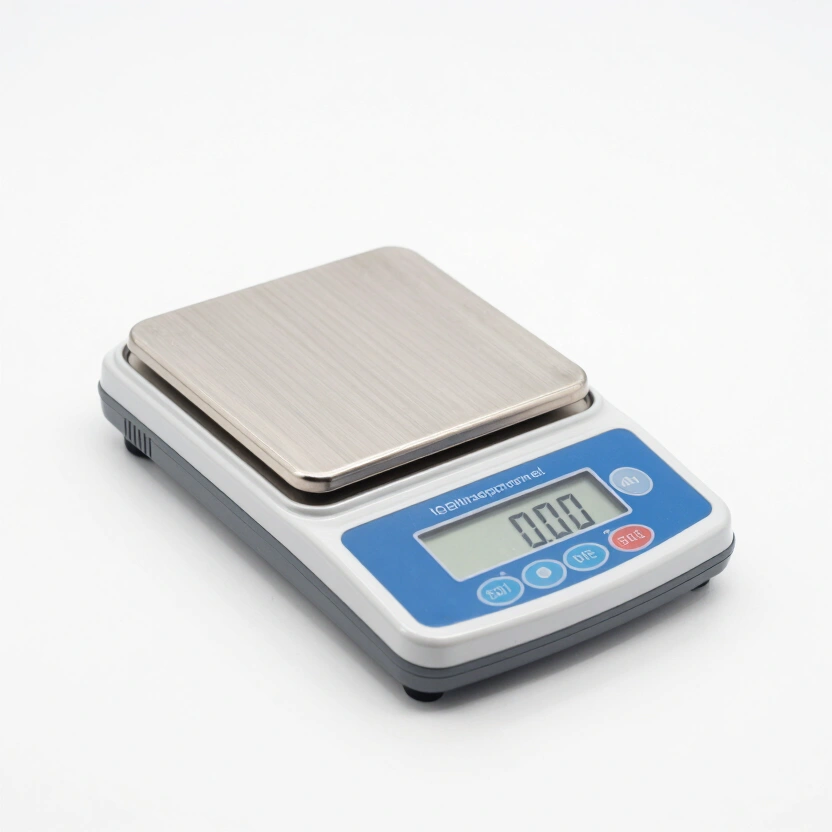
Fuzion Digital Scale (0.01g Precision)
Precise to 0.01g for accurate resin mixing ratios. Tare function, backlit display. Essential for consistent pours.
Check Price on Amazon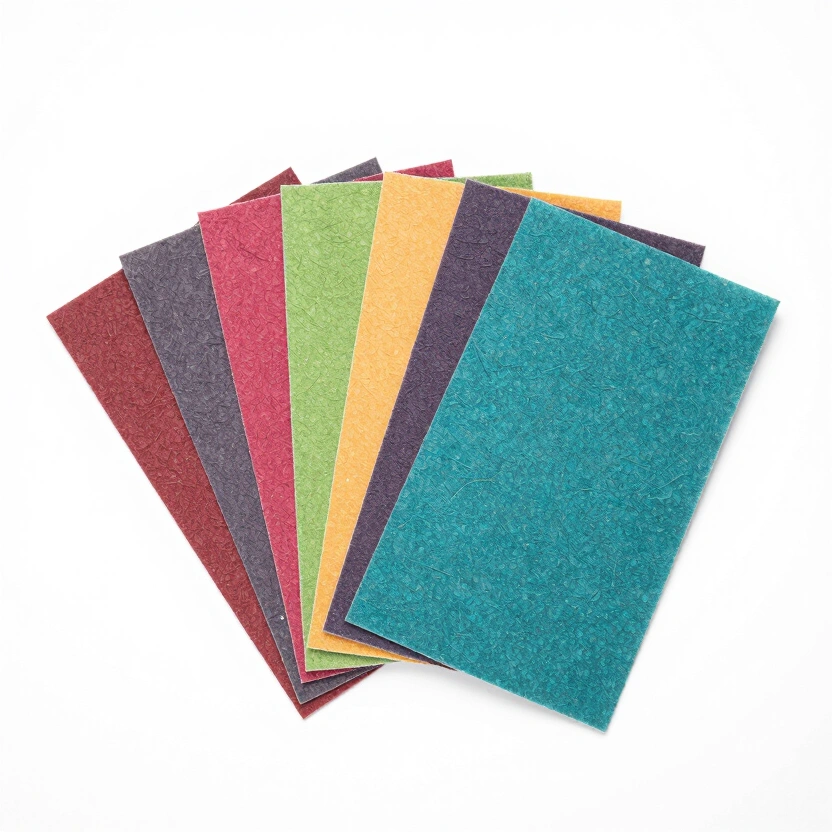
Ultra Fine Wet/Dry Sandpaper (120-10000 Grit)
Wide grit range for resin sanding. Start coarse, work up to mirror finish. 9x3.6 inch sheets.
Check Price on Amazon* Affiliate links. Prices last updated March 6, 2026.
FAQ: Common Curing Fail Questions
Is sticky resin toxic? Yes. Uncured resin is a sensitizer. This means that the more you are exposed to it, the more likely you are to develop a severe allergy. Never handle sticky dice with your bare hands. Always wear nitrile gloves and use isopropyl alcohol to clean any accidental spills.
Can I just put sticky dice in the sun? No. Unless you are using UV resin, the sun will not help. Epoxy resin requires a chemical reaction, not light. While the heat from the sun might speed up a slow-stalled cure, it won’t fix a bad mix ratio.
Can I use a clear spray sealer to fix a tacky surface? For very minor surface tack (like amine blush), a gloss sealer spray can sometimes work as a temporary fix. However, if the die is soft enough to dent with a fingernail, a spray will just create a “skin” over a liquid center. Eventually, the die will warp or leak.
Satisfaction: There is a specific moment when you pull a set of dice from the mold and they feel like solid glass. They have that weight, that clarity, and that absolute hardness that tells you the chemistry worked perfectly. That first “click” they make when they hit the table is the sound of you moving from a beginner to an artisan. It’s a feeling of absolute triumph over the chaos of resin.
Your Specific Next Step
If you have a tray of sticky dice right now, don’t wait. The longer they sit, the more dust and hair they will attract, making the cleanup even harder. Put on your gloves, grab your 99% isopropyl alcohol, and start Step 1 of the Rescue Mission today. Once you’ve cleaned them up, head over to our guide on sanding dice to learn how to restore that mirror-like shine to your rescued project.