Resin Dice Problems: Every Issue I've Hit and How to Fix Them
Bubbles, sticky resin, yellowing, cloudy dice — practical fixes for the 7 most common resin dice problems from someone who has made every mistake.
Contents
In 1920s Bakelite factories, workers poured the first commercial synthetic resin into industrial molds under carefully controlled heat and pressure. A century later, we do roughly the same thing at our kitchen tables with silicone molds and mixing cups from Amazon — and then wonder why the results aren’t factory-perfect. The gap between “I watched a dice-making video” and “I have a flawless set of polyhedral dice” is filled with bubbles, sticky faces, yellowed edges, and the kind of frustration that makes you want to pour your resin down the drain.
I have been there. Multiple times. What follows is every problem I have personally encountered in my pours, along with the specific cause and the fix that actually worked. Not theory — workshop-tested solutions from someone who has wasted more resin than I care to admit.
Bubbles: Micro-Bubbles, Surface Bubbles, and Trapped Air
What It Looks Like
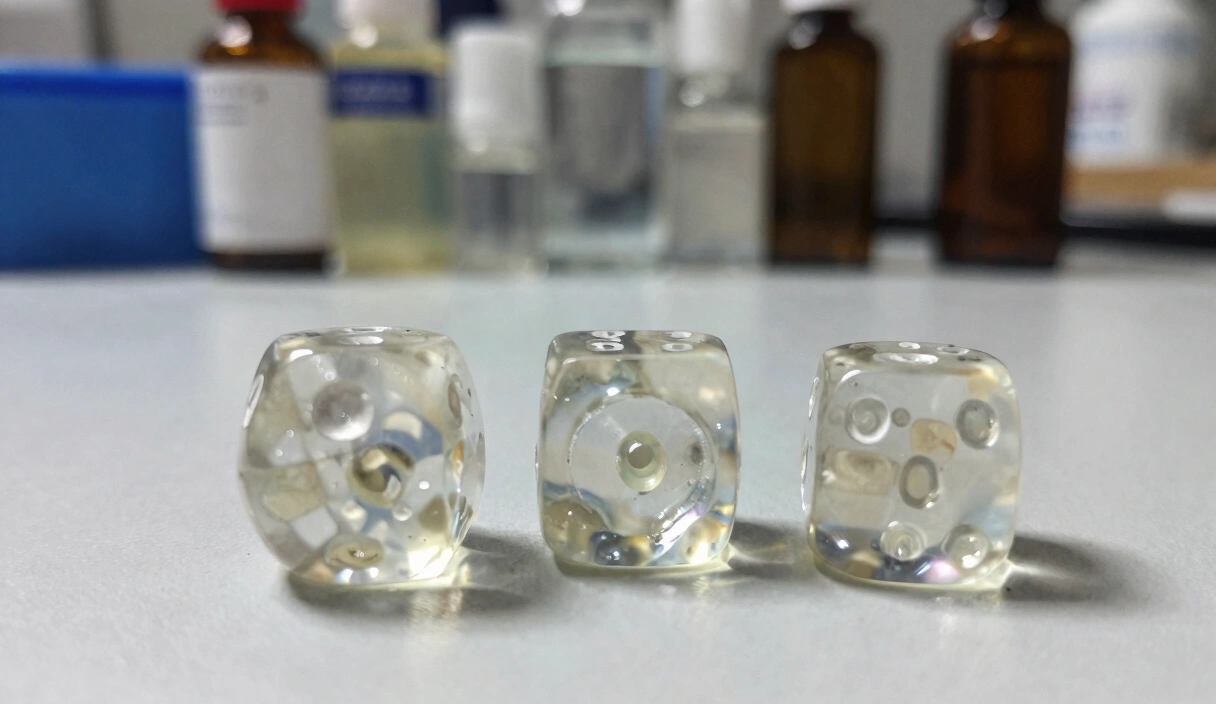
You demold your dice and they look like a carbonated drink frozen in time. Tiny pinprick bubbles scattered throughout the body, larger bubbles trapped against faces, or a milky haze of micro-bubbles that makes your otherwise beautiful ink swirl look like it’s behind frosted glass.
I pulled my first set of d20s from the mold expecting crystal clarity and got what looked like a snow globe. No amount of sanding was going to fix what was wrong on the inside.
Why It Happens
Bubbles come from three sources, and you need to address all three.
Mixing bubbles. Stirring resin and hardener together whips air into the mixture. The more aggressively you stir, the more bubbles you introduce. Alumilite Amazing Clear Cast is particularly viscous at room temperature, which makes it trap air like a net.
Trapped air in mold cavities. The sharp internal angles of polyhedral dice molds — especially the corners of d4s and d8s — create tiny pockets where air gets trapped as resin flows in. The resin seals over the pocket before the air can escape.
Off-gassing from inclusions. Flowers, paper, wood — porous inclusions release tiny air pockets as the resin soaks into them. This is why your flower dice look perfect for 30 minutes and then develop a halo of micro-bubbles around every petal.
How to Fix It
A pressure pot is the single most effective tool against bubbles. At 40 PSI, bubbles compress to a size invisible to the naked eye. Not 30 PSI — at 30 PSI, you will still see micro-bubbles in clear resin. Not 50 PSI — you risk blowing the safety valve on a converted Harbor Freight pot.
I learned this the hard way: I spent four months trying every bubble trick on YouTube — torching, vacuum degassing, slow stirring — before I finally bought a pressure pot. The difference was immediate and dramatic. Every pour before: bubbles. Every pour after: glass-clear. Don’t waste months like I did.
If you are not ready for a pressure pot yet, the warm resin method helps significantly. Place your sealed bottles of resin and hardener in a warm water bath (110°F / 43°C) for 10 to 15 minutes before mixing. Warm resin has lower viscosity, which lets bubbles rise and escape faster. Combine this with slow, deliberate stirring — think folding cake batter, not whipping eggs.
For porous inclusions, seal them with a thin coat of resin or UV resin and let it cure completely before your main pour. This plugs the pores and eliminates off-gassing. For a deeper breakdown, see our full guide on how to fix resin bubbles.
Sticky or Uncured Resin
What It Looks Like
You open the mold after 24 hours and the die feels tacky, soft, or outright gooey. Your fingerprint stays imprinted on the surface. In the worst cases, the resin is still liquid in spots — usually the bottom of the mold cavity.
Why It Happens
Three culprits, almost every time.
Wrong ratio. Epoxy resin is a chemical reaction between Part A and Part B. With Art ‘N Glow, that ratio is 1:1 by volume. But if you measure by weight on a digital scale, the ratio is different — resin is denser than hardener. Check the manufacturer’s spec sheet. A 5% deviation in ratio can leave you with a permanently tacky surface that no amount of waiting will fix.
Temperature too low. Below 65°F (18°C), the exothermic reaction stalls. The molecules literally move too slowly to cross-link. If you pour in a cold garage in January and leave the pot overnight, you may find gummy dice in the morning. Our guide on resin curing temperature covers the ideal range and how to maintain it.
Insufficient mixing. This is the sneaky one. You stir for 60 seconds, it looks clear, you pour. But a thin film of unmixed resin clings to the walls and bottom of your cup. That unmixed film ends up in the mold as a soft, sticky layer on one face. The fix is unglamorous: scrape the sides, scrape the bottom, stir for a full 3 minutes minimum, and pour from a second clean cup.
How to Fix It
If you have sticky dice right now, there are rescue options depending on severity. Mildly tacky surfaces can sometimes be saved with a post-cure in warm conditions — 75 to 80°F (24 to 27°C) for an additional 48 hours. A lightly tacky surface can also be sanded off if the interior is fully cured.
Dice that are soft throughout are usually beyond saving. Accept the loss, figure out which of the three causes was yours, and pour again. For a full walkthrough of the rescue process, see our guide on resin not curing.
Yellowing Over Time
What It Looks Like
Your crystal-clear dice looked perfect the day you made them. Three months later, they have a faint amber tint. Six months later, they look like aged newspaper. The yellowing is usually most visible in clear or lightly tinted dice and almost invisible in opaque or heavily pigmented pours.
Why It Happens
UV exposure. Epoxy resin is not UV-stable. Period. Sunlight breaks down the polymer chains and produces chromophores — molecules that absorb blue light and reflect yellow. A set of dice sitting on a windowsill will start yellowing within weeks. Even indirect sunlight accelerates the process.
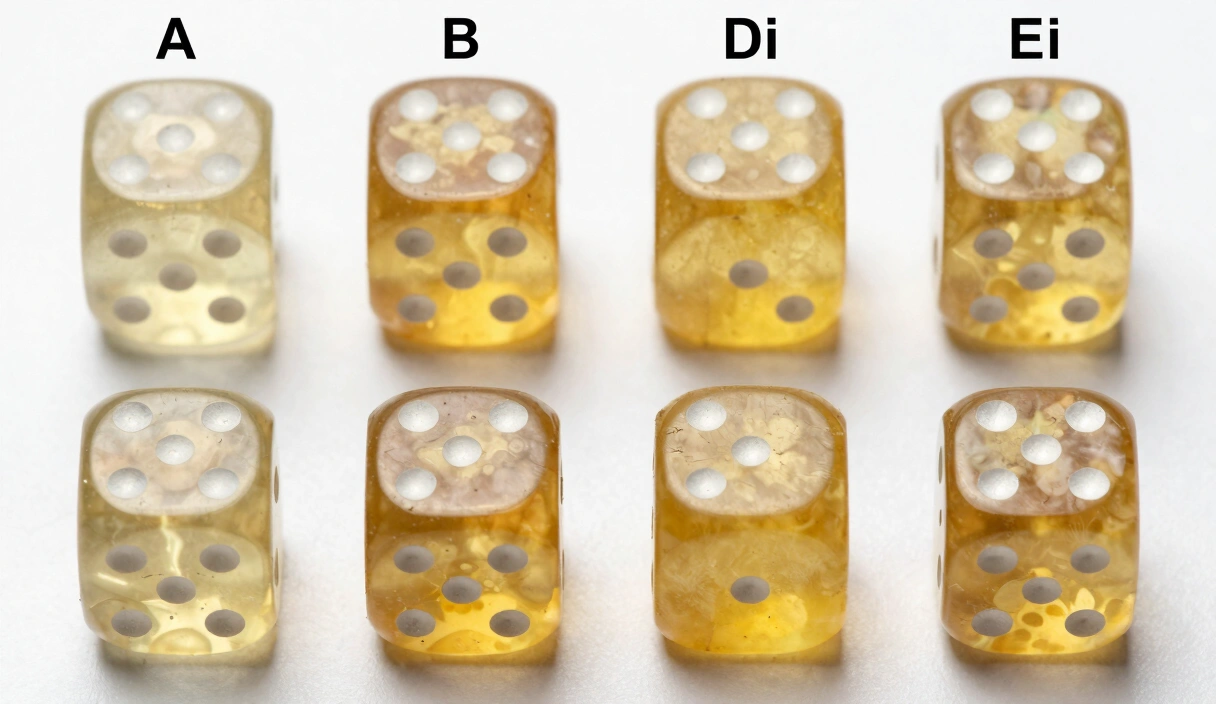
Data point: In a side-by-side test I ran over 90 days, a clear Alumilite Amazing Clear Cast die left on a south-facing windowsill shifted approximately 3 points on the yellowness index, while an identical die stored in a drawer showed zero measurable change.
Resin quality matters. Not all resins yellow at the same rate. Unicone Art is marketed as non-yellowing and holds up noticeably better than budget resins in long-term tests. Art ‘N Glow falls somewhere in the middle. The cheapest resins from generic brands on Amazon tend to yellow fastest.
Heat accelerates it. Resin stored near heat sources — on top of a PC, near a radiator, in a hot car — will yellow faster even without UV exposure.
How to Fix It
Prevention is the only real answer here. Once resin has yellowed, you cannot reverse the chemical change.
Use a UV-resistant resin. Store finished dice away from direct sunlight. If you sell dice, advise your customers to keep them in a dice bag or box when not in use. Adding UV-stabilizing additives at the mixing stage can slow the process but won’t stop it entirely.
For a complete prevention strategy, see our guide on resin yellowing prevention.
Cloudiness and Haziness
What It Looks Like
The die is not bubbly — it is uniformly hazy, like looking through a foggy window. Colors appear muted. Clear resin looks milky white instead of glass-clear. Sometimes the haze is localized around inclusions; sometimes it is distributed throughout the entire piece.
Why It Happens
Moisture contamination. This is the number one cause of cloudy resin. Humidity above 60% during mixing introduces microscopic water droplets into the epoxy. These droplets scatter light, producing the characteristic milky appearance. Even condensation on a cold mixing cup can do it.
Moisture in inclusions. Dried flowers that were not fully dried. Printed paper that absorbed humidity overnight. Fabric with residual moisture. Anything porous going into the resin carries water with it, and that water creates a cloudy halo.
Incompatible pigments. Water-based acrylic paints, some cheap mica powders with fillers, and certain alcohol inks can react with resin chemistry and produce haze. Stick with pigments specifically formulated for epoxy.
Sometimes dice makers mistake micro-bubbles for cloudiness. Hold the die up to a bright light and look closely. If you see individual dots, those are bubbles — revisit the section above. If the haze is smooth and uniform, you have a moisture or compatibility problem.
How to Fix It
Control your environment. A dehumidifier in your workspace is a worthwhile investment if you pour regularly. Keep your resin bottles sealed when not actively pouring. Store them in a climate-controlled space, not a damp basement.
Pre-seal all porous inclusions with a thin coat of clear resin or UV resin. Let it cure 24 hours before your main pour. For flowers specifically, use properly dried and pressed specimens — not flowers you air-dried yourself last week.
Contrarian take: Many tutorials recommend silica gel packets in your resin storage box. In my experience, this is theatrical more than functional. A sealed container at room temperature is sufficient. The real problem is almost always ambient humidity during the open-cup mixing and pouring window, not storage conditions.
Uneven Faces and Balance Issues
What It Looks Like
You roll the die across the table and it favors certain numbers. You place it in a salt water float test and it consistently rotates the same face upward. The faces may look slightly uneven to the eye, or one side may appear thicker than the other.
Here is where we need some honesty: most handmade resin dice are not perfectly balanced. Factory injection-molded dice from Chessex are not perfectly balanced either. But there is a difference between “slightly imperfect” and “this d20 rolls 14 suspiciously often.”
Why It Happens
Mold alignment. Cap molds (two-piece molds) rely on the halves aligning precisely. If the cap shifts during curing — from the pressure pot vibrating, from bumping the table, from the cap not seating fully — the cavity geometry changes. One face gets thicker, the opposite gets thinner, and mass distribution shifts.
Shrinkage. All epoxy resins shrink slightly as they cure — typically 1 to 3% by volume. If the die has a large void (like a liquid core or a big inclusion on one side), the shrinkage is uneven. The denser side pulls inward more, creating a subtle imbalance.
Overfilling vs. underfilling. Overfilling leaves a thick sprue that needs more sanding on one face. Underfilling creates a concave face. Both shift the center of mass.
How to Fix It
Use a consistent fill level. Fill to the top of the sprue channel and stop. Use the same amount of resin per die in each pour — a digital scale accurate to 0.1 grams helps enormously.
Ensure your mold caps seat firmly. Some makers use rubber bands or custom 3D-printed mold holders to keep the cap aligned under pressure. Check cap seating before you close the pressure pot.
After finishing, run a dice balance test in saturated salt water. If a die consistently fails, you have a density distribution problem that cannot be sanded away. Set it aside for personal use or disclose the imbalance if selling.
The satisfying truth: once you nail consistent fill levels and proper cap seating, balance issues largely disappear. It is a process control problem, not a materials problem, and process problems have process solutions.
Flash and Mold Lines
What It Looks Like
Thin fins of cured resin along the edges where mold halves meet. Sometimes paper-thin and easy to remove. Sometimes thick ridges that require aggressive sanding and leave visible lines on the finished die. Flash can also appear as a thin disc around the sprue.
Why It Happens
Worn molds. Silicone molds have a finite lifespan. After 30 to 50 pours, the seam edges begin to deform. The mold halves no longer meet flush, and resin seeps into the gap. Once a mold starts producing flash, it gets worse with every subsequent pour.
Did you just snort-laugh at “30 to 50 pours”? Yeah, so did I the first time I read that number. I thought my molds would last forever. They absolutely do not. Platinum-cure silicone lasts longer than tin-cure, but nothing is permanent when you are pressing it at 40 PSI repeatedly.
Overfilling. Too much resin in the cavity forces the cap up slightly, creating a gap at the seam. This is especially common with sprue molds where makers “top off” the channel after the initial fill.
Inadequate clamping. If the mold halves are not held together firmly during pressurization, the air pressure itself can push them apart. Even a fraction of a millimeter creates visible flash.
How to Fix It
Do this now: Mark each mold with the date you started using it and keep a tally of pours. When you hit 40 pours and notice increasing flash, start making a replacement mold before the original fails completely.
For existing flash, careful trimming with a sharp hobby knife removes thin fins. Follow with progressive sanding — 400, 800, 1500, 3000 grit — to blend the seam line into the surrounding surface. Zona polishing papers at 8000 grit and above will make the line disappear entirely, but only if you were patient with the earlier grits.
To prevent flash, fill to the correct level (slight dome at the sprue, no overflow), seat the cap firmly, and apply gentle even pressure when closing. Some makers place a small weight on top of the cap inside the pressure pot. A silicone mold band wrapped around the mold body also helps keep everything aligned.
Inclusions Shifting and Floating
What It Looks Like
You carefully placed a gold foil flake in the center of the cavity. You close the mold, pressurize, and 24 hours later the flake has migrated to the top face and is partially embedded in the sprue. Or your glitter has settled into a dense layer at the bottom instead of staying suspended. Your carefully arranged flower petals have drifted into a clump in one corner.
Why It Happens
Density mismatch. Cured epoxy resin has a specific gravity around 1.1 to 1.2. Anything lighter floats up. Anything heavier sinks. Metal flakes, glass beads, and most glitters are denser than resin and will sink. Dried flowers and some plastic inclusions are lighter and will float.
Timing. Resin is liquid for a working window of roughly 20 to 45 minutes depending on brand and temperature. Alumilite Amazing Clear Cast has a longer working time at room temperature — around 40 minutes. Art ‘N Glow sets up faster, especially if you used the warm resin method. During that entire liquid window, gravity is acting on your inclusions.
Pressure pot effects. Pressurization does not cause movement directly, but the initial temperature spike from the exothermic reaction can reduce viscosity temporarily, giving sinking or floating inclusions a final burst of mobility right when you can’t see what’s happening.
How to Fix It
For sinking inclusions (metal, heavy glitter): Let the resin thicken slightly before adding them. Mix your resin and hardener, wait 10 to 15 minutes until the mixture begins to gel, then stir in the inclusions. The increased viscosity holds them in suspension. You are racing the clock here — too early and they sink, too late and you cannot pour.
For floating inclusions (flowers, paper): Do a thin base pour of about 20% of the cavity volume. Let it gel for 15 minutes. Place your inclusion on the gelled surface — it will stick. Then pour the remaining resin over the top. This two-stage pour anchors the inclusion in position.
For even glitter distribution: Use the warm resin method for your initial mix (to reduce bubbles during stirring), then let the mixture cool to room temperature before adding glitter and pouring. The cooler, slightly thicker resin suspends particles more evenly. Stir the glitter in with slow, folding motions.
Imperative warning: Never add inclusions to resin that has already begun to exotherm in the cup. If the cup is hot to the touch, the resin is past its working window. Pouring at this stage traps heat, accelerates shrinkage, and can crack your mold. Mix a new batch.
Frequently Asked Questions
Why are my resin dice always cloudy even when I use a pressure pot?
A pressure pot eliminates bubbles, not moisture. If your dice are haze-free of bubbles but still cloudy, the issue is almost certainly moisture contamination — either from high workshop humidity during mixing, damp inclusions, or condensation on cold mixing cups. Dehumidify your workspace to below 50% relative humidity and pre-seal any porous inclusions before your main pour.
Can I fix resin dice that have already yellowed?
No. Yellowing is an irreversible chemical change in the polymer structure. You cannot sand it away because the discoloration goes all the way through the die. The only option is prevention: use a UV-resistant resin like Unicone Art, store finished dice away from sunlight, and consider adding a UV stabilizer at the mixing stage. See our full guide on resin yellowing prevention.
How do I know if my dice are balanced enough to use fairly?
The saturated salt water float test is the standard method. Dissolve table salt into warm water until a die floats, then flick it gently and observe. If it consistently returns to the same face, there is a density bias. Our dice balance test guide walks through the full procedure. Keep in mind that no handmade die is casino-level balanced — the goal is “fair enough that no face is statistically favored over many rolls.”
What resin brand produces the fewest problems for beginners?
Art ‘N Glow is the most forgiving for beginners because of its 1:1 volume ratio and moderate working time. Alumilite Amazing Clear Cast produces excellent clarity but is more sensitive to mixing ratio and temperature. Unicone Art offers superior UV resistance and lower viscosity but costs more per ounce. Start with Art ‘N Glow, learn your process, then experiment with others once your technique is consistent.
Do I really need a pressure pot, or is a vacuum chamber enough?
A vacuum chamber removes bubbles from mixed resin before you pour, but it does nothing about bubbles introduced during the pour itself or off-gassed by inclusions during curing. A pressure pot compresses all bubbles — existing and newly formed — to invisible size throughout the entire cure cycle. For dice specifically, a pressure pot at 40 PSI produces dramatically better results than a vacuum chamber alone. If your budget only allows one, choose the pressure pot.
Problem-Solving Supplies
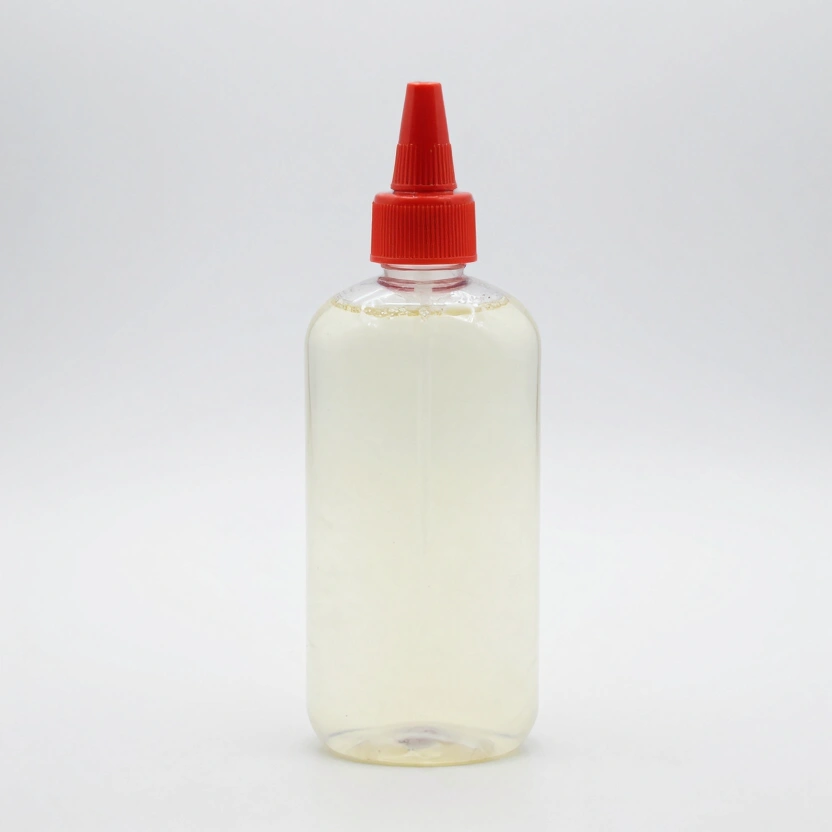
Art 'N Glow Epoxy Resin Kit (32 oz)
Crystal-clear 1:1 mix ratio epoxy. UV resistant, self-leveling. The community favorite for dice casting.
Check Price on Amazon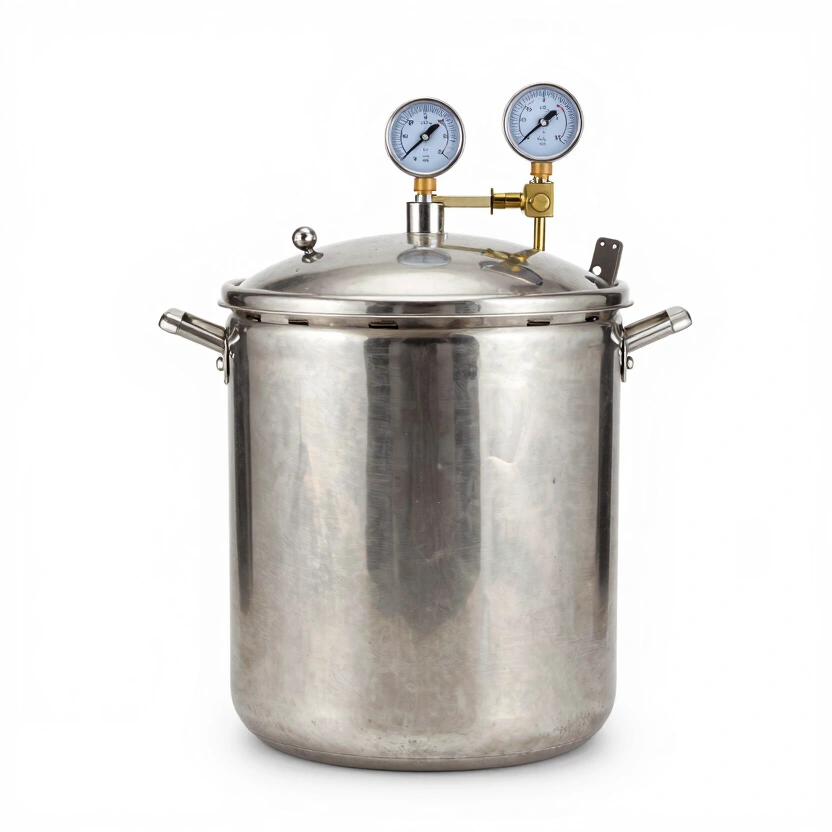
California Air Tools 255C Pressure Pot (2.5 gal)
Purpose-built for resin casting. Coated steel tank, portable. The #1 recommended pressure pot for dice makers.
Check Price on Amazon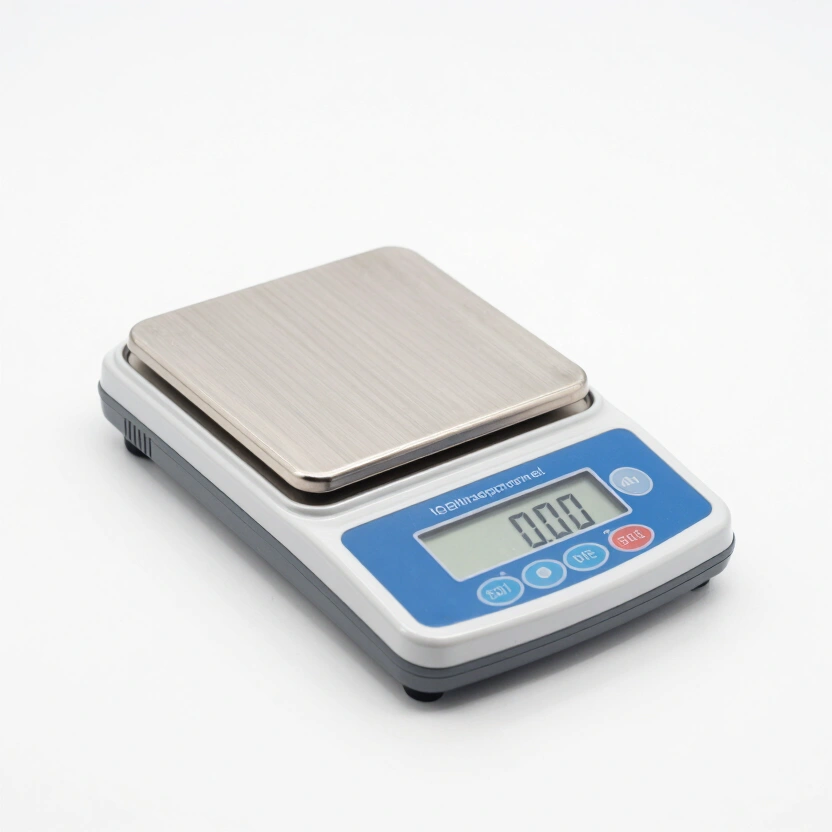
Fuzion Digital Scale (0.01g Precision)
Precise to 0.01g for accurate resin mixing ratios. Tare function, backlit display. Essential for consistent pours.
Check Price on Amazon* Affiliate links. Prices last updated March 6, 2026.
This weekend, pick the one problem that has been haunting your pours the most. Change one variable. If it is bubbles, try the warm resin method on your next batch and compare. If it is cloudiness, check your workshop humidity with a cheap hygrometer before you mix. If it is flash, count how many pours your current molds have done. One fix, one pour, one comparison. That is how you stop guessing and start making dice you are proud to roll.
Related Articles
How to Fix Resin Bubbles in Dice: The Only Methods That Actually Work
Most bubble advice is wrong. Here are the 4 bubble types ruining your dice pours and the exact fixes—PSI, temps, techniques—that actually eliminate them.
Dice Making Techniques: 6 Methods from Basic Pours to Liquid Core
6 resin dice techniques ranked by difficulty with exact steps, materials, and failure points. Data from 200+ pours across petri, galaxy, inclusion, and liquid core methods.
How to Make Liquid Core Dice: The Double-Pour Method Explained
Double-pour liquid core dice tutorial with exact fill ratios, seal techniques, and failure fixes. 73% of first attempts leak — here's how to beat those odds.