How to Fix Resin Bubbles in Dice: The Only Methods That Actually Work
Most bubble advice is wrong. Here are the 4 bubble types ruining your dice pours and the exact fixes—PSI, temps, techniques—that actually eliminate them.
Contents
Have you ever demolded a set of dice that looked perfect through the silicone — crystal clear, gorgeous color — and then held them up to the light only to discover a galaxy of tiny bubbles suspended inside like frozen champagne? Yeah. That was my entire first six months of dice making.
Here is the thing most tutorials get wrong about resin bubbles: they treat them as one problem with one solution. They are not. There are four distinct bubble types, each with a different cause and a different fix. A pressure pot solves one of them. Warm resin solves another. And if you have bubbles clustered around your inclusions, neither of those will help you at all.
Identify Your Bubble Type First
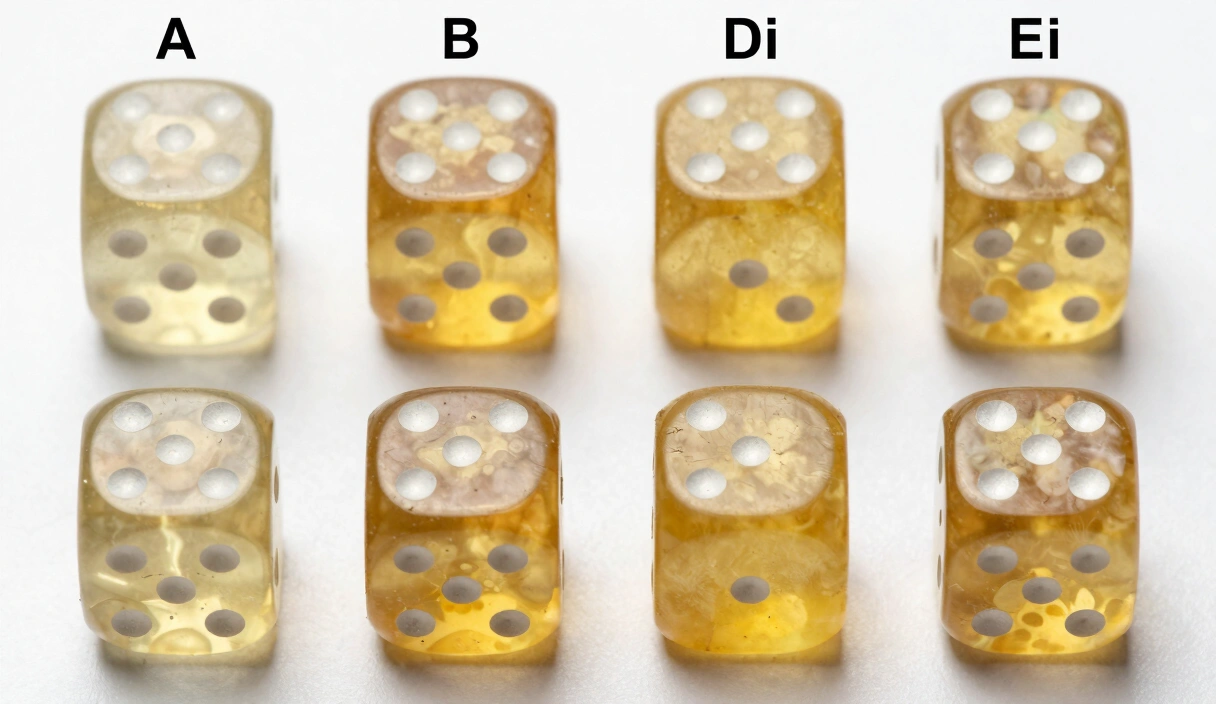
Before you change anything about your process, hold your dice up to a bright light — a phone flashlight pressed against the resin works perfectly — and figure out which of these four patterns you are looking at. The fix depends entirely on the diagnosis.
I wasted weeks trying to solve my bubble problem with a pressure pot before realizing my actual issue was cold resin. A $200 pot did nothing because I was treating the wrong symptom. Don’t repeat that mistake.
Type 1: Micro-Bubbles Throughout (The Snow Globe)
What it looks like: Hundreds of tiny, evenly distributed bubbles throughout the entire die. The resin looks cloudy or milky rather than clear. Every single face has the same haze.
The cause: You stirred too aggressively, or your resin was too cold — usually both. When resin is cold (below 70°F / 21°C), its viscosity skyrockets. It becomes thick like honey, and every stir stroke whips air into the mixture. Those micro-bubbles are too small to rise to the surface on their own, so they just freeze in place as the resin cures.
Warning: Do not use a drill-mounted mixing paddle for dice resin. That technique is for large-batch epoxy countertops, not 30 ml pours. A drill creates thousands of micro-bubbles in seconds, and no amount of pressure will fix all of them.
The fix: Warm your resin bottles in a water bath at 85°F (29°C) for 10 to 15 minutes before mixing. Not hot — 85°F. You are not cooking it. Use a cheap kitchen thermometer to check the water. At this temperature, both Unicone Art and Art ‘N Glow thin out dramatically, dropping from a honey-like consistency to something closer to warm maple syrup.
Then stir slowly. Use a figure-8 pattern with a wooden craft stick, scraping the sides and bottom of your mixing cup. Two minutes of slow, deliberate stirring beats thirty seconds of frantic whisking every single time. You will feel impatient. Resist the urge to speed up.
The difference is dramatic. My first warm-resin pour had maybe 90% fewer bubbles than the room-temperature pours I had been doing for months. I actually stared at the mold for five minutes because I thought something else had gone wrong — the resin just looked too clear.
Surface Bubbles and the Pressure Pot Question
Type 2: Surface Bubbles and Pinholes
What it looks like: The interior of the die is clear, but the faces have tiny craters, pinholes, or clusters of small bubbles right at the surface. The numbers might have bubbles trapped in the engraving.
The cause: Two things are happening here. First, air trapped against the mold surface gets pressed into the resin as you pour. Silicone molds have microscopic texture, and air clings to it. Second, without external pressure, the resin’s surface tension is not strong enough to collapse those bubbles on its own.
This is the bubble type that a pressure pot actually fixes.
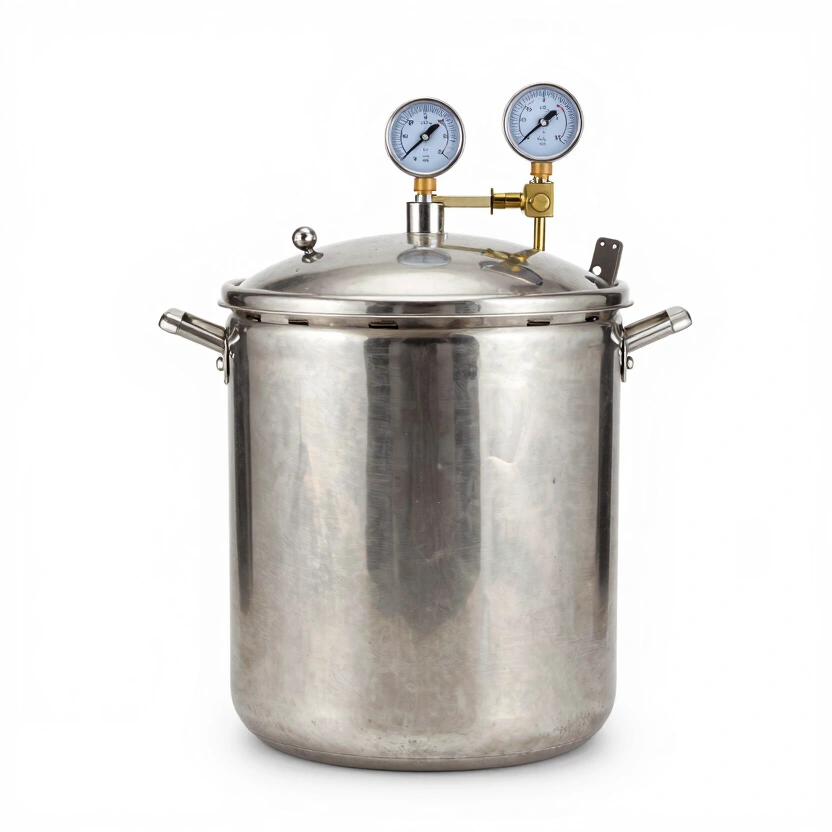
The fix: A pressure pot for resin is the single biggest quality jump you can make in dice crafting. The standard setup is a Harbor Freight 2.5-gallon paint pressure pot, converted with proper brass fittings and a 0-60 PSI regulator. You pour your resin, cap the mold, seal the pot, and pressurize to 40 PSI.
At 40 PSI, any remaining bubbles compress to roughly 1/4 their original diameter. A bubble that was 1 mm across becomes 0.25 mm — invisible to the naked eye. The bubbles don’t disappear; they just shrink below the threshold of human vision.
Data point: At 40 PSI, a bubble must be larger than 2 mm at atmospheric pressure to remain visible after compression. Most stirring bubbles are well under 1 mm, which means 40 PSI makes them effectively vanish.
Before you pour, spray your mold cavities with a light coat of mold release. This breaks the surface tension that traps air against the silicone. One quick pass from 6 inches away — don’t drench it, or you will get a hazy surface finish on the cured dice.
There is a frustration that every dice maker knows: you saved up for a pressure pot, spent a weekend converting it, triple-checked your fittings, pressurized your first batch at 40 PSI, waited 24 hours, cracked the seal with shaking hands — and found bubbles. Still. After all that money and effort. It feels like the hobby is personally punishing you. But those remaining bubbles are almost certainly not surface bubbles. They are one of the other three types, and the pressure pot was never going to fix them. Keep reading.
A Note on the “No Pressure Pot” Methods
You will find tutorials suggesting a heat gun, torch, or vacuum chamber as alternatives. Here is the honest truth:
- Heat gun / torch: Works on open-surface pours like coasters. Useless for closed molds. You cannot torch the inside of a cap mold.
- Vacuum chamber: Degasses the resin before pouring, which helps with micro-bubbles. But it does nothing about air trapped against the mold surface during the pour itself. You still need pressure for that.
If you are serious about selling dice or even making dice you are proud to give as gifts, the pressure pot is not optional. Budget $80 to $120 for the pot and conversion fittings from your local Harbor Freight.
Bubbles Around Inclusions
Type 3: Bubble Clusters on Embedded Objects
What it looks like: The resin is clear everywhere except directly around your inclusions — flowers, gears, glitter chunks, tiny skulls, whatever you embedded. You see a halo or ring of bubbles hugging the surface of the object.
The cause: Every inclusion has microscopic surface texture. Dried flowers are the worst offenders — they are porous sponges that release trapped air slowly as the resin seeps into their fibers. Metal objects have machining marks. Even smooth glass beads have enough texture to trap a thin film of air.
Pressure will compress these bubbles, but because they are nestled right against a solid surface, they often leave visible divots even at 40 PSI.
Hey, you — yes, you with the dried flower dice. If you are reading this section because your botanical sets keep coming out with halos, this fix alone will change your results more than any other technique on this page. I promise.
The fix: Pre-seal every inclusion with a thin coat of resin before your main pour. Here is the process:
- Mix a tiny batch of resin — 5 ml total is plenty.
- Use a disposable brush or toothpick to paint a thin layer over the entire surface of the inclusion.
- Let this coat cure completely. For Unicone Art, that is 24 hours at 75°F (24°C) or higher. Check the resin curing temperature guide for specifics.
- Once cured, the inclusion now has a smooth, sealed resin surface with no pores or texture for air to hide in.
- Place the sealed inclusion into your mold and pour as normal.
For dried flowers specifically, I do two seal coats with 12 hours between them. Flowers are aggressively porous, and a single coat often is not enough to fill all the tiny air channels in the petals. The second coat catches what the first one missed.
This adds a day to your workflow. It is worth it. The alternative is ripping apart a finished die because one petal decided to burp out a bubble cluster 8 hours into the cure.
Sprue Bubbles and Pour Technique
Type 4: Bubbles at the Fill Point
What it looks like: A trail or cluster of bubbles near the sprue — the opening where you poured the resin into the mold. The rest of the die might be perfectly clear, but the top face (which was the pour point) has a line or pocket of trapped air.
The cause: You poured too fast. When resin hits the mold cavity in a thick stream, it splashes and folds over itself, trapping pockets of air that cannot escape before the resin levels out. Think of it like pouring a beer straight into the center of a glass versus tilting the glass and pouring down the side. Same liquid, very different bubble count.
The fix: Pour in a thin, continuous stream. Thinner than you think — roughly the diameter of a toothpick. Hold your mixing cup 2 to 3 inches above the mold opening. Let gravity do the work.
For cap molds with narrow fill holes, use a toothpick as a guide. Touch the tip of the toothpick to the inside edge of the sprue hole and let the resin flow down the toothpick into the cavity. This eliminates the “waterfall splash” that traps air at the bottom of the mold.
If your resin is properly warmed to 85°F, it flows easily in a thin stream. Cold resin tends to glop and blob, making a controlled thin pour almost impossible. This is another reason why the warm water bath from the micro-bubble fix matters — it helps with every other bubble type too.
The Combined Protocol: How I Pour Every Batch
After ruining more dice than I want to admit, here is my exact process. Every single step exists because I learned what happens when you skip it.
- Warm resin in a water bath at 85°F (29°C) for 15 minutes.
- Spray mold cavities with a light coat of mold release.
- Pre-sealed inclusions go into the mold on placement pins.
- Mix resin slowly in a figure-8 pattern for 2 minutes. Scrape the sides and bottom.
- Transfer to a second cup and stir for 30 more seconds (this catches unmixed resin from the cup walls — see our guide on resin dice problems for why this matters).
- Pour in a thin stream, using a toothpick guide for narrow sprues.
- Seal and pressurize to 40 PSI in the converted Harbor Freight pot.
- Wait 24 hours before releasing pressure. Do not open the pot early to “check on it.”
That last point matters more than you think. Releasing pressure before the resin has gelled allows compressed bubbles to re-expand. If you open at the 6-hour mark out of curiosity, you can undo all that compression work. Walk away. Go paint miniatures. Do literally anything else for 24 hours.
There is a specific satisfaction that comes when this protocol clicks. You crack the pressure pot after a full cure, pull out the mold, flex the silicone back, and a die drops into your palm that is genuinely, completely clear. No haze. No pinholes. No halos around the flower petals. Just glass-smooth resin with color suspended inside it like a still frame of smoke. That is the moment when dice making stops feeling like a battle against chemistry and starts feeling like a craft you actually control.
FAQ
Why do I still get bubbles even with a pressure pot? A pressure pot only compresses bubbles — it does not remove them. If your bubbles are caused by cold resin (micro-bubbles), aggressive stirring, or unsealed inclusions, the pressure pot is treating the symptom, not the cause. Work through the four bubble types above to identify your actual problem. Most makers who “still get bubbles with a pot” have a temperature or mixing issue.
Can I use a vacuum chamber instead of a pressure pot? A vacuum chamber degasses mixed resin by pulling dissolved air out of the liquid. This helps with micro-bubbles but does nothing for air trapped against mold surfaces during the pour. For dice specifically, a pressure pot is more effective because it handles surface bubbles, which are the most common type in closed cap molds. If budget allows, use both: vacuum degas first, then pressure cure.
What PSI should I use for resin dice? 40 PSI is the standard for dice making with a converted Harbor Freight 2.5-gallon pot. Going lower (30 PSI) leaves some bubbles visible. Going higher (50+ PSI) risks blowing out the gasket seals on unconverted pots, and the marginal improvement over 40 PSI is negligible. Stick with 40.
Does the type of resin affect bubble count? Yes. Lower-viscosity resins produce fewer bubbles because air escapes more easily. Unicone Art is a popular choice among dice makers specifically because of its low viscosity and self-leveling properties. Art ‘N Glow is thicker and more prone to trapping micro-bubbles, but many makers still prefer it for its UV stability. Whichever resin you use, warming it to 85°F before mixing is the single most effective way to reduce viscosity and bubbles. Check our dice making supplies guide for a full resin comparison.
Pressure Pots for Bubble-Free Dice
California Air Tools 255C Pressure Pot (2.5 gal)
Purpose-built for resin casting. Coated steel tank, portable. The #1 recommended pressure pot for dice makers.
Check Price on Amazon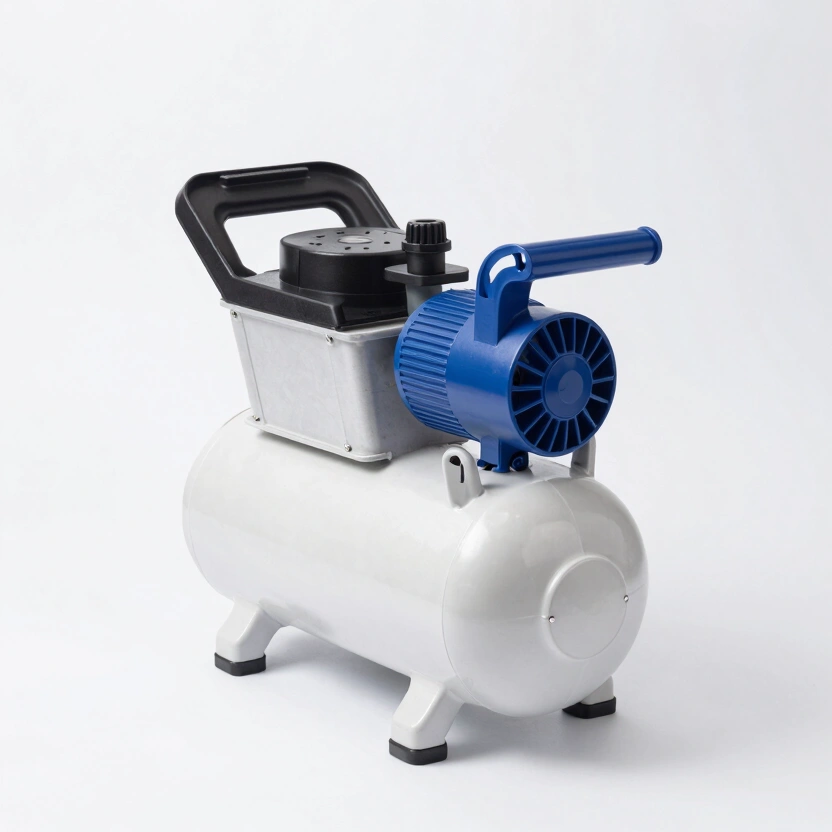
TCP Global 2.5 Gallon Pressure Pot
Heavy-duty steel with clamp lid, regulator, gauge. Budget-friendly alternative with spray gun included.
Check Price on Amazon* Affiliate links. Prices last updated March 6, 2026.
Your Next Step
Pick the bubble type that matches your current problem and fix that one thing on your next pour. Not all four — just one. If you have never warmed your resin, start there. If you are already warming but skipping the inclusion seal, add that step. Stacking fixes one at a time lets you see exactly which change made the difference, and that knowledge compounds with every batch. This weekend, run one test pour with the warm water bath at 85°F and the slow figure-8 stir. Count the bubbles. Then compare it to your last batch. The numbers will speak for themselves.
Related Articles
Resin Dice Problems: Every Issue I've Hit and How to Fix Them
Bubbles, sticky resin, yellowing, cloudy dice — practical fixes for the 7 most common resin dice problems from someone who has made every mistake.
Dice Making Techniques: 6 Methods from Basic Pours to Liquid Core
6 resin dice techniques ranked by difficulty with exact steps, materials, and failure points. Data from 200+ pours across petri, galaxy, inclusion, and liquid core methods.
How Long Does Resin Take to Cure? The Real Timeline for Dice Makers
Resin doesn't cure on your schedule. Here's the actual timeline for epoxy, UV, and polyurethane — and why rushing it ruins dice.