Sharp Edge Dice: Why They Cost More and How to Make Them
Most dice makers overcomplicate sharp edges. The real secret is patience, flat surfaces, and knowing when to stop sanding. Here's the full process.
Contents
I spent three months making dice before I held a sharp edge set in my hands for the first time. A friend had ordered a custom set from a small Etsy shop — deep ocean blue with gold leaf suspended inside, and every single edge looked like it had been cut from glass. I turned the d20 over in my fingers and felt each face meet the next at a clean, defined ridge. No softness. No rounding. Just geometry.
I went home and looked at my own dice — tumbled, slightly pillowy, perfectly fine for playing but visually a different species entirely. That was the night I started researching cap molds.
What Makes Sharp Edge Dice Different
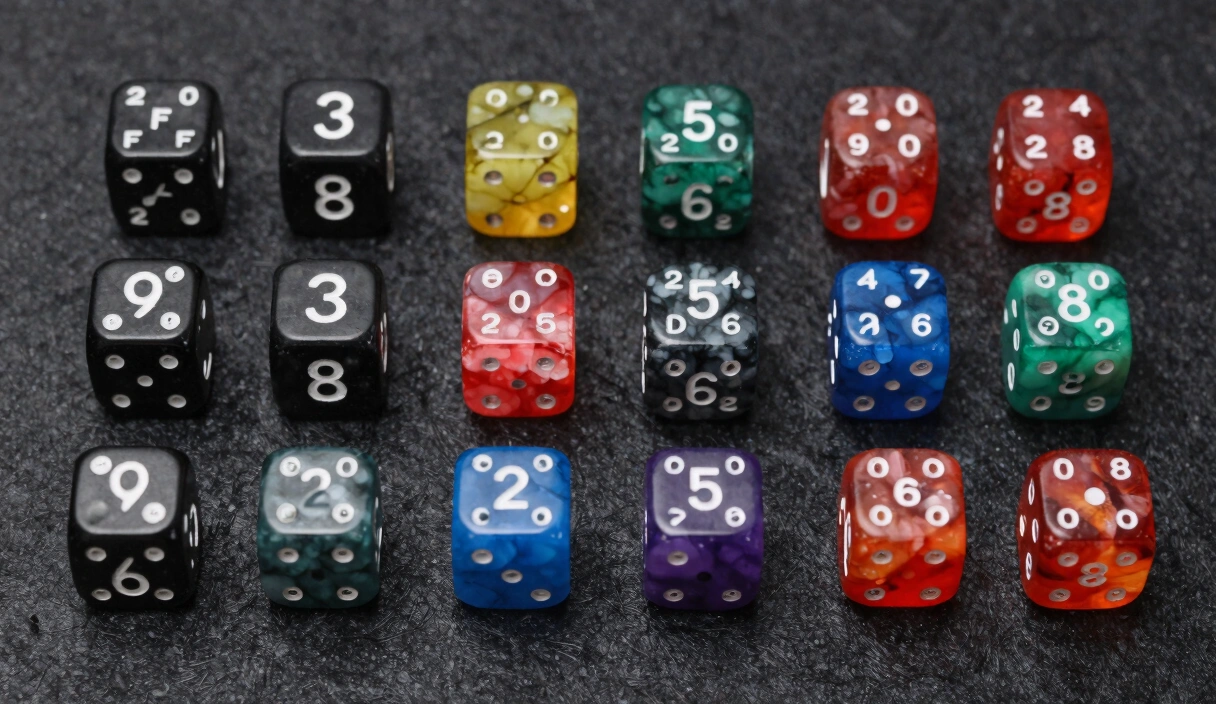
Standard resin dice go through a rock tumbler after demolding. The tumbler knocks off flash, smooths the sprue mark, and polishes every surface in one noisy, hands-off operation. It also rounds every edge and corner on the die. The result is a soft, forgiving shape that rolls easily and feels comfortable — but lacks the crisp definition of machine-made or hand-finished dice.
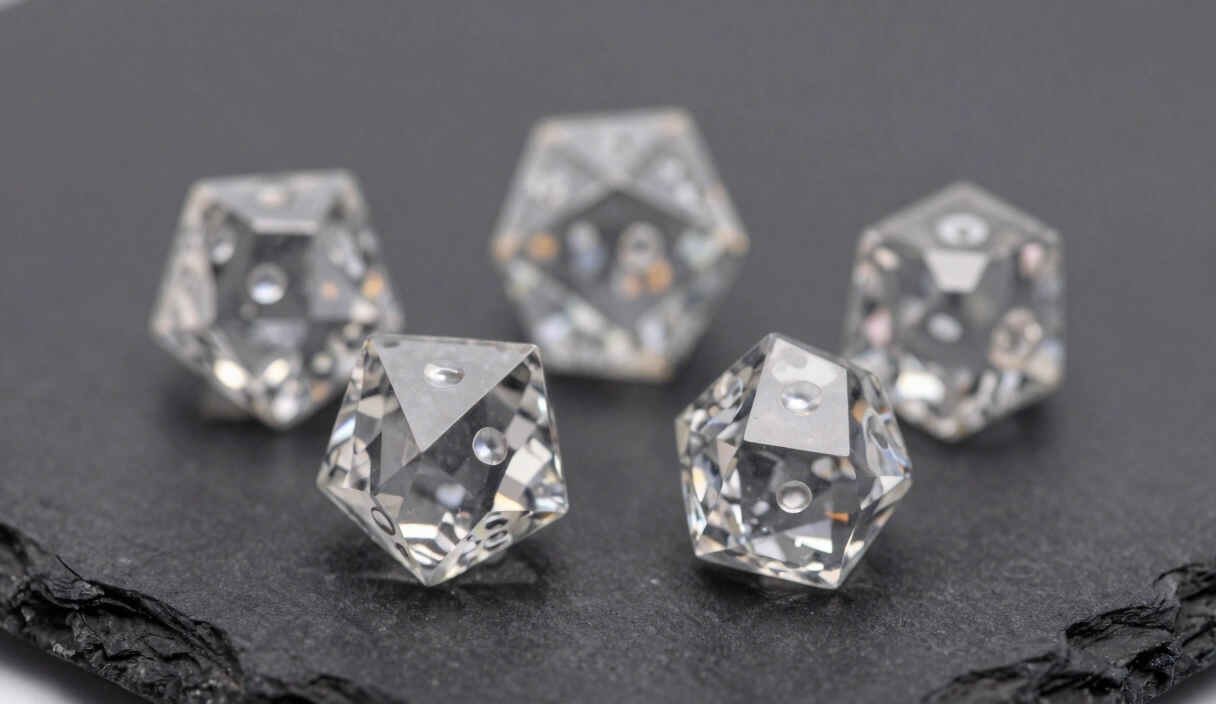
Sharp edge dice skip the tumbler entirely. Every face is hand-sanded flat. Every edge is left at its natural meeting point — the exact angle where two planes intersect. The corners stay pointed. The result is a die that looks like a tiny gemstone: reflective, precise, and almost architectural in its clarity.
You, the person holding a sharp edge d20, notice the difference immediately. Light catches the flat faces like tiny mirrors. The edges catch your fingertip as you rotate the die. There’s a visual sharpness that photographs exceptionally well, which is exactly why sharp edge sets dominate Instagram and Etsy listings.
Maker’s Note: I poured my first “sharp edge” set using the same slab molds I used for everything else, then tried to sand the faces flat by hand. The result looked like a die that had been attacked with a belt sander. The mold matters as much as the finishing. More on that next.
Mold Requirements for Sharp Edge Dice
You can technically sand any demolded die into sharp edges. In practice, starting with the right mold saves you hours of corrective sanding and produces dramatically better results.
Cap Molds Are the Standard
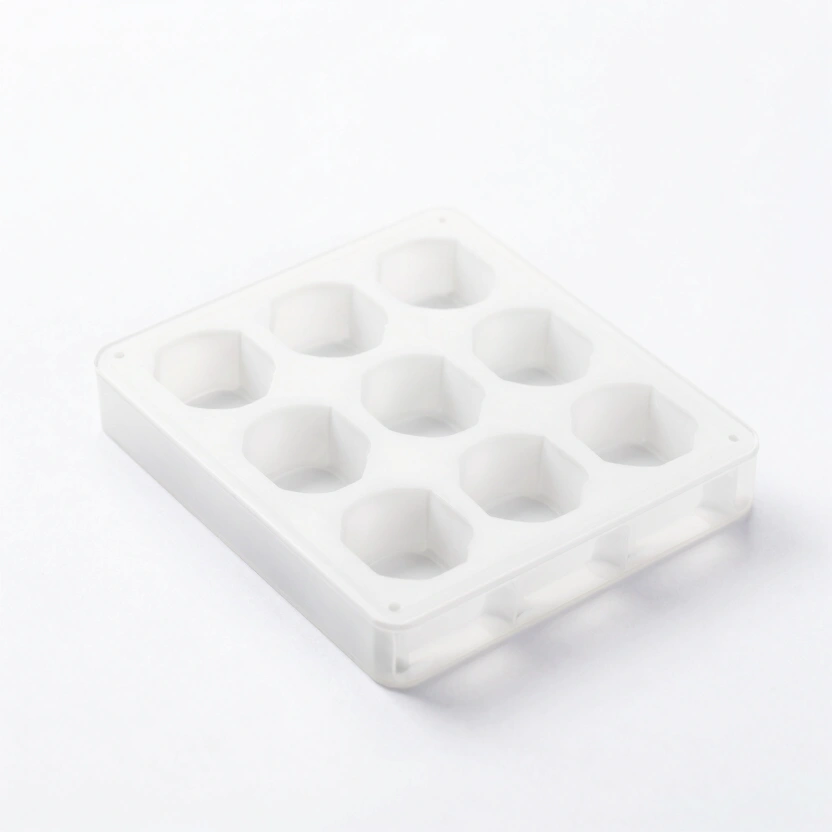
Cap molds (also called lid molds or two-part molds) are the preferred format for sharp edge dice. Unlike sprue molds where resin enters through a narrow channel on one face, cap molds have a flat, removable lid that covers an entire face of the die. You pour resin into the open cavity, place the cap on top, and cure under pressure.
The advantage: every face of the die is formed against a flat silicone surface. No sprue channel cuts across a face. No large gate mark to sand away. The only cleanup is the thin flash line where the cap meets the body of the mold — a hair-thin ridge of resin that peels or slices off cleanly.
If you haven’t built or bought cap molds yet, start with a quality silicone dice mold designed specifically for sharp edge work.
Silicone Hardness: Shore 15A
Mold silicone comes in various hardness ratings. For sharp edge dice, Shore 15A silicone hits the sweet spot. Softer silicone (Shore 10A or below) flexes too much during demolding, which can distort the edges of uncured or freshly cured resin. Harder silicone (Shore 20A and above) grips the die tighter and increases the risk of chipping corners during demolding.
Shore 15A gives you enough rigidity to maintain face flatness while still flexing enough to release the die without damage. Smooth-On Mold Star 15 SLOW is a common choice in the dice community for exactly this reason.
Alignment Matters
Cap mold alignment is critical. If the cap sits even slightly crooked, one face of the die will be thicker than the opposite face — and no amount of sanding fixes an asymmetric die without removing so much material that the numbers become shallow. Use registration keys (small bumps and corresponding indentations) molded into the cap and body to ensure the lid seats perfectly every time.
That satisfying click when a well-made cap mold snaps into alignment? That’s the sound of faces that will actually be parallel.
The Finishing Process
Here’s where sharp edge dice earn their reputation — and their price tag. The finishing process is entirely manual, and it’s where most of the labor hours go.
Step 1: Removing Flash
After demolding, your die will have a thin line of flash where the cap met the mold body. Use flush cutters to trim the flash as close to the die surface as possible without gouging the resin. Angle the flat side of the cutters against the die face.
Don’t try to peel flash off with your fingers. Peeling can lift small chips of resin from the edge, creating divots that require extra sanding to correct. Cut clean, cut close, move on.
Step 2: Flat Sanding on a Reference Surface
This is the step that separates sharp edge dice from “I tried to make sharp edge dice.” You need an absolutely flat reference surface — a piece of float glass (at least 6 inches by 6 inches, 1/4-inch thick) or a granite surface plate. Not your workbench. Not a cutting board. Glass or granite.
Tape your sandpaper directly to the glass surface. Place the die face-down on the sandpaper and sand using light, even pressure with your fingertip on top of the die. The goal is to remove material evenly across the entire face, keeping the face perfectly flat against the reference surface.
Sand each face individually. Start with 400-grit to remove any remaining flash, sprue marks, or surface imperfections. You’re not pressing hard — let the abrasive do the work. Heavy pressure tilts the die and rounds the edges, which defeats the entire purpose.
Step 3: Wet Sanding Progression
Once all six faces (or however many faces your die has — a d20 has twenty of them, and yes, you sand every single one) are flat at 400-grit, you begin the wet sanding progression.
The standard sequence: 400, 600, 800, 1000, 1500, 2000, 2500, 3000, 5000, 8000, 12000 grit.
Wet sand with water at every stage. The water acts as a lubricant, reduces heat buildup, and carries away resin particles that would otherwise clog the sandpaper and create scratches. Dip the die frequently. Keep the sandpaper wet.
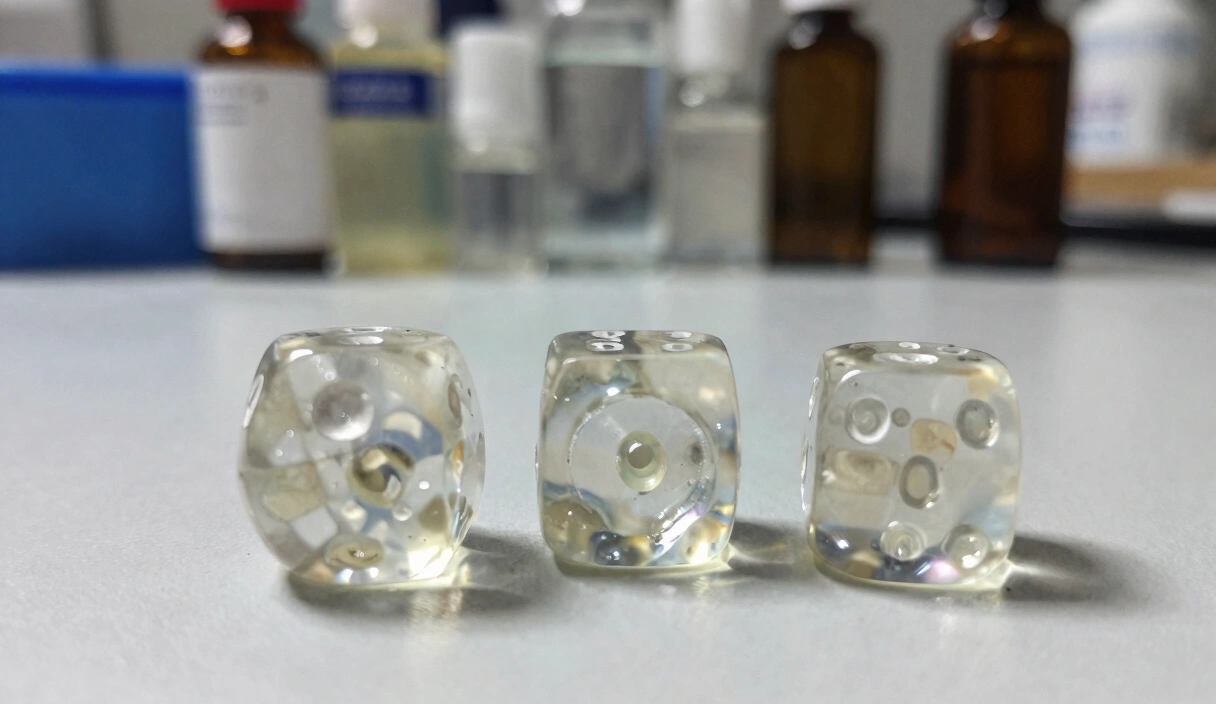
Each grit level removes the scratch pattern left by the previous grit. At 400, you’ll see visible scratches. By 2000, the surface looks hazy but smooth. By 5000, it starts to develop a shine. At 12000, if you’ve done every step correctly, the face is optically clear — you can read text through it.
Scene: Picture yourself two hours into finishing a single d20. Your fingers are pruney from the water. There are eleven tiny squares of sandpaper in various grits spread across your glass plate. You pick up the die, hold it to the light, and — there it is. One face so clear it reflects your ceiling light like a window. Nineteen more to go. This is why sharp edge dice cost what they cost.
Skip a grit step, and you’ll see it. The scratches from a coarser grit don’t come out at higher grits — they just get polished into shiny scratches. The progression is non-negotiable. For more detail on the polishing stages beyond 12000, see our guide to polishing dice.
Common Sharp Edge Problems
Sharp edge dice punish mistakes that tumbled dice hide. Here are the problems you’ll encounter and how to address them.
Chipping During Demold
The most frustrating failure in sharp edge work. You open the mold and a corner has a tiny chip missing — a crescent of resin left behind in the silicone. Causes: demolding too early (the resin hasn’t reached full hardness), silicone that’s too rigid, or pulling the mold open too aggressively.
Fix: let your resin cure the full recommended time. For Unicone, that means a full 24 hours at 40 PSI, then another 24 hours at room temperature before demolding. The resin needs to reach full Shore D hardness before you stress those thin corners. Flex the mold slowly and evenly — think of it like peeling off a bandage, not ripping off a lid.
Uneven Faces
Hold the die at eye level and rotate it slowly. If any face looks like it’s at a slightly different angle than its neighbors, you sanded unevenly. This happens when you apply more pressure to one side of the die during sanding, or when your reference surface isn’t truly flat.
Test your glass plate with a straightedge. If it’s warped — and cheap glass can warp — your “flat” reference is lying to you. Granite surface plates from Amazon or a machinist supplier run $15 to $30 for a 6-by-6-inch plate and they’re flat to within thousandths of an inch.
If you’re concerned about balance after finishing, run a dice balance test in saturated salt water. Uneven faces mean uneven weight distribution, and that means a biased die.
Rounded Corners from Over-Sanding
Here’s the irony that drives sharp edge makers up the wall: the more carefully you sand, the more likely you are to round the corners. Every pass across the sandpaper removes a tiny amount of material from the edges and corners. Over hundreds of passes across eleven grits, those micro-removals accumulate into visible rounding.
The fix is counterintuitive. Sand less, not more. Use the minimum number of passes at each grit to remove the previous grit’s scratch pattern and no more. Check your work frequently under a bright, angled light. The moment the scratches from the previous grit disappear, move to the next grit. Every extra pass is stealing sharpness from your edges.
Sharp Edge vs. Rounded: Which Is Better for Play?
You knew this question was coming. And the answer is going to annoy people on both sides.
Balance
A well-made sharp edge die is more balanced than a tumbled die. Tumbling removes material unevenly — faces with more flash lose more material, corners that protrude get worn down faster. The result is subtle weight asymmetry. Hand-sanding each face individually on a flat reference surface gives you control over exactly how much material comes off each face.
That said, the balance difference is small enough that it won’t meaningfully affect your D&D session. We’re talking about fractions of a gram of asymmetry. If you want your dice to be as fair as possible, sharp edge is technically superior — but no one is losing campaigns because of tumbler bias.
Rolling Characteristics
Sharp edge dice don’t roll as far or as freely as rounded dice. Those crisp edges catch on felt, fabric, and wooden table surfaces. They tend to stop more abruptly and slide rather than tumble across the last few inches. Some players prefer this — less chasing dice across the table. Others find it unsatisfying. Personal preference, full stop.
Direct note to you: if you’re making dice for sale, know that roughly half your customers will love the way sharp edges feel in their hands, and the other half will roll them once on a wood table and wince at the scratch marks. Include a rolling tray recommendation with every sharp edge set you sell. Your customer service inbox will thank you.
Surface Damage
Sharp edge dice are more fragile than rounded dice. Those glass-like edges can chip if dropped on a hard surface. The pointed corners are especially vulnerable — a waist-height drop onto tile will almost certainly damage at least one corner. This is a display-quality product as much as a functional one. Rolling trays, dice vaults, and padded storage aren’t optional accessories for sharp edge sets. They’re necessities.
Pricing Sharp Edge Dice
If you’ve read this far, you understand why sharp edge dice cost $50 to $100 or more per set. But let’s put actual numbers on it.
Time Investment
A standard 7-piece polyhedral set contains a d4, d6, d8, d10, d10 (percentile), d12, and d20. That’s 4 + 6 + 8 + 10 + 10 + 12 + 20 = 70 individual faces to sand through the full 400-to-12000 grit progression.
At roughly 2 minutes per face per grit stage across 11 stages, that’s approximately 2 x 70 x 11 = 1,540 minutes. Over 25 hours of sanding alone — not counting demolding, flash removal, sprue cleanup, final polishing, inking numbers, or quality inspection.
Even at a modest $15 per hour for labor (well below what skilled craft work should command), sanding alone costs $375 in time. Add resin ($5 to $10 per set), silicone mold amortization, polishing compound, sandpaper consumption, and packaging — and you begin to see why $50 to $100 is not a luxury markup. It’s barely covering costs.
Budget Reality: If you want to make sharp edge dice to sell, your first 10 sets will take twice as long as your 50th set. Price for your current speed, not your future speed. Underpricing handmade sharp edge dice is the fastest way to burn out and quit the hobby entirely.
For context on where sharp edge fits in the broader landscape of dice making techniques, it’s one of the most time-intensive finishing methods — but also one of the most visually rewarding and commercially viable. If you’re just getting started, learn the fundamentals first with our beginner guide to making dice before committing to sharp edge finishing.
Frequently Asked Questions
Can I use a rock tumbler to partially polish sharp edge dice?
No. Any time in a tumbler rounds the edges. Even 10 minutes of tumbling will soften your corners noticeably. Sharp edge dice are hand-finished from demolding through final polish. The only powered tool some makers use is a Dremel with a polishing pad for the final buffing stage — and even that requires a light touch to avoid rounding edges.
What resin works best for sharp edge dice?
You want a resin that cures to a high Shore D hardness — Shore D 80 or above. Softer resins are more prone to chipping during demolding and scratching during use. Unicone Art Epoxy and Art ‘N Glow both cure hard enough for sharp edge work. Some makers use UV resin for sharp edge dice because it cures faster and reaches full hardness more quickly, but UV resin introduces its own complications with yellowing and depth-of-cure limitations in opaque pours.
How do I ink the numbers on sharp edge dice without ruining the finish?
Use acrylic paint or Citadel paint (from the miniature painting world). Apply paint generously into the number recesses with a fine brush, let it dry for 30 minutes, then wipe the excess from the flat faces with a microfiber cloth dampened with a tiny amount of isopropyl alcohol. The alcohol removes paint from the polished flat surfaces but leaves the recessed numbers filled. Work one face at a time and wipe gently — aggressive rubbing can dull your 12000-grit polish.
Do sharp edge dice need special storage?
Yes. Store sharp edge dice so they don’t contact each other or hard surfaces. Individual felt-lined slots, foam inserts, or padded dice vaults all work. Tossing a sharp edge set loose into a Crown Royal bag — the classic dice-goblin move — will chip edges within a week. The dice survived 25 hours of hand sanding. They deserve better than a bag.
Sharp Edge Dice Supplies
CZYY Sharp Edge Dice Mold (7 Shapes)
Precision slab-style molds for sharp-edge dice. Popular on r/DiceMaking. Requires careful demolding.
Check Price on Amazon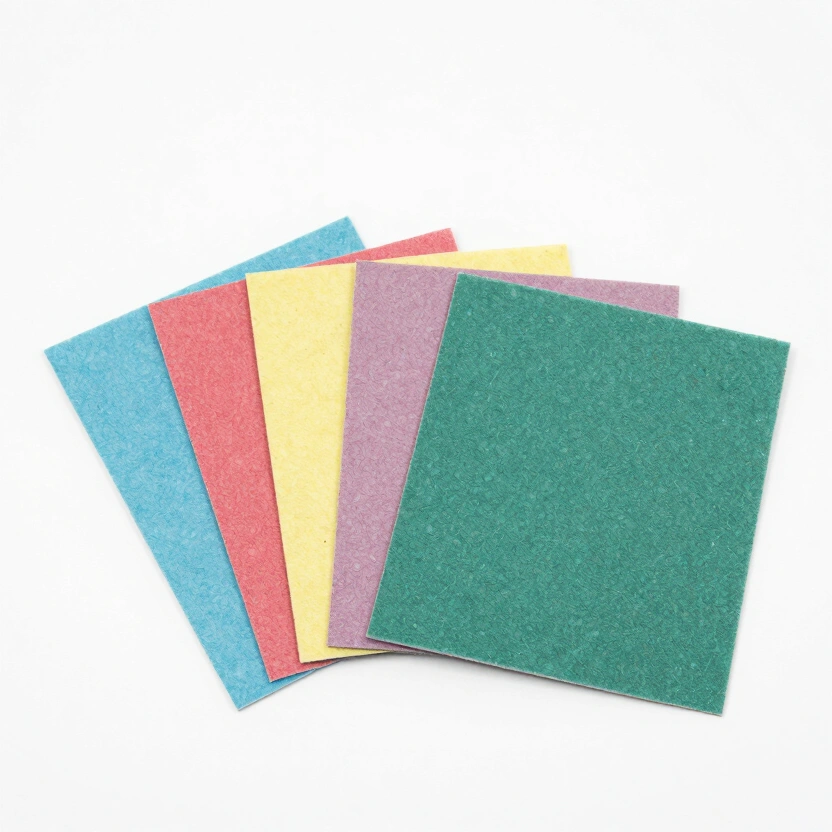
Zona 37-948 Polishing Paper Assortment (1-30 Micron)
6 progressive grits from 30µ to 1µ. The gold standard for hand-polishing sharp-edge dice to glass clarity.
Check Price on Amazon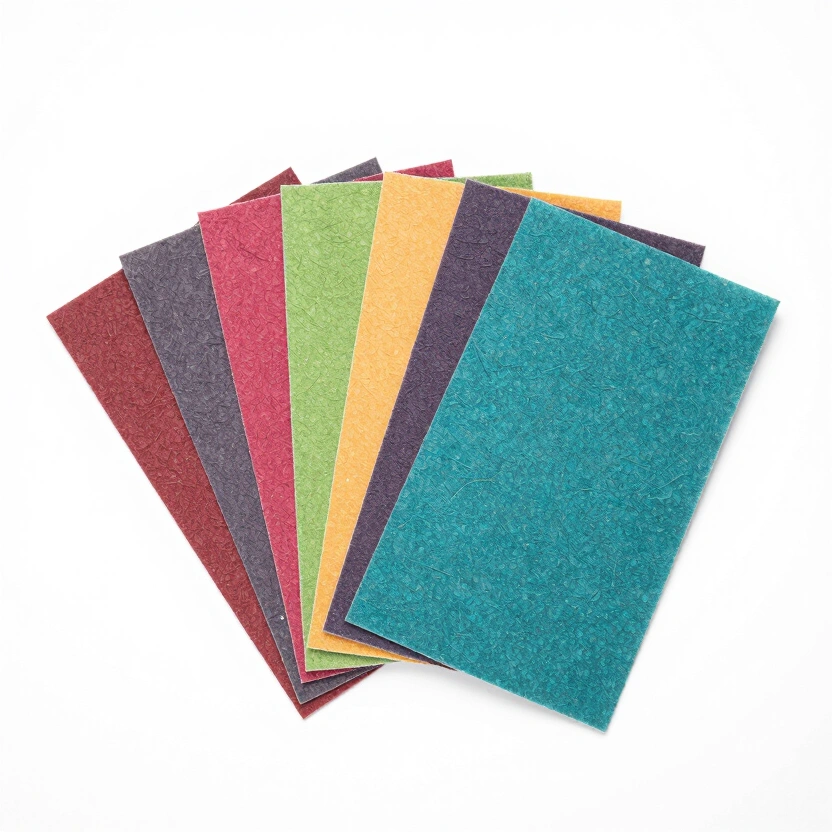
Ultra Fine Wet/Dry Sandpaper (120-10000 Grit)
Wide grit range for resin sanding. Start coarse, work up to mirror finish. 9x3.6 inch sheets.
Check Price on Amazon* Affiliate links. Prices last updated March 6, 2026.
Sharp edge dice are slow, demanding, and occasionally maddening work. But there’s a reason makers keep coming back to them — and a reason collectors pay premium prices for sets that catch light like cut crystal. If you’ve been making tumbled dice and wondering what the next challenge looks like, this is it. Start with one set. Buy good sandpaper, find a flat piece of glass, and budget a weekend. Your first set won’t be perfect. Your fifth set will surprise you. And somewhere around your twentieth set, you’ll hold a d20 up to the light, see your reflection in one of those hand-polished faces, and understand exactly why people do this.
Related Articles
Dice Making Techniques: 6 Methods from Basic Pours to Liquid Core
6 resin dice techniques ranked by difficulty with exact steps, materials, and failure points. Data from 200+ pours across petri, galaxy, inclusion, and liquid core methods.
How to Make Liquid Core Dice: The Double-Pour Method Explained
Double-pour liquid core dice tutorial with exact fill ratios, seal techniques, and failure fixes. 73% of first attempts leak — here's how to beat those odds.
Petri Dice: How to Get Those Swirling Ink Tendrils Every Time
Step-by-step petri dice technique with exact ink drops, white pigment ratios, and pressure settings. Fix muddy colors, sinking ink, and missing blooms.