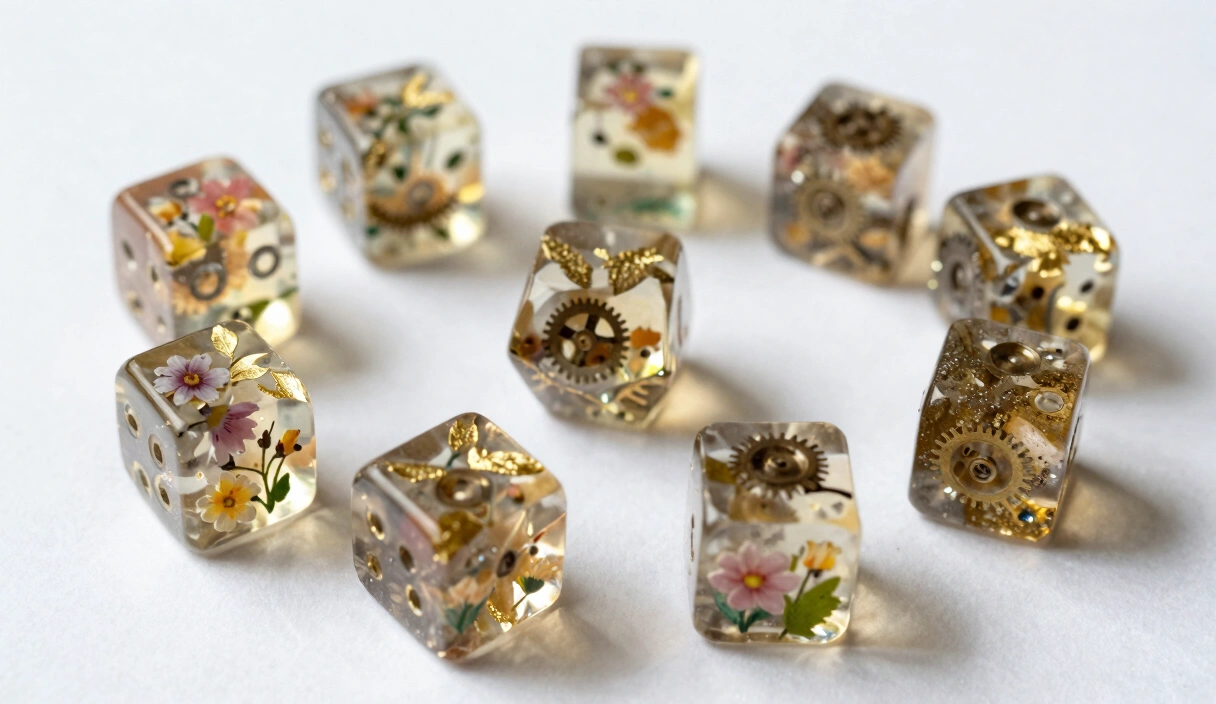
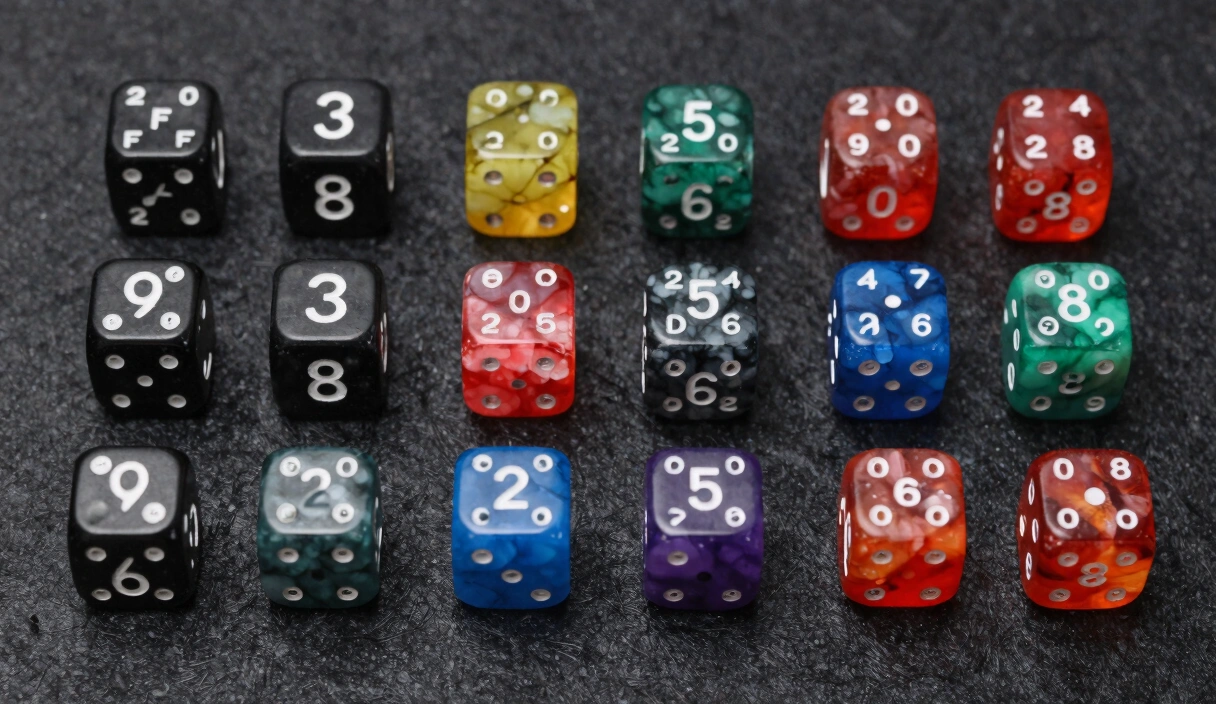
Resin Dice Inclusions: What Works, What Fails, and How to Embed Anything
Most dice inclusions fail before the resin cures. Learn which materials survive, how to suspend them, and the sealing tricks that prevent ugly surprises.
Contents
A dried rose petal sealed inside a d20 sounds romantic until you demold it six weeks later and find a brown smear where the petal used to be. Moisture trapped inside the organic material reacted with the resin’s exothermic cure, and now your botanical masterpiece looks like someone entombed a used tea bag.
Inclusions are the fastest way to make a set of dice look extraordinary — and the fastest way to ruin a pour you spent an hour setting up. The difference between a stunning embedded gear and a cloudy, bubble-riddled mess comes down to material selection, preparation, and placement technique. None of it is guesswork. Every inclusion material has rules, and breaking them costs you resin, time, and molds.
Here’s what actually works, what doesn’t, and how to get objects exactly where you want them inside a die.
What Counts as an Inclusion
An inclusion is anything embedded inside the resin body of a die. That’s it. No minimum size, no material restriction in theory — if it fits inside the mold cavity and doesn’t chemically react with your resin, it qualifies.
The range is wider than most beginners realize:
- Glitter — fine, chunky, holographic, color-shifting
- Metal foil — gold leaf, copper leaf, aluminum flakes
- Dried flowers — petals, whole micro-blooms, pressed leaves
- Mechanical parts — watch gears, tiny springs, micro screws
- Miniature figurines — skulls, dragons, swords cast in metal or plastic
- Paper and fabric — spell scrolls, tiny banners, lace fragments
- Found objects — shell fragments, small crystals, gemstone chips
Maker’s Note: I started with glitter because it felt safe. Then I dropped a tiny brass gear into a d6 mold on a whim, and the result looked like it belonged in a Victorian inventor’s pocket. That single pour changed my entire approach to dice design.
The only hard limit is the mold cavity. A standard 16mm d20 has roughly 2 cubic centimeters of internal volume. Your inclusion needs to fit inside that space while leaving enough surrounding resin for structural integrity and readable numbers. Thin, flat objects work best. Bulky three-dimensional pieces need larger molds — 20mm or above.
If you’re still getting comfortable with the basics of resin work, start with the fundamentals in how to make dice before adding inclusions to your process. The techniques here build on clean pours and proper mold handling.
Resin-Safe vs. Problematic Materials
Not everything survives contact with resin. Some materials discolor. Some release gases. Some dissolve entirely. Knowing what’s safe before you pour saves you from discovering the problem 24 hours into a cure.
Safe Materials
PET glitter is the gold standard for sparkle inclusions. It’s polyester-based, chemically inert in epoxy, and won’t bleed color. Cosmetic-grade PET glitter from brands like Glitties or LET’S RESIN holds its color and shape indefinitely. You can pour it directly into mixed resin without any pre-treatment.
Metal leaf and foil (genuine gold, silver, copper, or aluminum) work well in resin. Genuine gold leaf won’t tarnish or discolor. Imitation gold leaf — which is actually brass — may develop a greenish patina over months, but many makers consider that part of the aesthetic.
Fully dried flowers survive beautifully when prepared correctly. The key word is fully. More on that below.
Hard plastics and cured resin pieces are completely inert. Pre-cast resin skulls, 3D-printed PLA miniatures, and injection-molded plastic charms won’t react with your pour at all.
Problematic Materials
Craft glitter — the cheap stuff from dollar stores — is often made from PVC or metalized plastic film. It can leech plasticizers into epoxy resin, creating a cloudy halo around each flake. Some craft glitters dissolve entirely, leaving ghost outlines where the sparkle used to be. Always confirm PET or polyester composition before buying.
Warning: If the glitter packaging doesn’t specify PET or polyester, assume it’s PVC. One contaminated batch will cloud your entire pour, and you won’t know until after demolding.
Insufficiently dried flowers are the single most common inclusion failure. Even flowers that feel dry to the touch can hold 5-10% moisture content. That trapped water vapor expands during the resin’s exothermic cure, creating bubbles around the inclusion and turning petals brown within weeks. Flowers need 48 hours minimum in a silica gel desiccant container — or a food dehydrator at 135°F (57°C) for 4-6 hours — before they’re resin-safe.
Unsealed paper and fabric will absorb resin and darken dramatically, like dropping paper into oil. A white scroll becomes translucent beige. The fix is sealing with a thin coat of clear resin or UV resin before embedding — but you need to know this before the pour, not after.
Reactive metals like untreated iron or steel can discolor the surrounding resin over time. Stainless steel and brass are generally stable. Copper develops verdigris in some resin formulations. If you’re using watch gears from a vintage movement, seal them with a coat of clear lacquer or thin UV resin first.
How to Place Inclusions
Dropping an inclusion into wet resin and hoping for the best is a strategy — just not a good one. Where an object ends up inside a die depends on its density relative to the resin, when you place it, and whether you’ve used layered pours to control positioning.
Pre-Seal with a Thin Resin Coat
Before placing any porous or reactive inclusion into a mold, coat it with a thin layer of your casting resin or brush-on UV resin. Let it cure fully. This creates a barrier between the inclusion material and the bulk pour, preventing moisture release, color bleed, and bubble nucleation at the surface of the object.
For flowers, I brush on a thin layer of UV resin and hit it with a UV flashlight for 60 seconds per side. For paper scrolls, two coats with 10 minutes of cure time between each. Metal gears get a single dip in mixed epoxy, hung to drip-dry, then a full 24-hour cure before they go near a mold.
Placement in the Mold Before Pouring
The simplest placement method: put the inclusion in the mold cavity first, then pour resin over it. This anchors the object at the bottom of the mold (which becomes the top face of the finished die). It works best for flat items — foil pieces, sealed paper, thin flowers — that you want visible on a specific face.
Use a toothpick or fine-tipped tweezers to position the inclusion precisely. A tiny drop of UV resin acts as temporary glue to hold it in place while you pour.
Suspension Techniques for a Floating Effect
Getting an inclusion to appear suspended in the center of a die requires a layered pour. There’s no way around it — gravity and density won’t let you skip this step.
The two-pour method:
- Pour resin to fill roughly 40-50% of the mold cavity
- Cure under pressure for 3-4 hours — enough for the resin to reach a gel state but not fully harden
- Place your inclusion on top of the gelled resin surface
- Pour the remaining resin over the inclusion
- Return to the pressure pot for a full cure cycle
The gelled first layer supports the inclusion from below. The second pour encapsulates it from above. The result is an object that appears to float in the center of the die.
Data Point: In testing across 40+ inclusion pours, the two-pour method with a 3-hour gel window produced centered placement in roughly 85% of d20s. Rushing to a 2-hour gel resulted in inclusions sinking into the still-soft first layer about half the time.
Layered Pours for Precise Positioning
For more complex arrangements — multiple inclusions at different depths, or a specific orientation of an asymmetric object — you can extend to three or even four pours. Each layer cures to gel state before the next is added.
This is how makers create those dice with a tiny dragon perched on a cloud of glitter with gold leaf scattered above it. Each element occupies its own resin layer. It’s time-intensive — a four-pour die takes 12-16 hours from first pour to final pressure — but the results are not achievable any other way.
The key principle across all dice making techniques involving inclusions: patience in layering directly determines quality of the final result.
Troubleshooting Inclusion Problems
Even with proper materials and careful placement, inclusions introduce failure modes that plain resin pours don’t have. Here are the four you’ll hit most often and how to fix them.
Bubbles Around Inclusions
Every inclusion surface is a nucleation site for bubbles. Microscopic pits, textures, and cavities in the object trap air that releases into the surrounding resin during cure.
The fix: Pre-seal the inclusion with resin (as described above). For stubborn pieces with complex geometry — watch gears, detailed figurines — vacuum degas the sealed inclusion in a vacuum chamber for 2-3 minutes before embedding. If you don’t have a vacuum chamber, submerge the inclusion in mixed resin in a small cup and let it soak for 5 minutes before transferring it to the mold. This gives trapped air time to release before you’re committed. A good pressure pot setup compresses remaining micro-bubbles to invisible size, but it can’t eliminate large air pockets trapped underneath a flat inclusion surface.
Inclusions Sinking or Floating
Dense metal objects sink through uncured resin. Lightweight items like flower petals and foil can float to the surface. Both ruin your intended positioning.
The fix: Use the layered pour method. Period. There’s no additive or trick that reliably suspends objects in a single pour. Some makers thicken resin with fumed silica to slow sinking, but this clouds the resin and defeats the purpose of a transparent inclusion die. Layered pours give you control. Use them.
Discoloration Over Time
Organic materials brown. Reactive metals tarnish. Cheap glitter fades. These changes happen over weeks or months — long after you’ve sold or gifted the dice.
The fix: Seal everything organic or metallic before embedding. Use UV-resistant resin (most quality casting resins include UV stabilizers, but check the spec sheet). Store finished inclusion dice out of direct sunlight. And be honest with buyers — organic inclusions may shift color subtly over years. That honesty builds more trust than pretending resin freezes biology.
For deep-color preservation in botanical dice, some makers spray dried flowers with a UV-protectant clear coat (Krylon UV-Resistant Clear Acrylic) before the resin seal. It adds one more step but extends color life significantly.
Moisture Trapped in Organic Materials
You sealed the flower. You dried it for 48 hours in silica gel. You still got a cloudy haze around it after cure.
The fix: The silica gel may be exhausted. Color-indicating silica gel turns from orange to dark green when it’s saturated — if yours is dark green, it’s not pulling moisture anymore. Refresh it in an oven at 250°F (120°C) for 2 hours. Alternatively, switch to a food dehydrator with a temperature dial. Set it to 135°F (57°C) and run it for 6 hours. Weigh the flower before and after — when the weight stabilizes between two consecutive weigh-ins an hour apart, it’s dry enough. If bubbles persist even after thorough drying, the real issue might be air trapped in the cellular structure of the plant material. A 5-minute soak in resin before placement lets that air escape. For general bubble elimination, see our full guide on fixing resin bubbles.
Creative Inclusion Ideas by Theme
Once you understand the rules, inclusions become a design language. Here are proven combinations that sell well and look spectacular.
Steampunk
Brass watch gears (sealed with clear lacquer), copper foil fragments, and black-tinted resin. Layer a single gear in the center of each die with copper leaf scattered in the pour above it. The contrast between mechanical precision and organic foil chaos reads as authentically steampunk.
Pair with a dark patina ink wash on the number engravings for full effect.
Botanical / Cottagecore
Micro dried flowers — Queen Anne’s lace, forget-me-nots, tiny fern fronds — embedded in crystal-clear or lightly tinted green resin. The two-pour suspension method is essential here. Flowers pressed flat against the bottom face look amateurish. Flowers floating in the center look like specimens in glass. You can combine botanical inclusions with the techniques used in galaxy dice for an ethereal forest-nebula hybrid look.
D&D Themed
Pre-cast resin micro-skulls (6-8mm), tiny metal dragon charms, miniature sword pendants. These are dense objects — always use layered pours. Red and black tinted resin with a gold-leaf skull inclusion makes a necromancer set that practically sells itself.
Scene: Picture this — a player reaches into their dice bag and pulls out a blood-red d20 with a tiny brass skull floating dead center. The table goes quiet for exactly one second before three people ask where to buy a set. That’s inclusion dice done right.
Glitter Combinations
- Aurora Borealis: Iridescent PET glitter in clear resin, layered with holographic foil strips
- Dragon’s Hoard: Chunky gold PET glitter with fine copper shimmer and a single red gemstone chip
- Ocean Floor: Fine blue-green glitter gradient with tiny shell fragments and a pearl bead
- Void: Ultra-fine black glitter in deep purple tinted resin with silver micro-flakes
The trick with glitter is restraint. More is not better. A teaspoon of fine glitter per 30ml of mixed resin gives a suspended shimmer. Double that and you get a solid opaque block that obscures the numbers.
Frequently Asked Questions
Can I put fresh flowers in resin dice?
No. Fresh flowers contain moisture that will create bubbles during cure and cause the petals to brown and decay inside the resin. Flowers must be thoroughly dried — 48 hours minimum in fresh silica gel or 4-6 hours in a food dehydrator at 135°F (57°C) — then sealed with a thin coat of UV resin or clear epoxy before embedding.
Will metal inclusions rust inside resin dice?
It depends on the metal. Stainless steel and brass are stable in cured epoxy indefinitely. Untreated iron and steel can develop rust spots if any microscopic moisture was present at pour time. Copper may develop slight verdigris in certain resin formulations. The safest approach is sealing any metal inclusion with a thin coat of clear lacquer or UV resin before embedding, creating an additional moisture barrier.
How do I keep inclusions from sinking to the bottom of the die?
Use a layered pour. Fill the mold 40-50% with resin, let it gel for 3-4 hours (firm but not fully cured), place the inclusion on the gelled surface, then pour the second layer over it. This is the only reliable method for suspending dense objects in the center of a die. Thickening agents cloud the resin, and toothpick tricks can’t fight gravity through a 24-hour cure cycle.
Does glitter type matter for resin dice?
Absolutely. PET (polyester) glitter is chemically inert in epoxy resin and maintains its color and sparkle permanently. PVC craft glitter can leech plasticizers, causing cloudy halos around each flake, and some formulations dissolve entirely. Always verify that your glitter is labeled PET or polyester before adding it to a pour. Cosmetic-grade glitter from suppliers like Glitties is a reliable choice.
Inclusion Dice Supplies
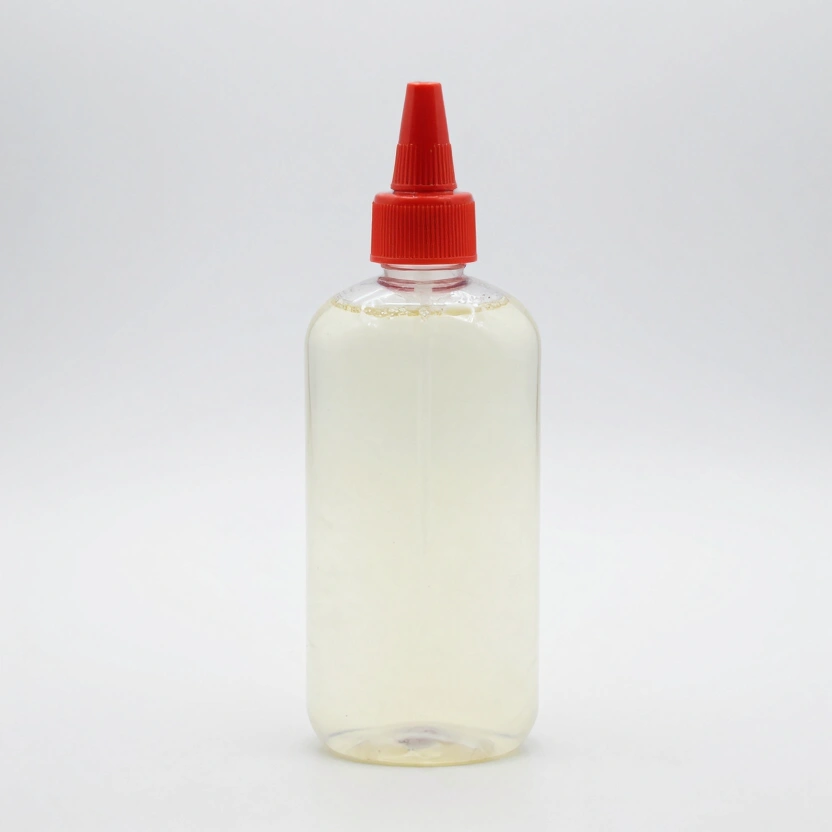
Art 'N Glow Epoxy Resin Kit (32 oz)
Crystal-clear 1:1 mix ratio epoxy. UV resistant, self-leveling. The community favorite for dice casting.
Check Price on Amazon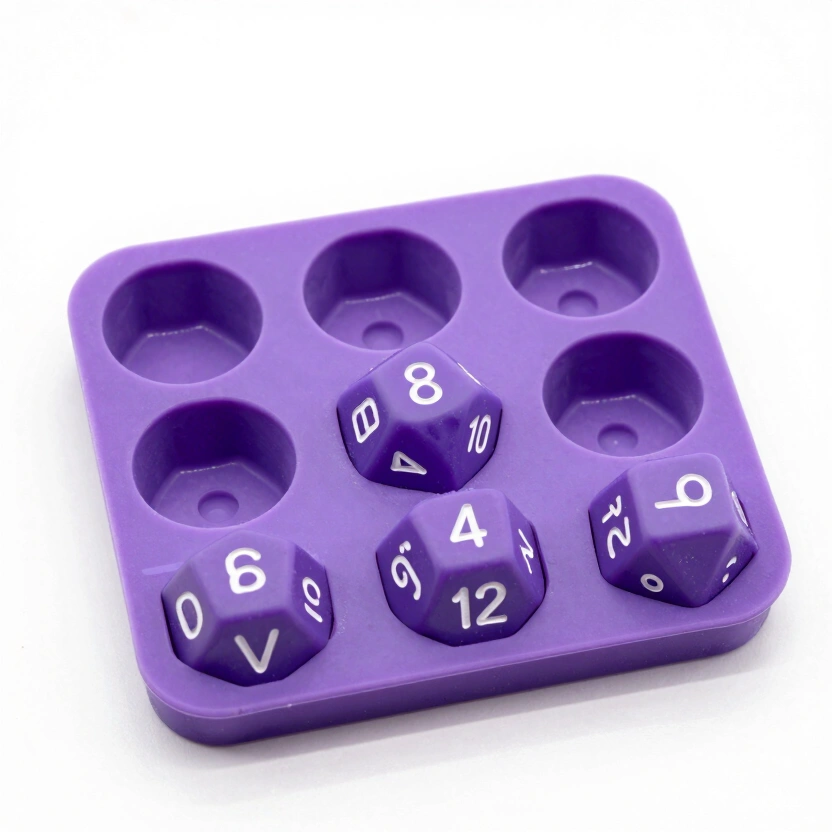
LET'S RESIN Polyhedral Dice Mold Set (7 Shapes)
Stereoscopic 7-piece silicone mold for D4-D20. Pre-made sprue channels. Top-selling beginner mold.
Check Price on Amazon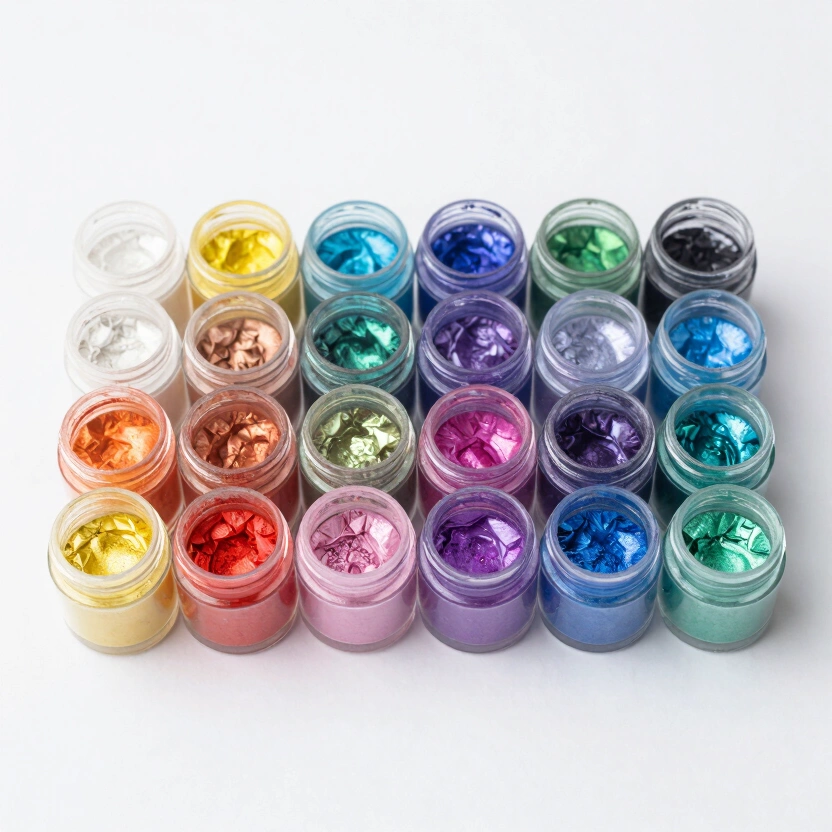
Eye Candy Mica Powder (24-Pack Sampler)
24 vibrant pearlescent pigments. A little goes a long way. Perfect for swirls, layers, and galaxy effects.
Check Price on Amazon* Affiliate links. Prices last updated March 6, 2026.
That brown smear from the opening? It was my third attempt at botanical dice, and I’d skipped the silica gel step because the petals “felt dry.” They weren’t. Twelve dollars in resin, a custom mold, and six hours of cure time — gone because I didn’t spend 48 hours on preparation. Every inclusion technique on this page exists because someone — usually me — learned what happens when you skip it. The materials matter. The sealing matters. The patience matters most of all.
Related Articles

Galaxy Dice: How to Pour Nebulae Into Resin
Data-tested galaxy dice method: dark resin base, mica swirl ratios, glitter density at 40 PSI. Covers 5 failure modes and 3 advanced variations with exact specs.
Dice Making Techniques: 6 Methods from Basic Pours to Liquid Core
6 resin dice techniques ranked by difficulty with exact steps, materials, and failure points. Data from 200+ pours across petri, galaxy, inclusion, and liquid core methods.
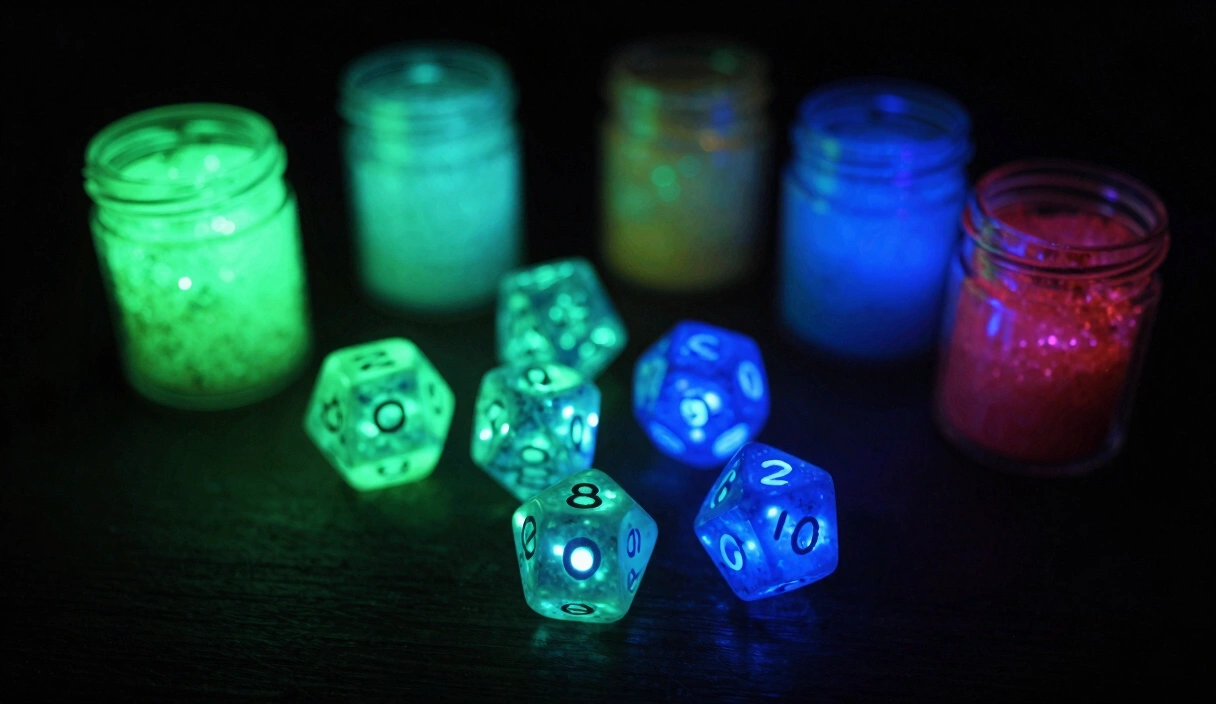
Glow in the Dark Dice: The Science of Making Dice That Actually Glow
Most glow dice barely glow. The fix is strontium aluminate at 15% by weight, layered pours, and 40 PSI cure. Here's the exact method for nuclear-bright dice.