Dice Making Techniques: 6 Methods from Basic Pours to Liquid Core
6 resin dice techniques ranked by difficulty with exact steps, materials, and failure points. Data from 200+ pours across petri, galaxy, inclusion, and liquid core methods.
Contents
Most dice makers learn techniques in the wrong order. They watch a liquid core tutorial on TikTok, buy $200 in supplies, and end up with a hollow ball of regret leaking mineral oil onto their desk. The makers who actually produce sellable dice? They master one technique before touching the next — and the progression matters more than most people realize.
I’ve poured somewhere north of 200 sets across every technique on this list. What follows is the exact order I’d follow if I started over, with the specific materials, measurements, and mistakes that cost me time and resin along the way.
Basic Single-Pour Technique
Difficulty: 1/5 Materials: Epoxy resin (Unicone or Art ‘N Glow), mica powder or resin pigment paste, silicone dice mold, mixing cups, stir stick, nitrile gloves, respirator
The single-pour is where every dice maker should start — and honestly, where some of the most beautiful dice live. A perfectly executed solid-color set with sharp, clear numbers beats a sloppy petri pour every time.
Maker’s Note: I wasted my first three batches using craft store resin. Save yourself the headache — Unicone or Art ‘N Glow are formulated for casting, not coating. The viscosity difference alone changes everything.
Step-by-Step
- Measure resin by weight. A digital scale accurate to 0.1 grams beats eyeballing volume marks on a cup. Mix your Part A and Part B at the manufacturer’s exact ratio — for Unicone, that’s 100:84 by weight.
- Stir slowly for 3 to 4 minutes. Scrape the sides and bottom of the cup. You’re not whipping cream — slow, deliberate folds. Fast stirring introduces bubbles you’ll spend the next 24 hours regretting.
- Add colorant. For mica powder (Eye Candy Pigments or Solar Color Dust), start with 1/4 teaspoon per 30 ml of mixed resin. For pigment paste, a rice-grain-sized drop. You can always add more; you can’t subtract.
- Pour into molds. Fill each cavity to just above the mold line. Slight overpour is better than underpour — you’ll sand the excess off the sprue face later.
- Pressure pot at 40 PSI for the full cure time. Not 30 PSI — at 30, bubbles compress to roughly 0.3 mm, still visible to the naked eye. At 40, they shrink below 0.1 mm. Invisible. Leave the pot sealed for a minimum of 24 hours with Unicone, 72 hours with Art ‘N Glow.
Common Mistakes
- Mixing too fast. The number one beginner error. If your resin looks foamy after mixing, you’ve already lost. Slow down.
- Demolding too early. Resin that feels solid can still be soft inside. A premature demold means warped faces and sticky spots that never fully cure.
- Skipping the pressure pot. Open pours are possible with cap molds, but if you’re serious about selling dice or even gifting them, bubble-free results require pressure. There’s no shortcut here.
If you’re brand new and still gathering your dice making supplies, nail this technique first. Everything else builds on it.
Petri Technique
Difficulty: 3/5 Materials: Clear epoxy resin, alcohol ink (Ranger Tim Holtz or Jacquard Pinata), white pigment paste or white alcohol ink, pipettes, silicone dice mold, pressure pot
The petri technique produces those organic, cell-like patterns that stop people mid-scroll on Instagram. The name comes from the resemblance to biological cultures in a petri dish, and the effect relies on a density interaction between alcohol ink and resin that’s part chemistry, part controlled chaos.
Here’s a truth that took me four failed batches to accept: petri dice are about 60% technique and 40% luck. You can control the inputs, but the resin will do what it wants at the micro level. That’s also what makes each set unique.
Step-by-Step
- Mix clear resin. No colorant in the base — you need full transparency for the petri effect to read properly.
- Pour resin into mold cavities. Fill to about 80% capacity.
- Drop white pigment first. Using a pipette, place 1 to 2 drops of white alcohol ink or thinned white pigment paste onto the resin surface. This creates the “bloom” layer that the colored ink will push against.
- Add colored alcohol ink. Drop 1 to 3 drops of your chosen color directly into the center of the white. The alcohol ink is less dense than the resin, so it sinks and spreads, creating tendrils. Jacquard Pinata Blanco works well as the white base; Ranger Tim Holtz gives you the broadest color range for accent drops.
- Do not stir. Resist every instinct. The pattern forms from natural density differences. Stirring destroys it.
- Top off with clear resin to fill the remaining 20% of the cavity.
- Pressure pot at 40 PSI. Same rules as a basic pour.
Common Mistakes
- Too much ink. More ink doesn’t mean more pattern — it means muddy resin. Two drops of color per die is plenty. Three is the maximum before you lose definition.
- Using resin that’s too warm. Warm resin is thinner, which means the ink disperses too fast and you get a uniform tint instead of distinct cells. Room temperature resin (70 to 75°F / 21 to 24°C) gives the best viscosity for pattern formation.
- Choosing incompatible inks. Not all alcohol inks behave the same in resin. Pinata inks tend to spread more aggressively than Tim Holtz. Test your specific combination on a single die before committing to a full set.
I learned this the expensive way: my first petri set used five drops of Pinata Sapphire Blue per die. The result looked like blue milk. No cells, no depth, no contrast. Two drops of the same ink? Gorgeous tendrils. The restraint is the technique.
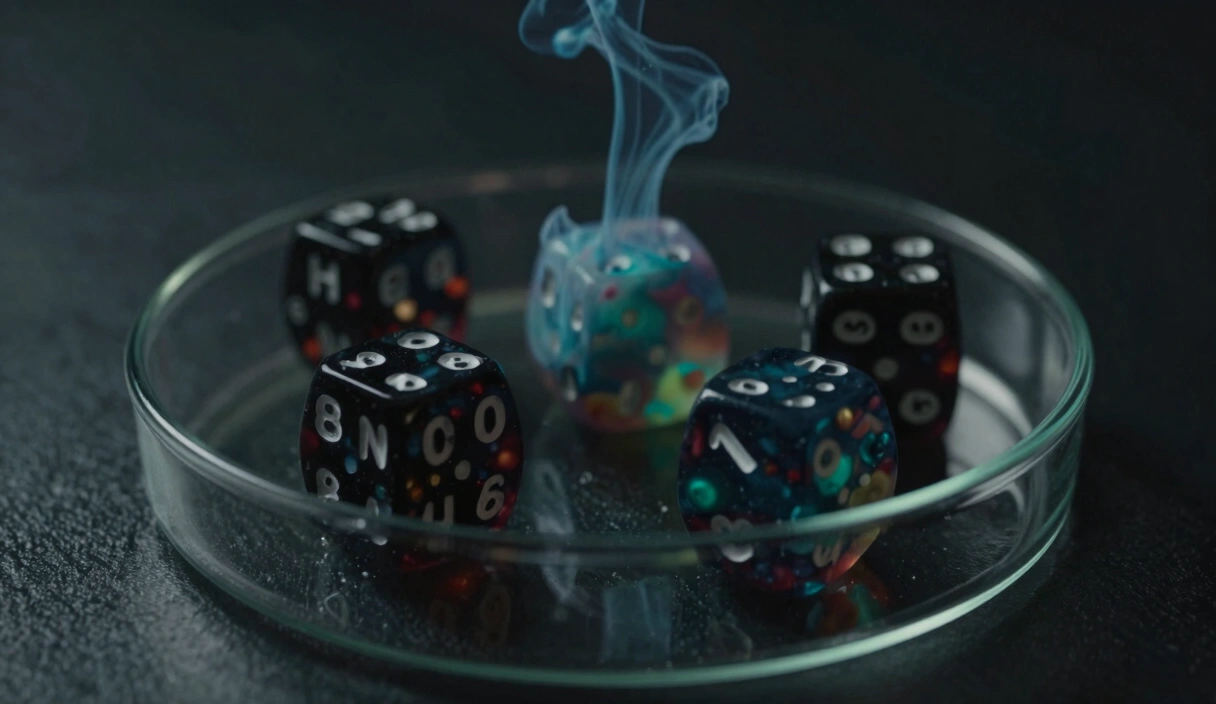
Galaxy and Nebula Dice
Difficulty: 3/5 Materials: Epoxy resin, black or dark navy pigment paste, mica powders (purple, blue, pink — Eye Candy or Solar Color Dust), fine holographic glitter (PET resin-safe), alcohol ink, pipettes, silicone dice mold, pressure pot
There’s a moment during a galaxy pour when you swirl the mica into the dark resin and the light catches it at just the right angle — and you’re looking at a tiny universe cupped in your palm. It never gets old. Thousands of pours in, that moment still lands.
Galaxy dice are a layered technique, meaning you’re building depth by pouring in stages rather than all at once.
Step-by-Step
- Mix your base resin and tint it dark. Black pigment paste works, but dark navy or deep purple gives a richer base that reads as “space” rather than “void.” You want the resin nearly opaque — about 90% opaque when held up to a light.
- Prepare 2 to 3 small accent cups. In separate cups, mix small amounts of clear resin with different mica powders. A vibrant purple, a teal blue, and a soft pink is the classic nebula palette. Use roughly 1/2 teaspoon mica per 10 ml resin — you want these concentrated.
- First layer: fill mold cavities to 40%. Use the dark base resin.
- Add nebula accents. Using a pipette, drop small amounts of your mica-loaded resin into the dark base. Add a pinch of fine holographic glitter. Use a toothpick to gently swirl — two to three strokes maximum. You’re suggesting structure, not blending.
- Second layer: fill to 80%. More dark base resin on top.
- More accents, more glitter. Repeat the pipette drops and glitter. This creates depth — the first layer’s colors will be deeper and hazier, the second layer brighter and closer to the surface.
- Top off to 100% with dark base resin.
- Pressure pot at 40 PSI for full cure.
Common Mistakes
- Over-swirling. This is the galaxy equivalent of over-stirring petri dice. Three gentle swirls. Walk away. The resin will continue to move slightly in the pressure pot.
- Using craft glitter. Craft glitter is PVC-based and can react with resin, causing cloudiness or yellowing. Always use PET (polyester) resin-safe glitter. It costs a dollar more and saves entire batches.
- Flat color layers. If all your accent colors end up at the same depth, the die looks painted rather than deep. Stagger your layers deliberately.
Inclusion Dice
Difficulty: 2/5 Materials: Epoxy resin (clear recommended), inclusions (dried flowers, foil flakes, watch gears, mini figurines, PET glitter), silicone dice mold, tweezers, pressure pot
Inclusion dice are the most forgiving technique on this list and often the most crowd-pleasing. You’re suspending objects inside clear or tinted resin — flowers, gears, gold foil, tiny skulls, whatever fits the mold cavity and tells a story.
The difficulty here isn’t in the pour itself. It’s in material preparation and placement.
Step-by-Step
- Prepare your inclusions. This step matters more than the actual pour.
- Dried flowers: Must be completely, bone-dry. Even a trace of moisture will cause clouding around the flower within days. Press and air-dry for a minimum of 2 weeks before use. Silica gel drying cuts this to 3 to 5 days.
- Foil flakes: No prep needed. Gold, silver, and copper foil all work. Tear into small, irregular pieces for a natural look.
- Watch gears and metal objects: Clean with isopropyl alcohol first. Metal can trap tiny air pockets in crevices — a quick dip in mixed resin before placement helps seal those gaps.
- Mini figurines: Test fit in a dry mold first. If it touches the mold walls, it’ll show on the die face. Leave at least 2 mm clearance on all sides.
- Seal porous inclusions. Flowers and paper-based items should get a thin coat of clear resin, cured, before going into the final pour. This prevents moisture exchange and locks the item’s position.
- Pour a base layer (30 to 40%) of mixed resin into the mold.
- Place inclusions with tweezers. Position them where you want them in the die. Gravity and resin viscosity will shift things slightly, so aim a bit higher than your target position.
- Top off with resin to 100%.
- Pressure pot at 40 PSI.
Common Mistakes
- Wet flowers. I cannot stress this enough. If your dried flowers aren’t actually dry, you’ll get a milky halo around them that ruins an otherwise perfect die. When in doubt, dry them longer.
- Overstuffing the cavity. A single well-placed flower petal looks elegant. Six petals crammed into a D20 cavity look like a compost bin. Less is almost always more with inclusions.
- Ignoring buoyancy. Lightweight inclusions (glitter, foil) float. Heavy ones (metal gears) sink. Plan your pour layers accordingly, or use a two-stage pour to lock items in position.
Safety First: Some dried flowers and plant material can off-gas in resin. Work in a ventilated area and always wear your respirator. This applies double when sealing porous materials.
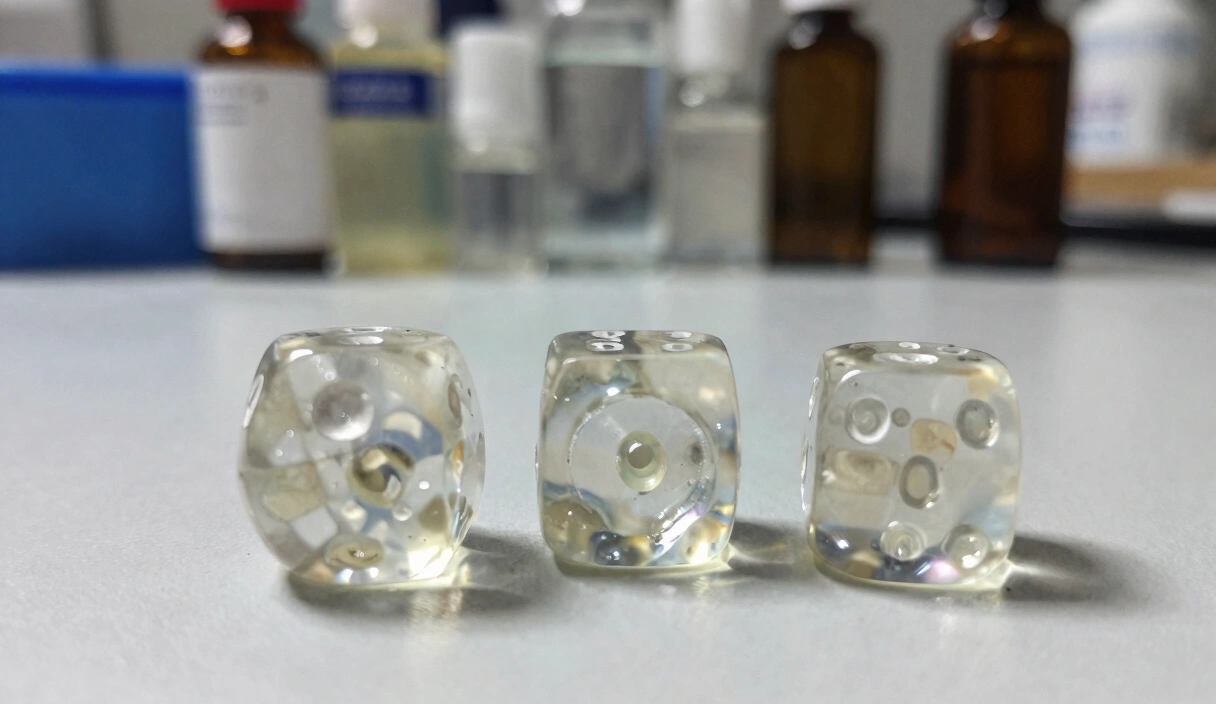
Liquid Core Dice
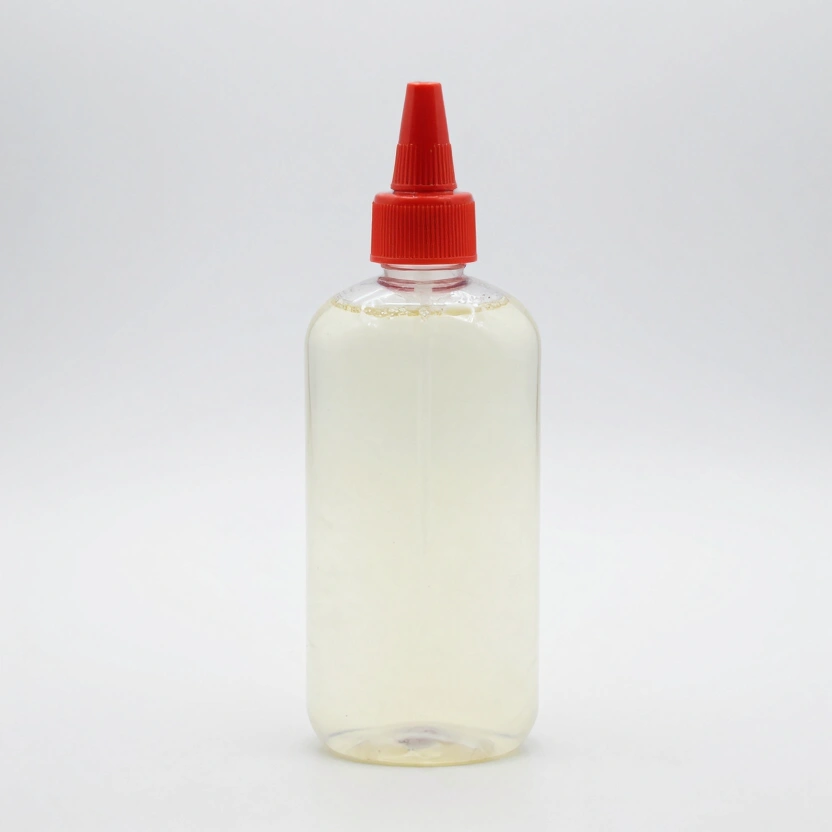
Difficulty: 5/5 Materials: Epoxy resin (clear), mineral oil or baby oil, liquid colorant, fine glitter or micro-inclusions, sphere silicone molds (for inner cavity), standard dice mold, syringes, UV resin (for sealing), pressure pot
Liquid core dice are the final boss of resin dice techniques. Inside a hollow resin shell, a liquid-filled cavity holds glitter, tiny objects, or colored fluid that moves when the die is rolled. The effect is mesmerizing. The execution is punishing.
This is a double-pour technique — you’re creating an outer shell, then filling an interior cavity with liquid and sealing it shut. There is no room for approximation here.
Step-by-Step
- Pour the outer shell. Using a sprue mold, fill the cavity completely with clear or lightly tinted resin. Cure at 40 PSI for the full cure time.
- Demold and drill the cavity. Using a drill press (not a hand drill — precision matters), bore a hole into the die through the sprue location. The hole diameter depends on your inner cavity size, but 8 to 10 mm is standard for a D20. Drill to a depth that creates a spherical pocket without breaking through any numbered face. This is the step that kills most attempts.
- Alternative: cast around a sphere. Some makers skip drilling entirely. Instead, they suspend a small wax or PVA sphere inside the mold during the first pour, then dissolve or melt it out after curing. This creates a smoother interior cavity but requires precise sphere placement.
- Fill the cavity with liquid. Mix mineral oil with your chosen colorant and fine glitter. Using a syringe, inject the mixture into the drilled or dissolved cavity. Fill to 90% capacity — you need an air bubble for the “snow globe” effect when rolled.
- Seal the cavity. Apply UV resin over the opening and cure with a UV lamp. Some makers layer multiple UV resin coats, sanding between each, for a flush seal. The seal must be watertight — any leak destroys the die and whatever surface it’s sitting on.
- Finish the sealing face. Sand the UV resin plug flush with the die face following the standard sanding progression (400 through 3000 grit), then polish with Zona papers.
Common Mistakes
- Drilling through a number face. Measure twice, drill once. Or better yet, mark your drill depth with tape on the bit. Breaking through the opposite face means starting over entirely.
- Underfilling the cavity. Too little liquid means the movement effect is subtle to the point of invisible. Too much means no air bubble and no movement at all. The 90% fill rule exists for a reason.
- Weak seal. This is the failure mode that haunts liquid core makers. A seal that passes the squeeze test on day one can fail at a game table on day thirty. Apply at least three layers of UV resin, fully curing each layer. Consider a final thin coat of epoxy resin over the UV plug for added chemical bond strength.
- Using water instead of oil. Water will eventually grow mold or algae inside the die. Mineral oil is biologically inert and has the right viscosity for visible glitter movement.
Budget Reality: Between the extra molds, drill bits, UV resin, mineral oil, and the 40% failure rate on your first dozen attempts, liquid core dice realistically cost $15 to $25 per set in materials alone. That’s before your time. The $80 to $150 retail price for liquid core sets starts making a lot more sense once you’ve tried making them.
Sharp Edge vs. Rounded Edge Finishing
Difficulty: Sharp edge 4/5, Rounded edge 2/5 Materials: Wet/dry sandpaper (400, 600, 800, 1000, 1500, 2000, 3000 grit), Zona polishing papers, rock tumbler (for rounded), water spray bottle, pottery wheel or flat sanding surface, microfiber cloth
Every technique above ends with a raw die fresh out of the mold. What you do next determines whether it looks handmade or handcrafted — and that distinction drives the price difference between a $30 set and a $120 set.
Rounded Edge Finishing
This is the easier path. A rock tumbler — specifically a vibratory tumbler, not rotary — does most of the work.
- Remove the sprue. Clip or saw it flush with the die face. Leave as little material as possible.
- Load the tumbler. Place dice in the tumbler barrel with plastic pellet media and water. Run for 24 to 48 hours on the coarsest setting.
- Polish cycle. Switch to polishing compound and fresh pellets. Run another 12 to 24 hours.
- Inspect. Edges should be uniformly rounded. Numbers should still be crisp and readable.
Rounded-edge dice are the community standard for beginners and mid-tier sellers. They’re faster to produce, more forgiving of minor mold imperfections, and players generally find them more comfortable to roll.
Sharp Edge Finishing
Sharp-edge dice command premium prices because the labor is real. Every face is hand-sanded through a full grit progression.
- Remove the sprue and flash. Use a sharp hobby knife to trim any flash (thin resin seepage at mold seams) before sanding. Trying to sand through thick flash wastes paper and patience.
- Wet sand at 400 grit. Work each face individually on a flat surface. Keep the sandpaper wet — dry sanding generates heat that can warp the resin. Apply even pressure. Check your edges frequently; you want them crisp, not rounded.
- Progress through grits: 600, 800, 1000, 1500, 2000, 3000. Each step removes the scratches from the previous grit. Skipping a grit level means the scratches from the coarser paper will show through every subsequent step. Don’t skip.
- Zona polishing papers. After 3000 grit, switch to Zona papers for the final polish. These bring the resin from “sanded smooth” to “glass-like clarity.”
- Final buff with a microfiber cloth and a tiny amount of plastic polish or Novus 2.
A full sharp-edge finishing job takes 30 to 45 minutes per die. For a 7-die set, that’s 3.5 to 5+ hours of hand work. This is why sharp-edge sets sell for $80 and up — the materials are the same, but the labor is not.
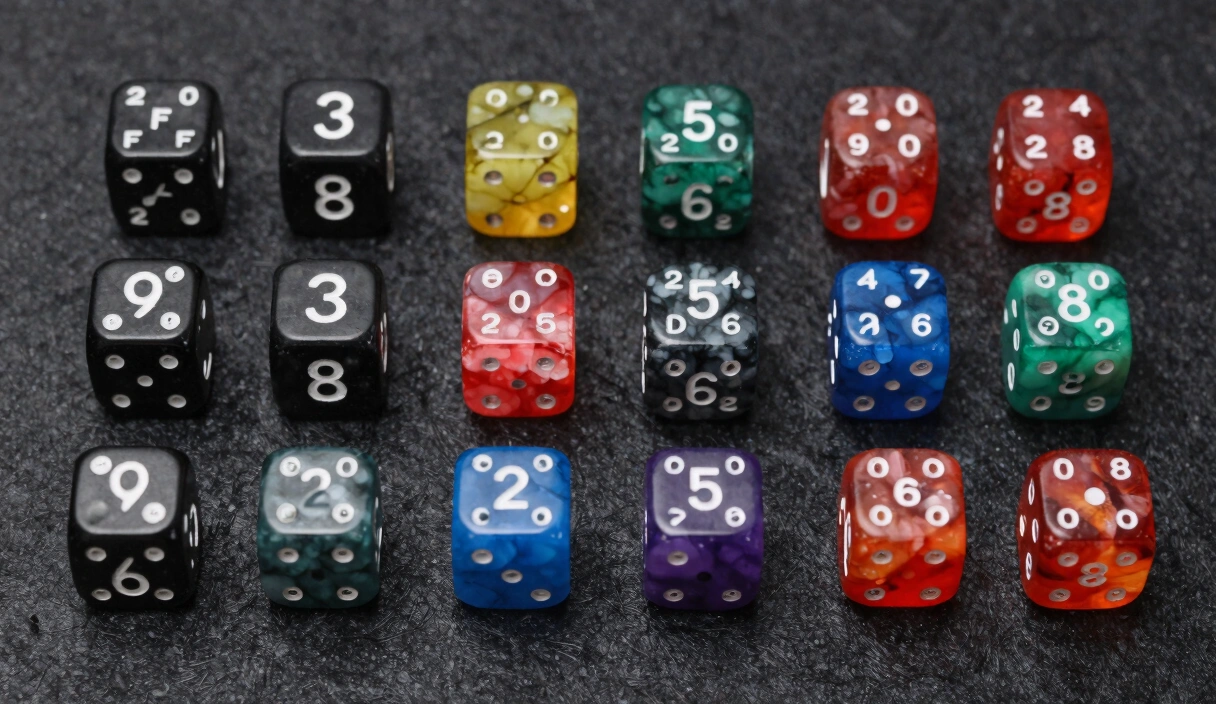
The Balance Question
After finishing, run a dice balance test on your completed set. Float each die in saturated salt water. A well-poured, well-finished die should spin freely without consistently settling on one face. Inclusions, off-center cavities, and uneven sanding can all introduce bias. A die that fails the float test isn’t necessarily unusable — but it’s not precision, and you shouldn’t sell it as such.
Choosing Your Path
You don’t need to master every technique on this list. Some makers build entire businesses around flawless solid-color sharp-edge sets. Others specialize exclusively in petri or galaxy pours. The market rewards quality within a technique far more than it rewards dabbling across six of them.
That said, the progression matters. Master the single-pour first. Move to inclusions or petri when your basic pours are consistently bubble-free. Attempt galaxy dice once you’re comfortable with layered pours. Save liquid core for when your demolding, drilling, and finishing skills are genuinely solid.
Core Dice Making Supplies
Art 'N Glow Epoxy Resin Kit (32 oz)
Crystal-clear 1:1 mix ratio epoxy. UV resistant, self-leveling. The community favorite for dice casting.
Check Price on Amazon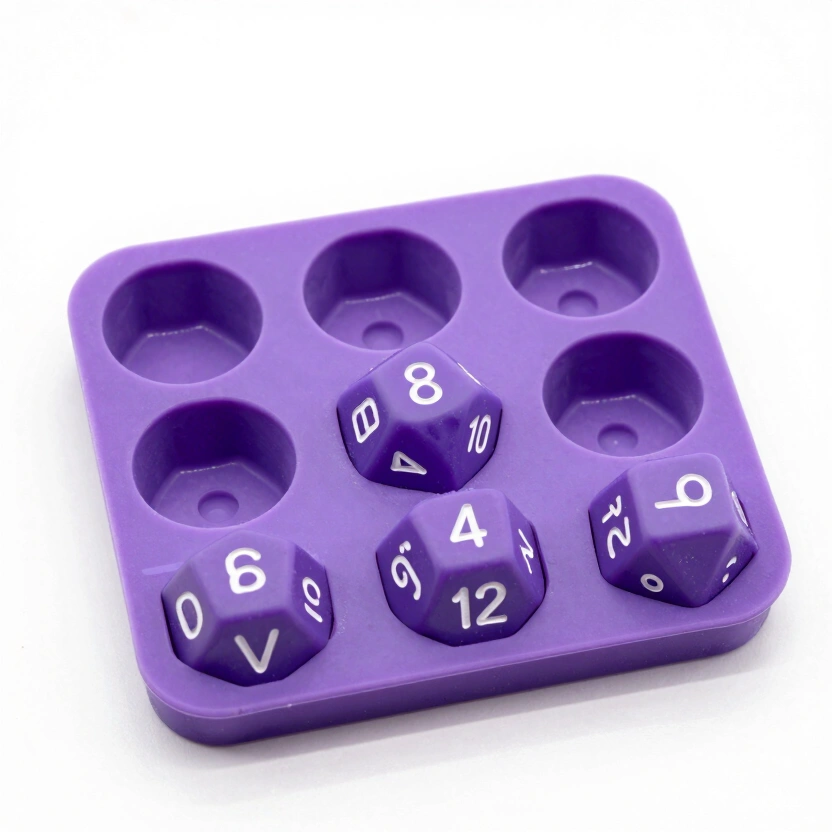
LET'S RESIN Polyhedral Dice Mold Set (7 Shapes)
Stereoscopic 7-piece silicone mold for D4-D20. Pre-made sprue channels. Top-selling beginner mold.
Check Price on Amazon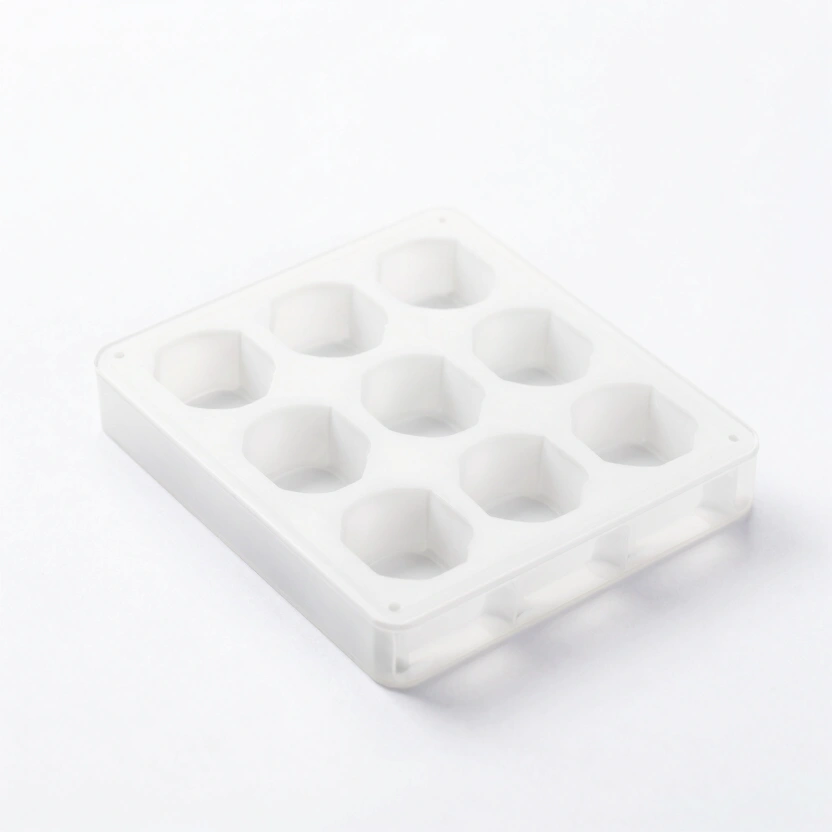
CZYY Sharp Edge Dice Mold (7 Shapes)
Precision slab-style molds for sharp-edge dice. Popular on r/DiceMaking. Requires careful demolding.
Check Price on Amazon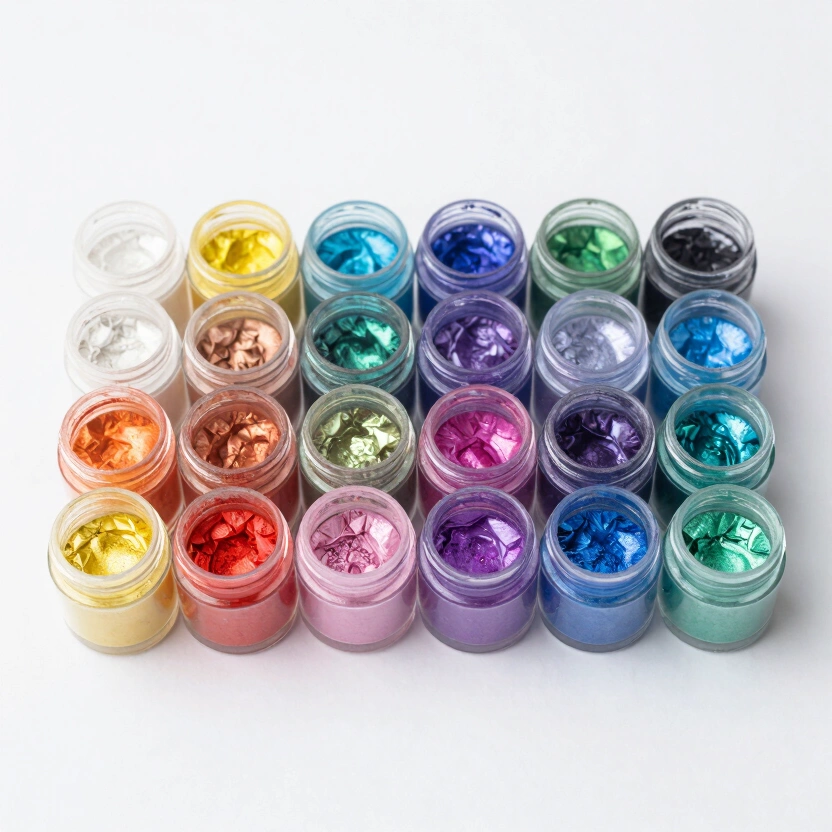
Eye Candy Mica Powder (24-Pack Sampler)
24 vibrant pearlescent pigments. A little goes a long way. Perfect for swirls, layers, and galaxy effects.
Check Price on Amazon* Affiliate links. Prices last updated March 6, 2026.
Frequently Asked Questions
What is the easiest dice making technique for beginners?
The basic single-pour technique with a solid color mica powder. It requires the fewest materials, has the most predictable results, and teaches you the fundamentals — resin mixing ratios, cure times, pressure pot operation — that every other technique depends on. Start here. Our guide on how to make dice walks through the full beginner workflow.
Why do my petri dice look muddy instead of showing clear cells?
Three likely causes: too much alcohol ink (use 2 drops per die maximum), resin temperature too warm (aim for 70 to 75°F / 21 to 24°C), or stirring the ink after dropping it. The petri effect requires density contrast between the ink and the resin. Anything that homogenizes the mixture — heat, agitation, excess ink — destroys the cell structure.
How do I prevent bubbles in resin dice?
Bubbles come from three sources: fast mixing, humidity in materials, or no pressure. Stir resin slowly for 3 to 4 minutes, store your resin in a climate-controlled space, and cure every pour at 40 PSI in a pressure pot. If you’re still seeing bubbles after all three, check our guide on how to fix resin bubbles for less obvious causes like expired resin or contaminated mixing cups.
Are liquid core dice balanced enough for fair play?
A well-made liquid core die with a centered cavity and correct fill level (90% liquid, 10% air bubble) performs within acceptable variance for casual play. However, the cavity does introduce a slight weight asymmetry. Most liquid core makers are transparent about this — they’re art objects first, precision instruments second. If statistical fairness matters for your table, stick with solid pours and verify with a salt water float test.
How long does it take to learn each technique?
Based on my own progression and what I’ve seen in the r/DiceMaking community: basic single-pour takes 2 to 3 batches to get reliable results (about a week). Inclusions add maybe one more batch of practice. Petri and galaxy techniques typically require 5 to 10 batches before you’re producing consistent, sellable results (2 to 4 weeks). Liquid core is a different category entirely — expect 15 to 20 attempts over 1 to 2 months before your success rate climbs above 50%. Sharp-edge finishing is a pure time investment: you’ll feel competent after sanding your 20th die, confident after your 50th.
Your next step is picking one technique and committing to it for your next five pours. If you haven’t made your first set yet, start with the basic single-pour guide and a set of cap molds. If you’re already comfortable with solid pours, pick the technique above that excites you most and allocate enough resin for at least three test batches — because the first one will teach you what the instructions can’t.
Related Articles
How to Make Liquid Core Dice: The Double-Pour Method Explained
Double-pour liquid core dice tutorial with exact fill ratios, seal techniques, and failure fixes. 73% of first attempts leak — here's how to beat those odds.
Petri Dice: How to Get Those Swirling Ink Tendrils Every Time
Step-by-step petri dice technique with exact ink drops, white pigment ratios, and pressure settings. Fix muddy colors, sinking ink, and missing blooms.

Galaxy Dice: How to Pour Nebulae Into Resin
Data-tested galaxy dice method: dark resin base, mica swirl ratios, glitter density at 40 PSI. Covers 5 failure modes and 3 advanced variations with exact specs.