Resin Dice Tutorial: Make Your First Petri Set in One Weekend
Step-by-step petri dice project using 120g epoxy resin, 3 alcohol inks, and a pressure pot. Exact timestamps from T+0 mix to T+24h demold, plus finishing to table-ready.
Contents
In 1930, a German chemist named Paul Schlack was experimenting with polyamide fibers when he accidentally created a resin that cured into glass-clear solid at room temperature. He was chasing nylon. What he found instead was the ancestor of every epoxy system sitting on craft store shelves today — and the reason you can pour liquid plastic into a silicone mold tonight and hold a finished twenty-sided die by Sunday morning.
This is not a general overview of dice making. The beginner’s workshop guide covers that. This is not a deep look at resin chemistry. The resin-specific guide handles that. This is one project, start to finish: a 7-piece petri-style dice set with teal, magenta, and gold alcohol ink blooming through white resin. Every measurement is exact. Every timestamp is real. You will follow along and produce a finished set.
What We’re Making
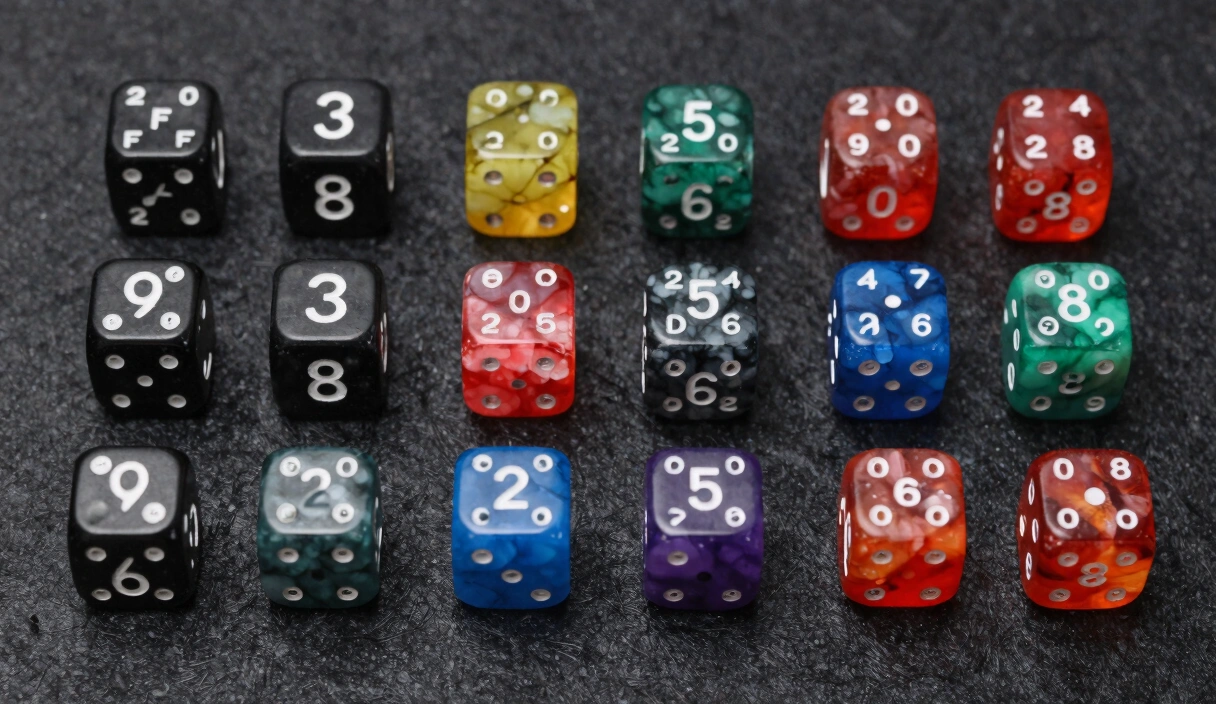
The end goal is a complete 7-piece polyhedral set — d4, d6, d8, d10, d10 (percentile), d12, and d20 — in a petri style. Petri dice get their name from the organic, cell-like patterns that form when alcohol ink reacts with white pigment in clear resin. The ink spreads outward in tendrils while the white pigment creates boundaries, producing formations that look like microscopic organisms or deep-sea jellyfish frozen in glass.
Every set comes out different. That’s the appeal — and the frustration. You control the color palette and the technique, but the resin and ink have their own opinions about where the patterns land.
The set we’re building uses three alcohol ink colors (teal, magenta, gold) dropped into clear resin, with white alcohol ink added second to trigger the cell reaction. The result: translucent dice with vivid organic blooms visible from every angle.
Materials and Tools Checklist
Everything below is sized for one 7-piece set with a small margin of error. Do not scale up for your first attempt — extra resin means extra waste while you learn.
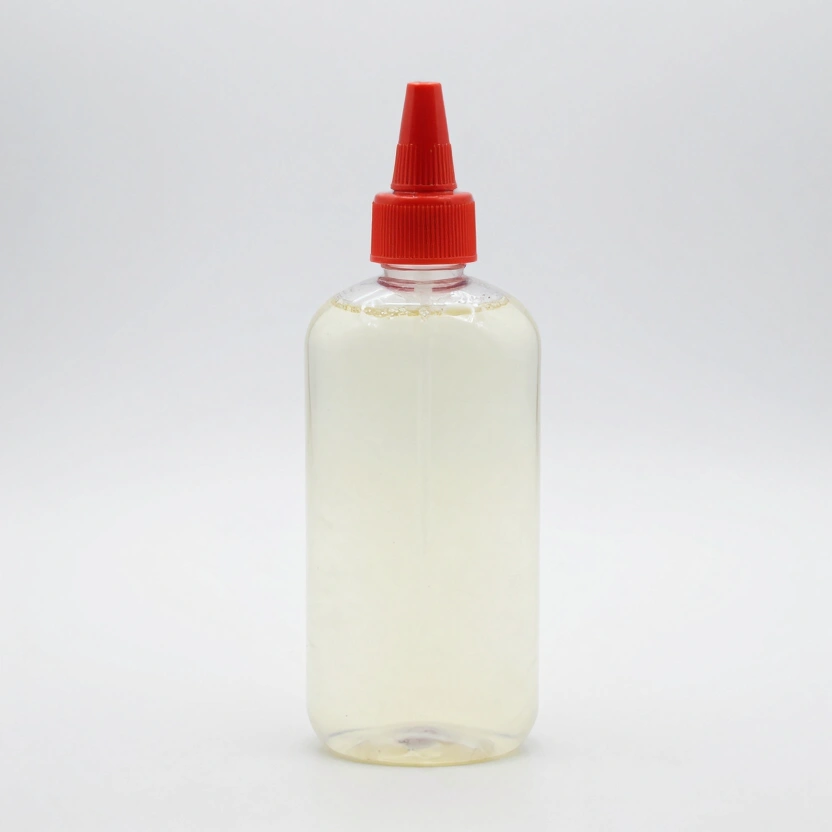
Resin
- 120 grams total mixed epoxy resin (60 grams Part A, 60 grams Part B). Unicone Art Resin or Art ‘N Glow, 1:1 ratio by weight. A standard 7-die sprue mold requires approximately 90-100 grams to fill; the extra 20-30 grams accounts for what stays in the mixing cup and any slight overfill.
Mold
- One 7-piece sprue mold set — NanoLabMaker or Kraken Dice sprue molds. Sprue molds are single-piece silicone with a pour channel on top. They’re the right choice for this project because petri effects look best in fully enclosed cavities where the ink patterns develop undisturbed.
Colorants
- Ranger Tim Holtz alcohol ink — Teal (2-3 drops per die)
- Ranger Tim Holtz alcohol ink — Magenta (2-3 drops per die)
- Jacquard Pinata alcohol ink — Rich Gold (1-2 drops per die)
- Ranger Tim Holtz alcohol ink — Snow Cap (white) (3-4 drops per die). The white is the reactor. It displaces the colored inks and forms the cell walls. Without it, you get tinted resin instead of petri patterns.
Pressure Equipment
- Pressure pot — Harbor Freight 2.5-gallon paint pot, converted with new fittings. The pressure pot setup guide covers the conversion.
- Air compressor rated to 90 PSI output minimum.
Safety Gear
- 3M 6200 half-mask respirator with P100/OV cartridges
- Nitrile gloves — box of 100, you’ll use 2-4 per session
- Safety glasses — resin splashes happen
Tools
- Digital scale accurate to 0.1 grams
- Two silicone mixing cups (one for resin, one backup)
- Silicone stir stick — not wood, not plastic
- Heat gun (not a torch)
- Flush-cut nippers for sprue removal
- Wet sandpaper set — 400, 600, 800, 1000, 1500, 2000, 3000 grit
- Acrylic paint and fine brush for number inking
- Spirit level
Budget Reality: First-time total cost for all of the above — including the pressure pot conversion and compressor — runs $180-240. If you already own a compressor, subtract $60-80. The resin, ink, and mold alone cost about $55-70.
Workspace Setup
Petri pours move fast once the resin is mixed. You have roughly 35-40 minutes of working time with Unicone or Art ‘N Glow at 75°F (24°C), but the actual pour-and-ink sequence takes under 10 minutes. Every second spent hunting for a misplaced bottle of ink is a second of pot life you won’t get back.
Prepare the Surface
Cover your table with a silicone mat or disposable plastic sheeting. Resin drips cure into permanent lumps on unprotected surfaces. I poured on a bare workbench exactly once. The resulting resin spot survived three rounds of sanding with 80-grit before I gave up and accepted it as a feature.
Ventilation
Open a window and position a box fan to pull air away from you and out. A respirator protects your lungs. Ventilation protects the rest of the room. Both are necessary, not interchangeable.
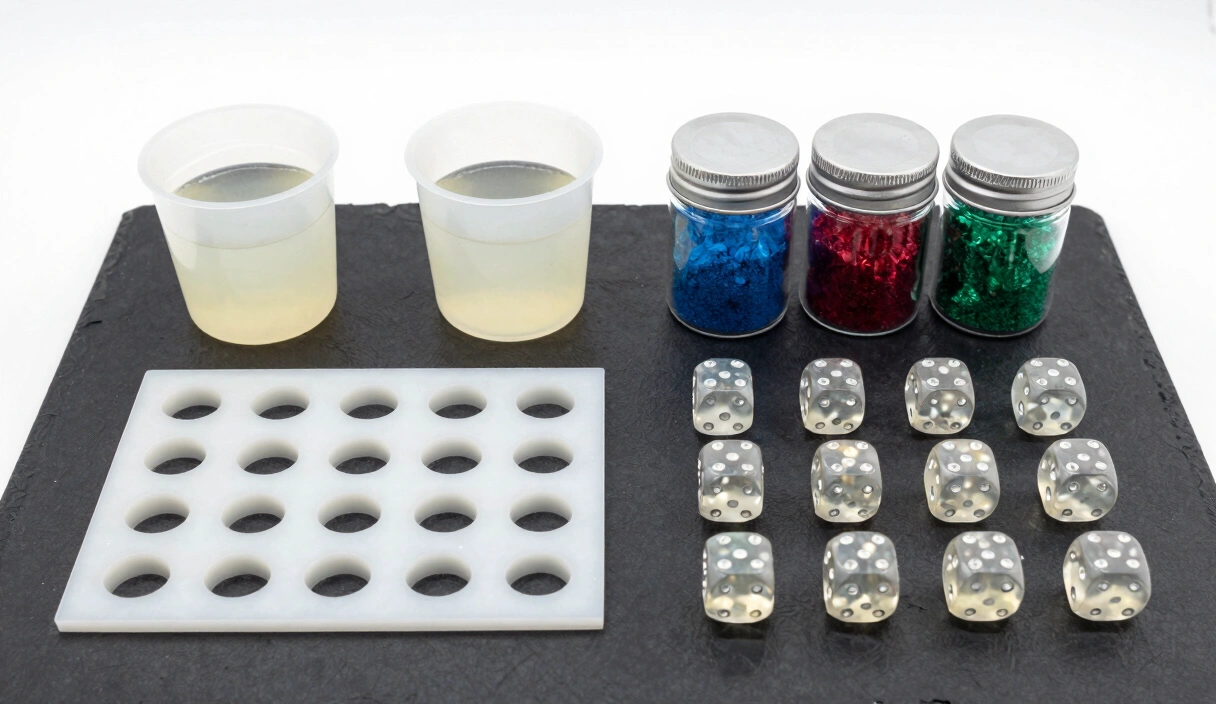
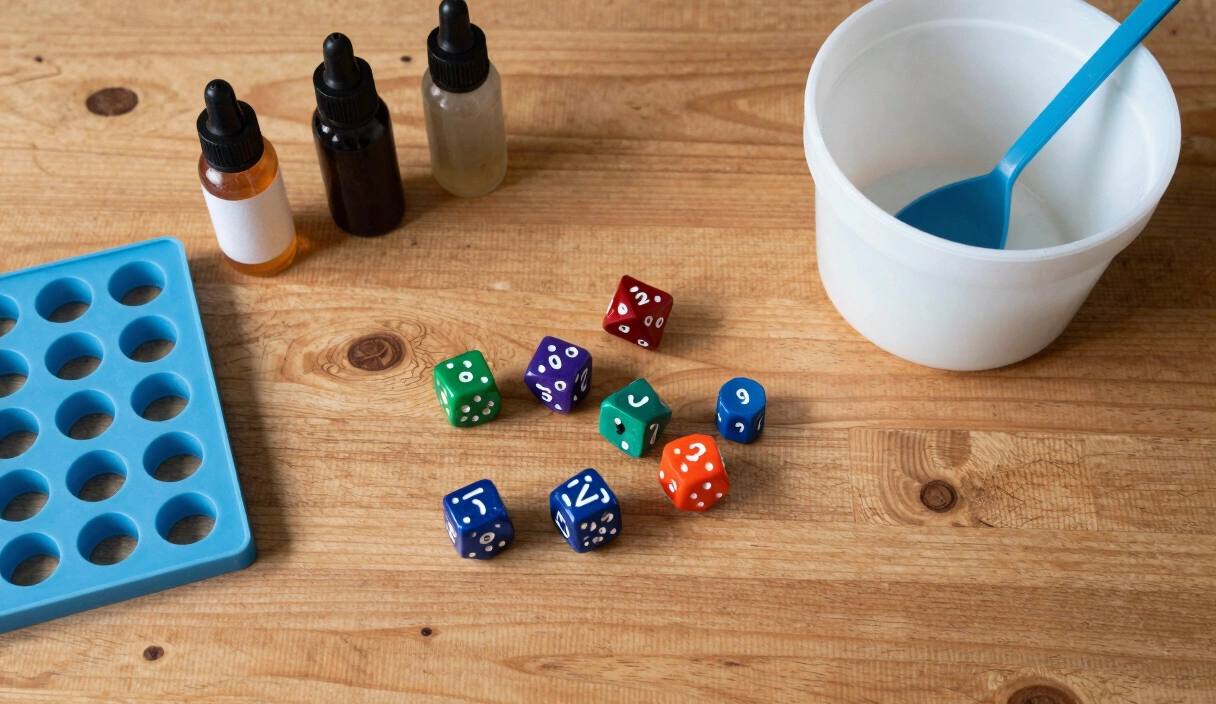
Organize Materials in Pour Order
Arrange everything left to right in the order you’ll use it:
- Scale and mixing cup (far left)
- Part A and Part B bottles
- Silicone stir stick
- Alcohol ink bottles — teal, magenta, gold, white — caps loosened
- Sprue mold set on a level surface (spirit level confirmed)
- Heat gun, plugged in and within reach
- Pressure pot, lid removed, ready to receive the mold
Pre-Measure If Needed
I pre-measure my resin into two separate cups (60 grams Part A, 60 grams Part B) so the actual pour sequence starts with combining them. This saves 2-3 minutes of weighing during the critical window. Pre-measured cups are stable for hours — the reaction only starts when A meets B.
The Pour: Step by Step With Timestamps
This is the core of the tutorial. Every time reference below is measured from T+0, the moment you combine Part A and Part B in the mixing cup.
Safety check before you start. Respirator on and sealed. Gloves on. Ventilation running. Ink bottles uncapped. Mold leveled. Pressure pot open. Go.
T+0:00 — Combine and Mix Resin
Pour 60 grams of Part B into the cup containing 60 grams of Part A. Start your timer. Stir slowly and deliberately with the silicone stir stick for 4 full minutes. Scrape the bottom and sides of the cup every 15-20 seconds. The mixture will look streaky for the first 90 seconds, then turn uniformly clear.
Do not rush this step. Under-mixed resin produces soft spots that no amount of cure time will fix.
T+4:00 — Pour Resin into Molds
Pour from 6-8 inches above each mold cavity in a thin, steady stream. Fill each cavity to just above the top of the sprue channel — approximately 1-2 millimeters of overfill. The height of the pour stretches the stream thin and helps degas small bubbles on the way down.
Work through all seven cavities. This should take 60-90 seconds.
Hit any visible surface bubbles with a quick pass of the heat gun from 4-6 inches away. Keep the heat gun moving — holding it in one spot scorches the silicone.
T+5:00 — Add Colored Alcohol Inks
This is where petri patterns begin. Drop 2-3 drops of teal ink directly into the center of each cavity. Then 2-3 drops of magenta, placed slightly off-center. Then 1-2 drops of gold, placed at the edge.
Do not stir. Do not swirl the mold. The inks sink through the clear resin under their own weight and begin spreading laterally. The less you interfere, the more dramatic the cell structures become.
Data point: Alcohol ink is dye-based with an isopropyl alcohol carrier. The alcohol flashes off within 30-60 seconds, leaving pure dye suspended in the resin. This is why the ink spreads in tendrils rather than mixing uniformly — it’s already evaporating as it moves through the epoxy.
T+6:00 — Add White Ink (The Reactor)
Drop 3-4 drops of Snow Cap white ink into each cavity. Place the drops directly onto the colored ink pools.
The white pigment is heavier than the dye-based colors. It sinks through and around them, pushing the colored inks outward and creating the cell walls that define petri patterns. You’ll see the reaction start almost immediately — the colored tendrils branch outward as the white displaces them.
This is the moment that looks like magic. The patterns form in real time, and every die develops differently based on exactly where each drop landed.
I ruined my first three petri attempts by adding the white ink too early, before the colored inks had time to begin spreading. The result was a muddy purple-gray mess in every cavity. Give the colored inks a full 60 seconds to start their journey before introducing the white. That one-minute gap is the difference between petri cells and swamp water.
T+7:00 — Close Molds and Final Check
If your sprue molds have silicone caps or lids, press them on now — gently, avoiding any tilting that would slosh the resin. If your molds are open-top sprue style, leave them as they are.
Give each cavity one final visual check. The ink patterns are still developing and will continue evolving for another 20-30 minutes inside the pressure pot. You cannot control this part. Accept it.
T+8:00 — Into the Pressure Pot
Place the entire mold set into the pressure pot. Seal the lid. Pressurize to 40 PSI. Not 35 — at 35, micro-bubbles remain visible as pinpoint specs. Not 50 — no benefit, extra stress on the seals.
Walk away.
Do not open the pot to check on patterns. Releasing pressure mid-cure lets compressed bubbles re-expand into the still-liquid resin. The petri patterns are locked in place once the resin gels (4-8 hours). You will see them at demolding. Not before.
The Wait and Demold
24-Hour Minimum Cure
Leave the pressure pot sealed and pressurized for a full 24 hours at room temperature (72-77°F). At the 24-hour mark, your dice are demold-ready — solid enough to hold their shape but not fully cross-linked.
Full chemical cure takes 72 hours. You can demold at 24, but do not sand or polish until the 72-hour mark. Sanding semi-cured resin clogs paper instantly and leaves a gummy, hazy surface.
Demolding Technique
Release the pressure pot slowly — crack the valve and let it hiss down over 30 seconds rather than popping it open. Remove the mold set.
Flex the silicone mold walls gently outward, then push the die up from the bottom of the cavity. If a die resists, work slowly. Forcing it risks tearing the mold at the sprue channel — and replacement molds cost $20-35.
Each die will have a sprue (a stem of cured resin at the pour point) and possibly flash (thin resin film along the mold seam). Both are expected.
The satisfaction hits here. You flex the mold, the die drops into your palm, and the petri patterns are visible for the first time — teal and magenta cells blooming through white boundaries, with flecks of gold caught mid-expansion. No two dice in the set will match exactly. That’s the point.
Flash Removal
Peel flash by hand or score it with a hobby knife and peel. On well-cured dice, it comes off cleanly. Clip the sprue stem with flush-cut nippers, leaving approximately 1 millimeter proud of the die face. You’ll sand the rest flush in finishing.
Finishing Your Set
Wait until the 72-hour full cure mark before starting this section. The resin needs to reach maximum hardness, or your sandpaper will load up with semi-cured material and you’ll chase haze across every face.
Sanding the Sprue Face
Wet-sand the sprue-cut face through the full grit progression: 400, 600, 800, 1000, 1500, 2000, 3000. Dip the sandpaper in water frequently — wet sanding prevents heat buildup that can cloud epoxy and extends the life of each sheet.
Spend 20-30 seconds per grit on the sprue face. You’re not reshaping the die, just leveling the cut surface flush with the surrounding mold-finish faces. Check your progress by drying the face and holding it at an angle to the light. Scratches from the previous grit should be replaced by finer, more uniform scratches at each step.
After 3000 grit, the sprue face should be smooth to the touch but still slightly matte compared to the glossy mold-contact faces.
Polishing
Apply a small amount of Novus 2 plastic polish to a microfiber cloth and work the sprue face in small circles for 60 seconds. Follow with Novus 1 for final clarity. The matte surface transitions to a gloss that matches the rest of the die. For an even deeper look at the full process, see the polishing guide.
Inking the Numbers
Fill the engraved number cavities with acrylic paint. For petri dice with teal and magenta tones, gold or white acrylic creates strong contrast. Use a fine-tip brush or a Molotow liquid chrome pen for metallic finishes.
Apply paint into the engraving, let it set for 10-15 minutes until tacky, then wipe the die face clean with a slightly damp cloth. The paint stays in the recessed numbers and wipes off the flat surface. The number inking guide covers advanced techniques including multi-color fills.
Balance Check
Drop each finished die into a glass of salt water (dissolve table salt until the die floats). Flick it gently and let it settle. Spin it again. If the same number consistently faces upward across 10+ spins, there’s a density imbalance — likely an air pocket on one side. For the full testing protocol, see the balance test guide.
Petri dice with well-dispersed ink patterns and proper pressure casting typically pass the salt water test without issues. Heavy concentrations of ink on one side can introduce slight bias, but it’s rarely enough to affect casual play.
What to Do Differently Next Time
Your first petri set will teach you more than this tutorial can. Here are the lessons most makers learn on round one and apply on round two.
Ink placement matters more than ink quantity. Three well-placed drops create more dramatic cells than seven random drops that overlap and muddy each other. Next time, plan your drop positions before the pour — center, off-center, and edge — and stick to the plan.
White ink timing is everything. Too early and it mixes into the colors. Too late and the resin has already started to gel, so the white sits on top instead of sinking through. The 60-second gap after colored inks is the baseline. In a warmer room (above 78°F), cut it to 45 seconds. In a cooler room (below 72°F), extend to 90 seconds.
You probably over-filled the molds. A 2-millimeter overfill is plenty. Anything beyond that is extra sprue material you’ll spend time sanding off. Measure your mold capacity with water before your second pour — weigh the water, and you’ll know exactly how much resin each cavity needs.
Sanding is where the time goes. Your first set probably took 2+ hours to finish. That’s normal. By your fifth set, you’ll have the grit progression in muscle memory and finish in under an hour. Some makers build jigs to hold dice against a flat sanding surface — worth exploring once you’ve developed a feel for how much pressure each grit needs.
The petri dice technique guide covers advanced pattern control, including layered pours and ink-on-ink reactions, once you’re ready to push beyond the basics.
Recommended Starter Supplies
Art 'N Glow Epoxy Resin Kit (32 oz)
Crystal-clear 1:1 mix ratio epoxy. UV resistant, self-leveling. The community favorite for dice casting.
Check Price on Amazon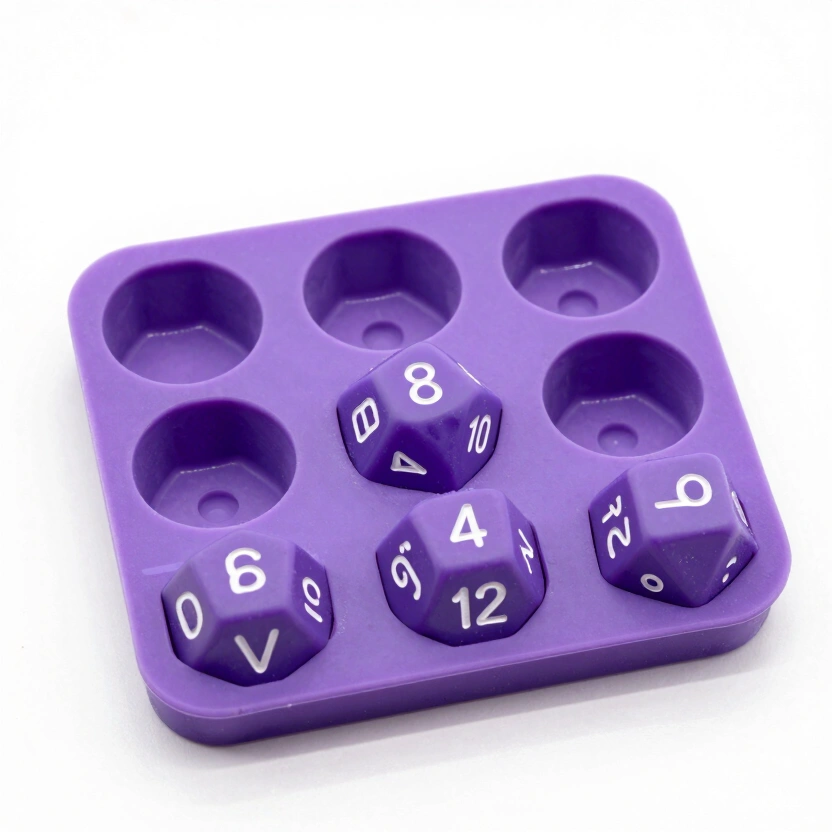
LET'S RESIN Polyhedral Dice Mold Set (7 Shapes)
Stereoscopic 7-piece silicone mold for D4-D20. Pre-made sprue channels. Top-selling beginner mold.
Check Price on Amazon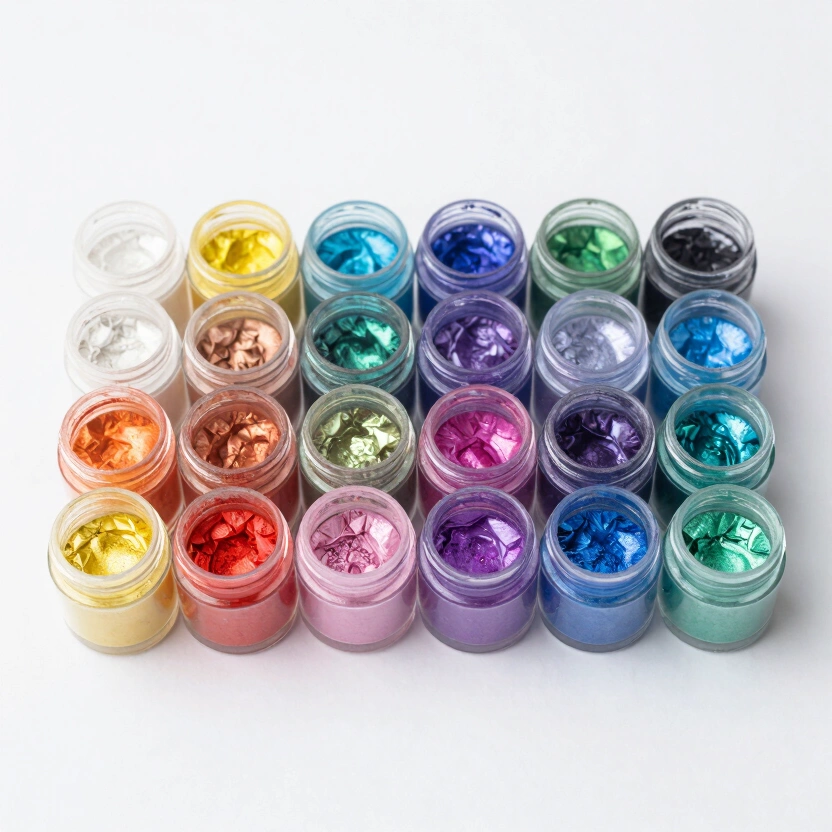
Eye Candy Mica Powder (24-Pack Sampler)
24 vibrant pearlescent pigments. A little goes a long way. Perfect for swirls, layers, and galaxy effects.
Check Price on Amazon* Affiliate links. Prices last updated March 6, 2026.
FAQ
How much resin do I need for one set of dice?
A standard 7-piece polyhedral set in sprue molds requires 90-100 grams of mixed resin to fill. Mix 120 grams total (60 grams Part A, 60 grams Part B for a 1:1 epoxy) to account for resin that stays in the mixing cup. At current prices, that’s approximately $3-5 worth of resin per set using Unicone or Art ‘N Glow.
Why did my petri dice turn out muddy instead of showing clear cell patterns?
Three common causes: you stirred the alcohol ink into the resin instead of letting it drop and spread naturally, you added the white ink before the colored inks had 60 seconds to disperse, or you used too many drops of ink that overlapped and blended. Petri effects rely on controlled separation between dye and pigment — less interference produces more defined cells.
Can I make petri dice without a pressure pot?
You can attempt it, but the results suffer in two ways. First, micro-bubbles remain visible throughout the clear resin, disrupting the petri patterns. Second, bubbles rising through the resin during the first 30-60 minutes of cure disturb the ink formations as they pass through. A pressure pot at 40 PSI compresses bubbles to invisible size and prevents them from migrating through the ink patterns. For petri-style dice specifically, a pressure pot is close to essential.
How long should I wait before sanding my dice?
Demold at 24 hours, but wait the full 72 hours before sanding or polishing. At 24 hours, the resin is solid enough to hold its shape but has not reached full cross-link hardness. Sanding semi-cured resin loads sandpaper with gummy material, produces a hazy finish, and can introduce scratches that are difficult to remove once the resin fully hardens. Mark the 72-hour timestamp on your calendar and resist the urge to start early.
Related Articles
Dice Making Techniques: 6 Methods from Basic Pours to Liquid Core
6 resin dice techniques ranked by difficulty with exact steps, materials, and failure points. Data from 200+ pours across petri, galaxy, inclusion, and liquid core methods.
How Long Does Resin Take to Cure? The Real Timeline for Dice Makers
Resin doesn't cure on your schedule. Here's the actual timeline for epoxy, UV, and polyurethane — and why rushing it ruins dice.
How to Make Dice: A Beginner's Complete Workshop Guide
Most dice-making tutorials skip the parts where things go wrong. This one starts there — covering every step from resin mixing to final polish with exact numbers.