How to Sand Resin Dice: The Complete Grit Progression Guide
Master the 400-to-12000 grit sanding progression for resin dice. Zona papers, wet sanding technique, and the mistakes that keep your dice cloudy.
Contents
Have you ever demolded a die, trimmed the sprue, and thought “good enough”? Maybe squinted at it, decided the mold lines weren’t that bad, and tossed it in the finished pile? Be honest. We’ve all done it. And we’ve all regretted it the moment that die sat next to a properly sanded one under a desk lamp.
Sanding is the line between a resin shape and an actual die. It’s the difference between something that looks homemade and something that looks intentional. And the frustrating truth is, there are no shortcuts through it — only a sequence of grits, a flat surface, and about an hour of your attention.
Why Sanding Matters
Every die comes out of the mold with artifacts. Flash — that thin translucent film of resin that creeps between mold halves — runs along the seam line like a tiny skirt. The sprue leaves a nub where you cut it, no matter how close your flush cutters got. And mold lines, even on a well-made silicone mold, leave a faint ridge that catches light and fingernails alike.
Direct truth: If you’re selling dice, buyers will find every one of these flaws. If you’re keeping them, you’ll notice them every time you pick up the die. Sanding isn’t optional — it’s the baseline.
These artifacts don’t just look bad. Flash along an edge changes the die’s geometry, which affects how it lands. A sprue nub on a face creates a flat spot that biases rolls toward that side. If you care about dice balance at all, sanding is where fairness starts.
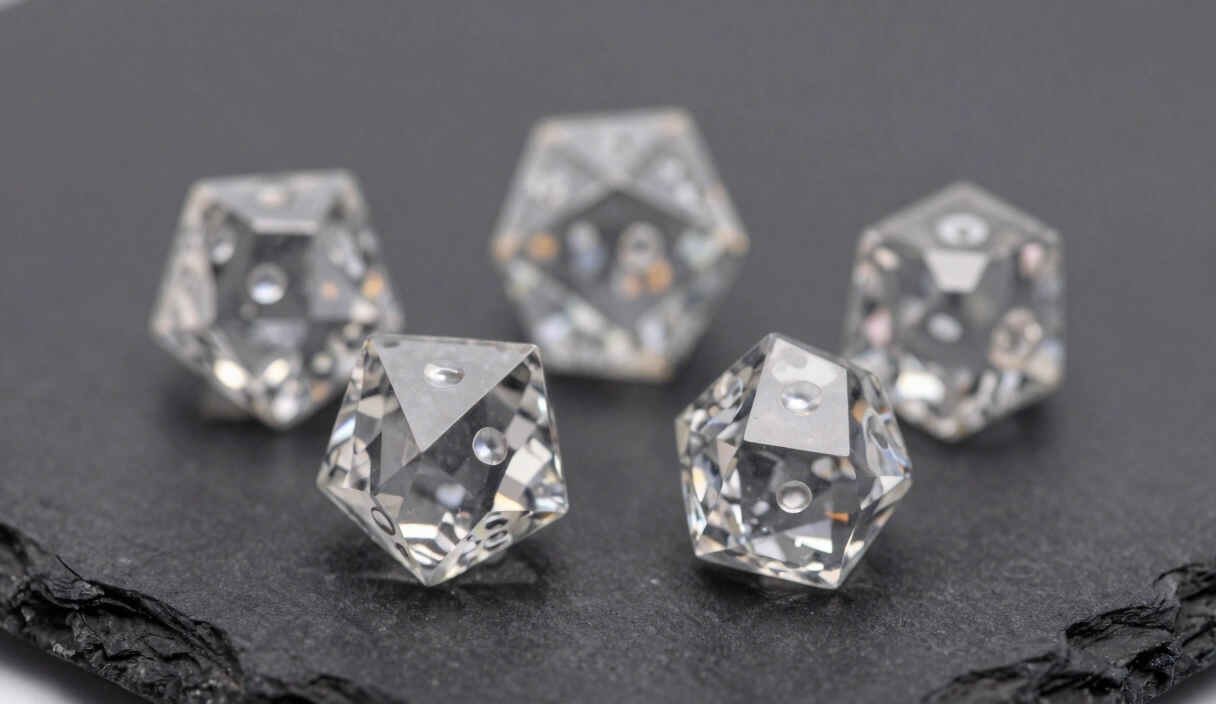
The goal isn’t just smooth surfaces. It’s accurate geometry — flat faces, crisp edges, consistent vertices — followed by progressive scratch removal until the surface is optically clear. Sanding is really two jobs: shaping first, then refining.
Dry Sanding vs. Wet Sanding
You’ll hear both terms thrown around, and you’ll need both techniques. But they aren’t interchangeable, and using the wrong one at the wrong stage will cost you time and sandpaper.
Dry Sanding (Coarse Work Only)
Dry sanding is for the rough shaping stage: removing the sprue nub, knocking down flash, and leveling any high spots left from demolding. Use it at 220 to 400 grit, where you’re removing material quickly and precision matters less than speed.
The downside of dry sanding is heat. Friction between abrasive and resin generates warmth, and resin starts to soften around 140°F (60°C). You’ll also clog your paper faster — dry resin dust packs into the abrasive surface and turns your sandpaper into a smooth, useless sheet within minutes.
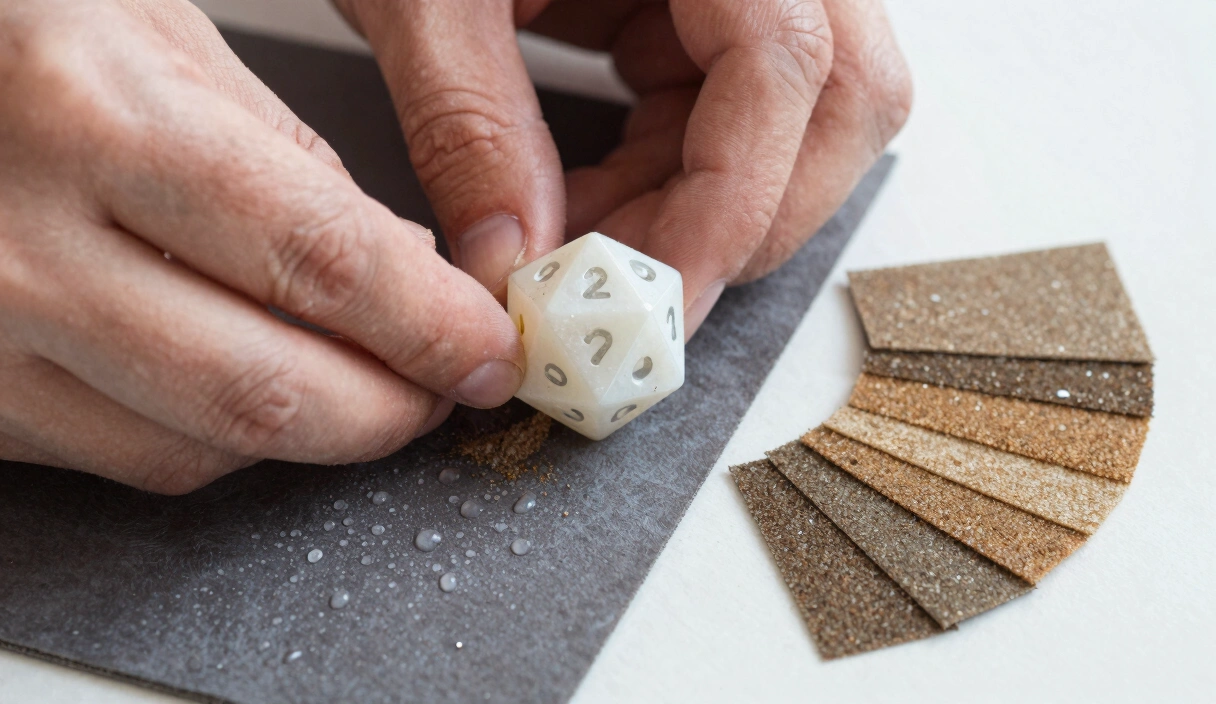
Wet Sanding (Everything Above 400 Grit)
Once you’re past the shaping stage, switch to wet sanding and never look back. Water does three things: it lubricates the surface (reducing heat), it floats away sanding debris (preventing clogging), and it carries loose particles off the die (preventing re-scratching from trapped grit).
Maker’s Note: I dry-sanded through 1500 grit on my first set because I didn’t want to deal with the mess of water on my desk. Those dice still have a haze I can’t explain. Switched to wet sanding on the next set — crystal clear by 5000 grit. The water matters.
The technique is simple: dip the sandpaper in water, dip the die, and re-wet every fifteen to twenty seconds. Keep a small dish of clean water next to your work surface. The mess is minimal. The difference in results is not.
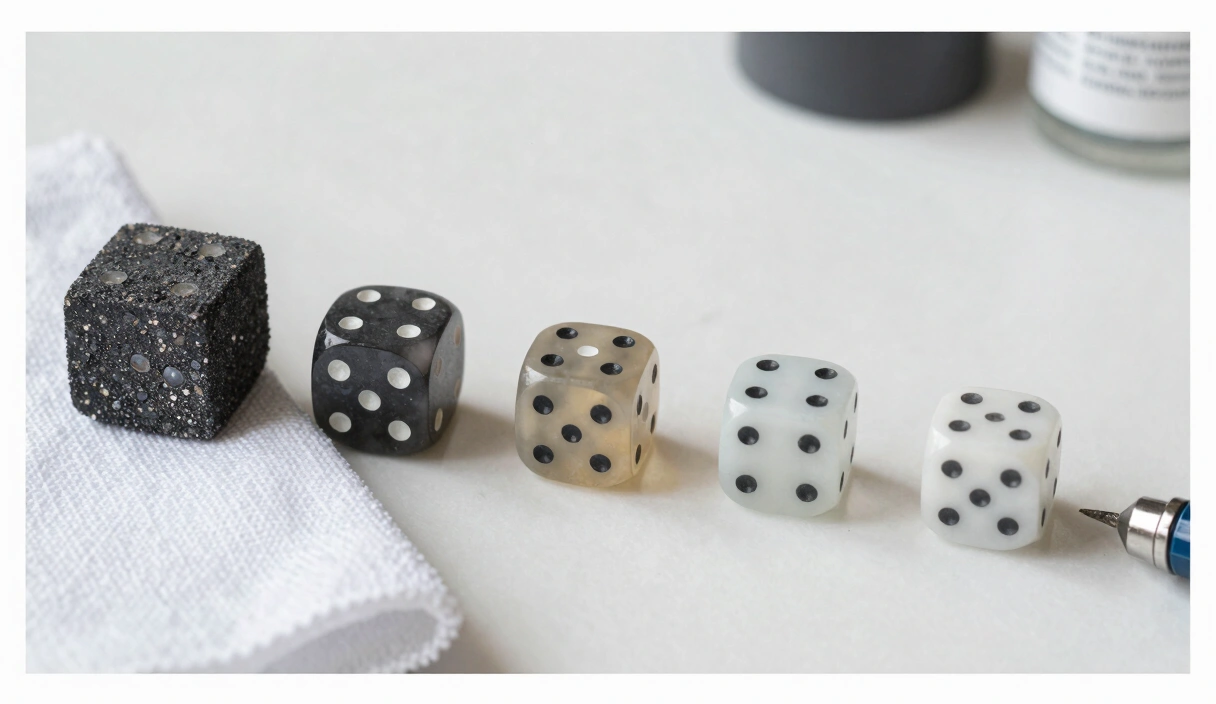
The Grit Progression
This is the core of the process. Each grit removes the scratches left by the previous grit, replacing them with finer scratches. By the end, those scratches are smaller than the wavelength of visible light, and the surface reads as transparent to your eye.
Here’s the full sequence:
| Step | Grit | Purpose |
|---|---|---|
| 1 | 400 | Removes file marks, sprue remnants, flash scars |
| 2 | 600 | Smooths 400-grit scratches |
| 3 | 800 | Transition point — surface starts to feel slick |
| 4 | 1000 | Die begins to show depth and color |
| 5 | 1500 | Fine scratches only visible under direct light |
| 6 | 2000 | Surface feels like glass under your fingertip |
| 7 | 3000 | Light starts passing through cleanly |
| 8 | 5000 | Near-optical clarity — the “wow” moment |
| 9 | 8000 | Pre-final polish, almost mirror finish |
| 10 | 12000 | Full optical clarity — you can read text reflected in the face |
Data point: The average scratch depth at 400 grit is roughly 35 microns. At 12000 grit, you’re below 1 micron. A human hair is about 70 microns wide. By step 10, you’re working at a scale your eyes literally cannot resolve.
That’s ten steps. Yes, ten. There’s a reason for every single one.
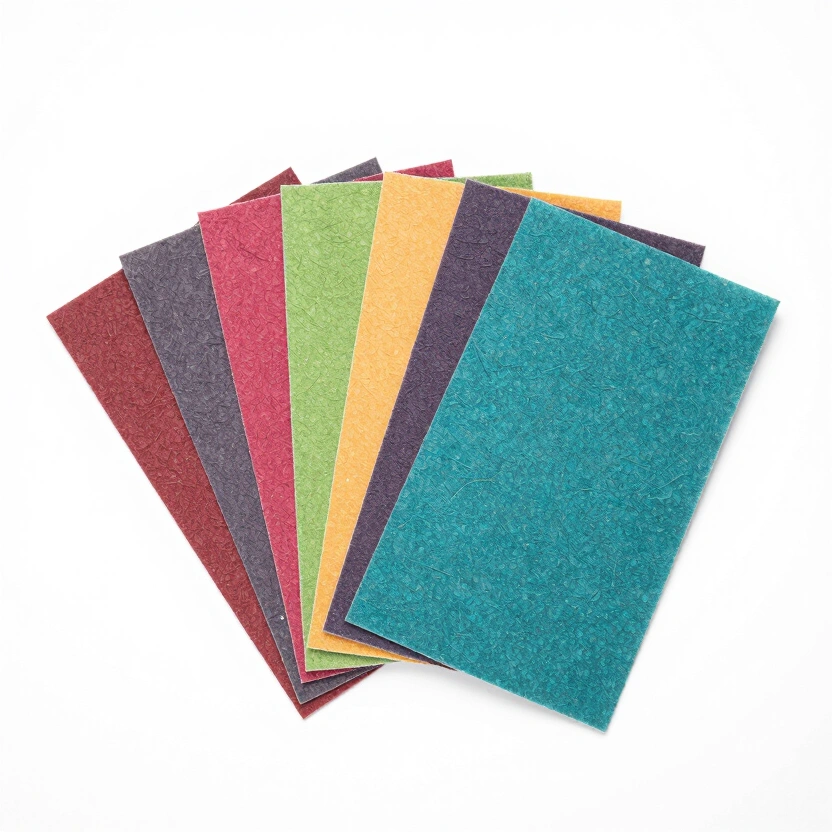
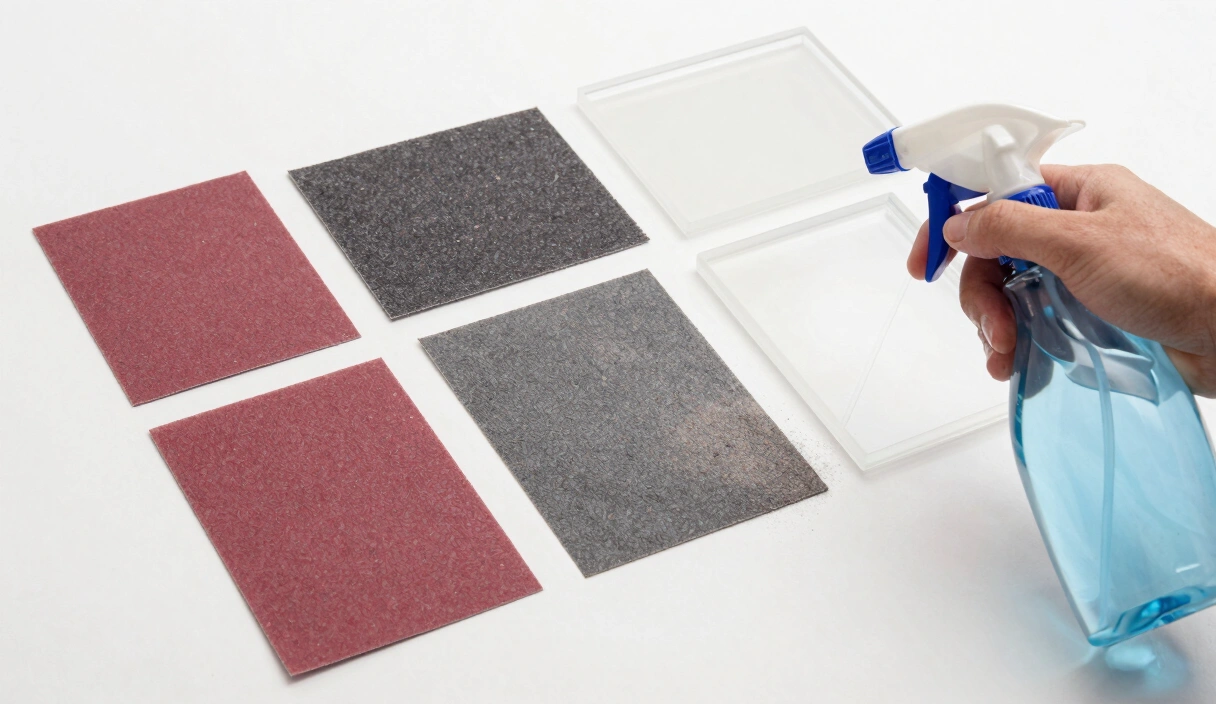
Zona Papers (3M): The Gold Standard
3M Zona polishing papers are color-coded by grit, which makes the progression almost foolproof. Grey for the coarse end, then green, blue, pink, peach, mint, light blue, and finally lavender at 12000 grit. You grab the next color, you sand. No squinting at faded numbers on the back of a sheet.
Zona papers are thin — thinner than standard sandpaper — which means they conform to flat surfaces well and wear evenly. They’re designed for precision work on plastics and resins. A single sheet lasts through roughly two to three full dice sets when used wet.
The standard Zona assortment pack runs about $10 to $14 for a set of six sheets spanning the full grit range. For how central sanding is to the entire dice-making process, that’s almost absurdly cheap. Pick them up alongside your other dice making supplies and you’ll have them for months.
Micro-Mesh Pads: The Durable Alternative
Micro-Mesh cushioned abrasive pads cover the same grit range as Zona papers but use a different construction — abrasive particles bonded to a flexible foam backing. That foam backing makes them more forgiving on curved surfaces and vertices, especially the sharp points of a d4 where paper tears easily.
The tradeoff is speed. Micro-Mesh pads remove material more slowly on flat faces because the cushioning absorbs some of your pressure. They also cost more per sheet. But they last significantly longer — a single pad can handle five or six sets before the abrasive wears out.
Some makers use both: Zona papers for flat-face work on d6s, d8s, and the broad faces of a d20, then Micro-Mesh for the tight angles and vertices. That’s not a bad approach if you don’t mind managing two systems.
Why Skipping Grits Creates Visible Scratches
Here’s the physics. Each grit level can only remove scratches that are close to its own scratch depth. If you jump from 600 to 2000, the 2000-grit abrasive isn’t aggressive enough to reach the bottom of the 600-grit scratches. You’ll sand for twenty minutes, see no improvement, and assume something is wrong with your resin or your technique. Nothing is wrong — you just left valleys that are too deep for the finer grit to touch.
Think of it like filling a pothole with gravel. Fine gravel fills small holes. It doesn’t fill craters. You need the intermediate sizes to step down gradually.
Skip one grit and you’ll see faint lines in the finished die that catch light at certain angles — ghost scratches that no amount of polishing will remove. The only fix is going back to the grit before the one you skipped and working forward again. That costs more time than just doing the progression correctly.
Flat Sanding Technique
Your sanding surface matters as much as your sanding paper. If the surface underneath flexes, dips, or has any texture, your die faces will develop curves instead of staying flat. Curved faces look distorted, roll unpredictably, and signal “amateur” from across the table.
The Flat Reference Surface
Use a piece of float glass (a 6 x 6 inch piece from a hardware store frame section costs about $3) or a granite tile sample (free from most countertop shops). Both are dead flat to tolerances well beyond what you need. Plate glass is transparent, which is useful for seeing debris trapped under your paper. Granite is heavier and stays put without clamping.
Lay your Zona paper or Micro-Mesh pad directly on the glass. No padding underneath. No mouse pad. No folded towel. The paper should sit flat against an unyielding surface.
The Figure-Eight Motion
Hold the die with the target face pressed against the wet abrasive. Move it in a figure-eight pattern — not circles, not back-and-forth lines. The figure-eight distributes wear evenly across the abrasive surface and prevents directional scratch patterns on the die face. Fifteen to twenty passes per face, then rotate the die 90 degrees and do another fifteen to twenty.
Sand every face at one grit before moving to the next grit. All faces at 400. All faces at 600. All the way through. Rinse the die between grits. Rinse your fingers too — a single stray 400-grit particle on your 2000-grit paper will undo ten minutes of work.
This part gets tedious. Around step six or seven, you’ll start to wonder if you’re actually making progress or just rubbing wet plastic on wet paper for no reason. You are making progress. Hold the die under a bright light at a low angle after each grit — you’ll see the scratch pattern getting finer even if the overall clarity hasn’t changed yet. The jump from 3000 to 5000 is where things suddenly click. Trust the process.
Common Sanding Mistakes
After ruining more sets than I care to count, and watching other makers make the same errors in community posts, these are the five problems that show up most.
Too Much Pressure
Pressing harder feels productive. It isn’t. Heavy pressure generates heat (bad for resin), loads the abrasive with debris (bad for the paper), and creates uneven material removal (bad for geometry). On Zona papers, too much pressure tears the sheet — and a torn edge gouges a scratch deeper than anything the grit was supposed to produce.
The weight of your fingers on the die is enough. If progress feels slow, check that the paper is wet and not loaded with white resin dust. Replace a worn sheet. Don’t push harder.
Dry Sanding Past 800 Grit
Above 800 grit, the abrasive particles are fine enough that dry resin dust clogs them almost immediately. You’ll feel the paper go slick and stop cutting. Some makers interpret this as “the paper is worn out” and grab a fresh sheet. Then that one clogs too. Then they blame the brand.
The paper is fine. It just needs water. Wet sanding above 800 is not a suggestion — it’s a requirement.
Not Cleaning Between Grits
Cross-contamination is the silent killer of good sanding work. A single particle of 400-grit abrasive transferred to your 3000-grit paper cuts a deep, visible scratch that you won’t be able to remove without going back several steps. Rinse the die under running water between every grit change. Wipe it with a clean microfiber cloth. Rinse your hands.
Maker’s Note: Some makers keep each Zona sheet in a labeled zip-lock bag. I thought that was excessive until I re-sanded an entire seven-die set because of one contaminated sheet. Now I use the bags.
Heat Buildup
This one sneaks up on you during dry sanding or when you’re rushing through the progression. Resin softens with heat, and a softened surface deforms under even light pressure. The result: edges that were once sharp go slightly round, flat faces develop subtle waves, and the die picks up a faint distortion visible under angled light.
If the die feels warm, stop. Dip it in cool water. Wait thirty seconds. Resume with less speed, less pressure, or both.
Sanding Before Full Cure
Epoxy resin has two timelines: demold time and full-cure time. You can demold most resins at 24 hours, but full mechanical hardness takes 72 hours at room temperature — sometimes longer in cold workshops. Sanding before full cure means the resin is still slightly soft. The abrasive tears rather than scratches, the surface gums up, and you’ll leave a finish that looks worse than raw demolded resin.
Wait the full 72 hours. If your workshop runs below 70°F (21°C), wait longer. When in doubt, try sanding a small test piece from the same pour batch before committing to the full set.
The frustration peaks right around step seven or eight. You’ve been at it for forty-five minutes. The die looks better than it did, but it still isn’t glass-clear, and your fingers are pruned from the water. You start eyeballing the UV resin, wondering if a quick coat would just fix everything.
Don’t. Push through to 12000. The clarity that appears between 5000 and 8000 grit is almost sudden — like a fog lifting off glass. And that moment when you hold a finished die to the light and see clean, deep, undistorted color for the first time? That’s the payoff. After that, polishing is just the victory lap.
Sanding and Polishing Supplies
Ultra Fine Wet/Dry Sandpaper (120-10000 Grit)
Wide grit range for resin sanding. Start coarse, work up to mirror finish. 9x3.6 inch sheets.
Check Price on Amazon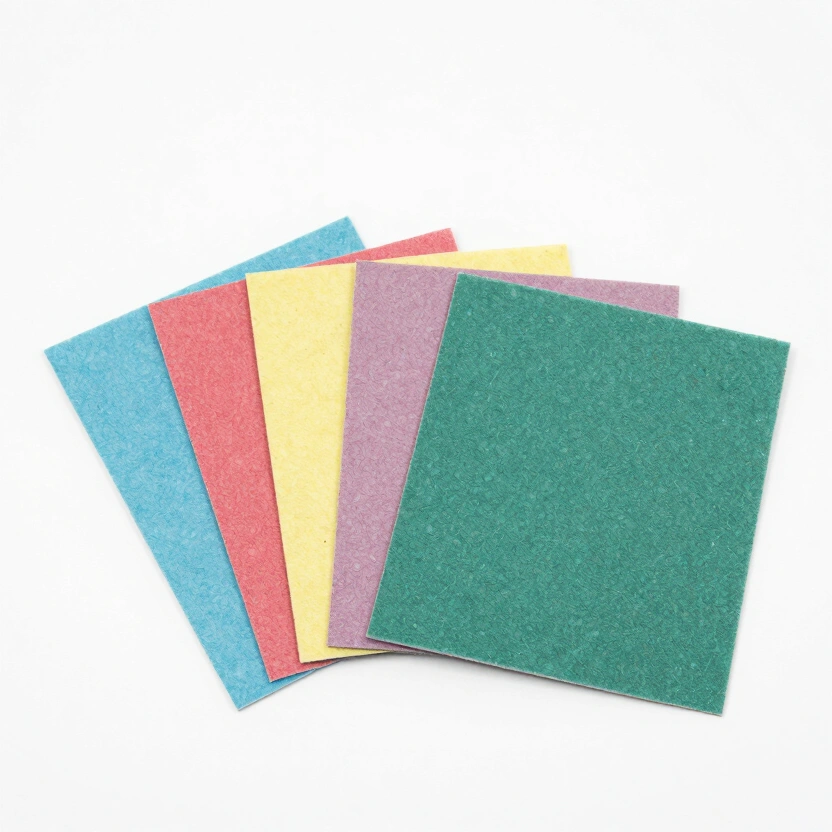
Zona 37-948 Polishing Paper Assortment (1-30 Micron)
6 progressive grits from 30µ to 1µ. The gold standard for hand-polishing sharp-edge dice to glass clarity.
Check Price on Amazon* Affiliate links. Prices last updated March 6, 2026.
Frequently Asked Questions
How long does it take to sand one die through the full progression?
About eight to twelve minutes per die, or sixty to ninety minutes for a full seven-die polyhedral set. The d20 takes the longest because of its twenty faces. The d4 is quickest but hardest because of the sharp vertices. Speed improves with practice — experienced makers report cutting that time nearly in half.
Can I use regular hardware store sandpaper instead of Zona papers?
For grits 400 through 800, standard wet/dry automotive sandpaper works fine. Above 1000, hardware-store options become inconsistent — the abrasive particles vary in size and leave unpredictable scratch patterns. Zona papers and Micro-Mesh pads are manufactured to tighter particle-size tolerances. The difference becomes obvious above 2000 grit, where consistency is everything.
Do I need to sand opaque dice as carefully as transparent ones?
You still need to remove flash, sprue marks, and mold lines — geometry matters regardless of opacity. But the ultra-fine grits (5000 through 12000) exist primarily to achieve optical clarity, which you can’t see through opaque resin anyway. Most opaque dice makers stop at 2000 or 3000 grit and finish with a polishing compound or UV resin coat. That’s a legitimate shortcut for opaque work.
My die looks great at 3000 grit but goes hazy at higher grits. What’s happening?
Almost always cross-contamination. Particles from a coarser grit are hitching a ride to your finer paper — on the die surface, on your fingers, or on your work surface. Rinse everything between grit changes. If the problem persists, the earlier grit may not have fully done its job. Go back two grits, re-sand all faces, rinse thoroughly, and proceed forward again. The haze will clear.
Related Articles
How to Polish Resin Dice: From Cloudy to Crystal Clear
Your dice look like frosted glass, not gemstones. Here's the exact sanding and polishing sequence that fixes that — no shortcuts, no myths.
Wet Sanding Resin Dice: Why Water Makes All the Difference
Learn the wet sanding technique for resin dice — water temperature, dip-and-sand method, paper choices, and the mistakes that leave your finish hazy.
Sharp Edge Dice: Why They Cost More and How to Make Them
Most dice makers overcomplicate sharp edges. The real secret is patience, flat surfaces, and knowing when to stop sanding. Here's the full process.