Pressure Pot for Resin: The Complete Dice Maker's Guide
Bubble-free dice start inside a steel tank. Here's exactly which pressure pot to buy, how to set it up, and the PSI settings that actually work.
Contents
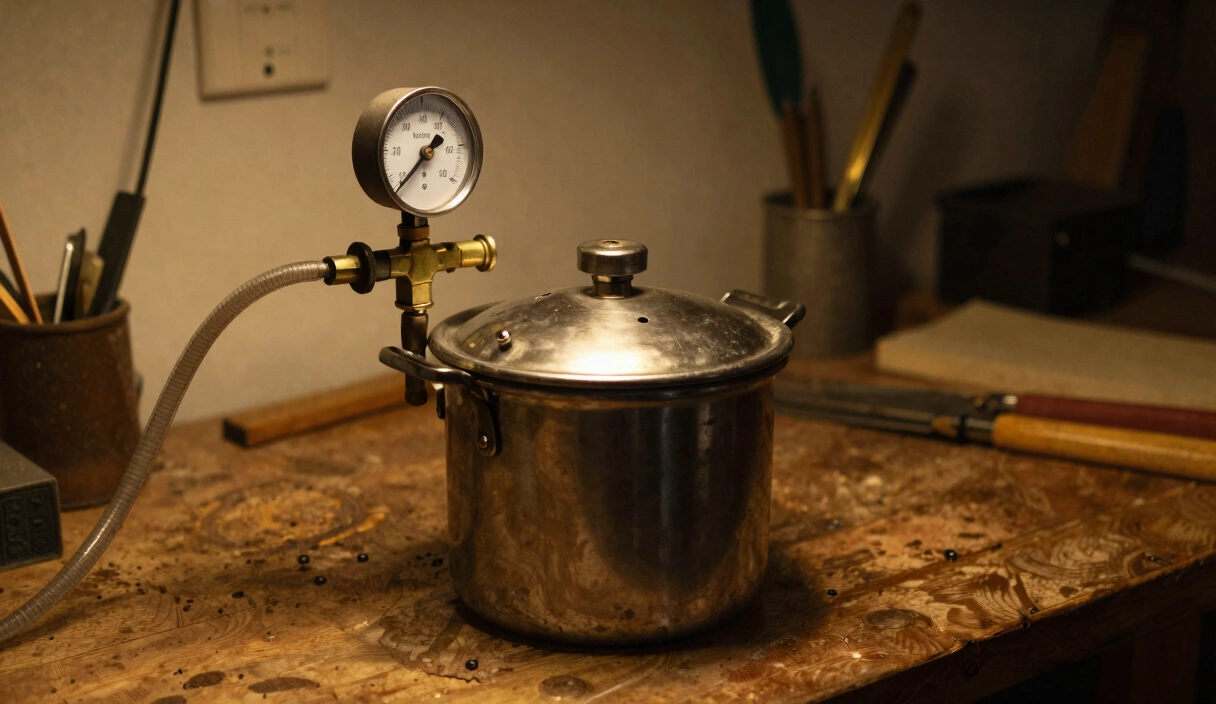
The regulator hisses as you twist the knob. Steel lid clamped down, eight wing nuts torqued evenly, the gauge needle climbs past 20, past 30, and settles at 40 PSI. Inside that tank, seven dice sit submerged in clear epoxy, and every microscopic air bubble is being crushed into invisibility. Twenty-four hours from now, you’ll crack that lid and pull out dice so clear you could read through them.
That’s the promise of a pressure pot. And unlike most promises in resin crafting, this one actually delivers — every single time.
Why Pressure Pots Work (and Vacuum Chambers Don’t)
If you’ve poured resin without pressure, you already know the result. Dice that looked crystal clear in the mold come out clouded with hundreds of tiny bubbles, like frozen soda water. You mixed carefully, poured slowly, even hit the surface with a heat gun. None of it mattered.
Here’s why: the moment you stir Part A into Part B, you whip air into the mixture. Those micro-bubbles are too small and too numerous to rise out before the resin begins to gel. A heat gun pops surface bubbles, but the ones trapped deep inside? They’re staying.
A pressure pot solves this with simple physics. Boyle’s Law states that gas volume decreases as pressure increases. At 40 PSI, you’re applying roughly three atmospheres of force to the resin. A bubble that measures 1 mm at normal pressure shrinks to about 0.3 mm — below the threshold where the human eye can detect it. The bubble doesn’t disappear. It just becomes invisible, permanently compressed as the resin cures around it.
Maker’s Note: I wasted three months and about $80 in resin trying to make bubble-free dice without pressure. Vacuum chambers, torch techniques, slow-pour methods — none of them came close. My first pressurized pour produced clearer dice than anything I’d made in those three months combined.
Vacuum chambers work differently. They pull air out of liquid silicone or resin before curing, which is useful when making molds. But they can’t remove bubbles that form during the exothermic cure reaction, and they can’t compress the air that’s already distributed throughout the mixture. For dice casting, a vacuum chamber is the wrong tool. A pressure pot is the right one.
Which Pressure Pot to Buy
Three options dominate the dice-making community, each at a different price point.
California Air Tools 255C (2.5 Gallon) — The Best Choice
The 255C was designed for resin casting. Teflon-coated steel tank, rubber feet for stability, rated to 60 PSI. No modifications needed — connect your air hose and start pouring.
The Teflon coating is a genuine advantage. Resin drips and overflow peel right off instead of bonding permanently to bare steel. Cleanup drops from half an hour of chiseling to five minutes with a paper towel.
Pressure Pot Essentials
California Air Tools 255C Pressure Pot (2.5 gal)
Purpose-built for resin casting. Coated steel tank, portable. The #1 recommended pressure pot for dice makers.
Check Price on Amazon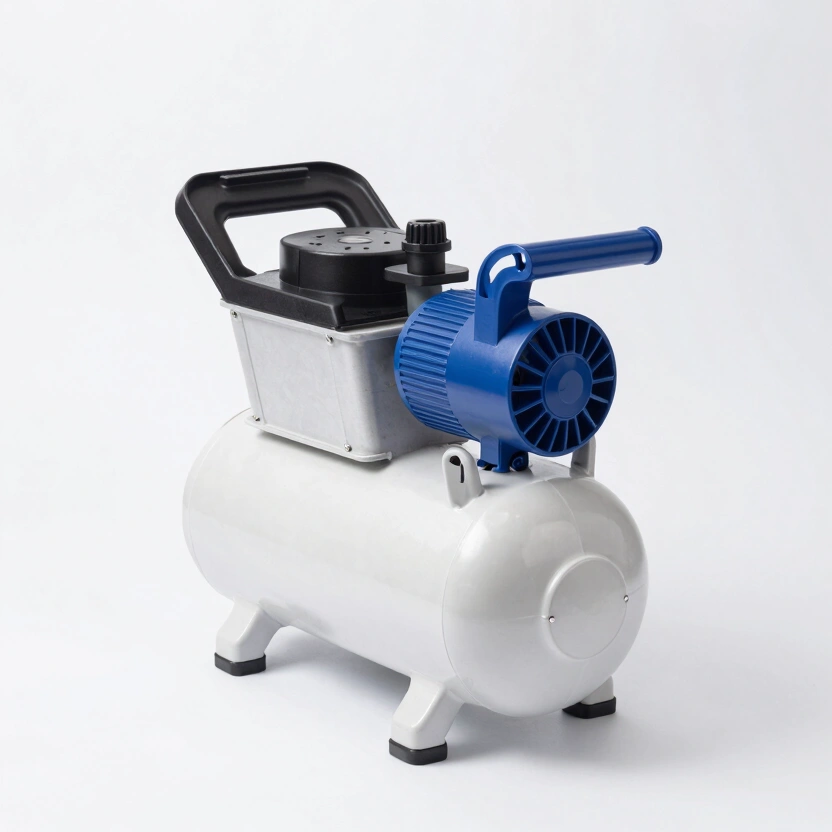
TCP Global 2.5 Gallon Pressure Pot
Heavy-duty steel with clamp lid, regulator, gauge. Budget-friendly alternative with spray gun included.
Check Price on Amazon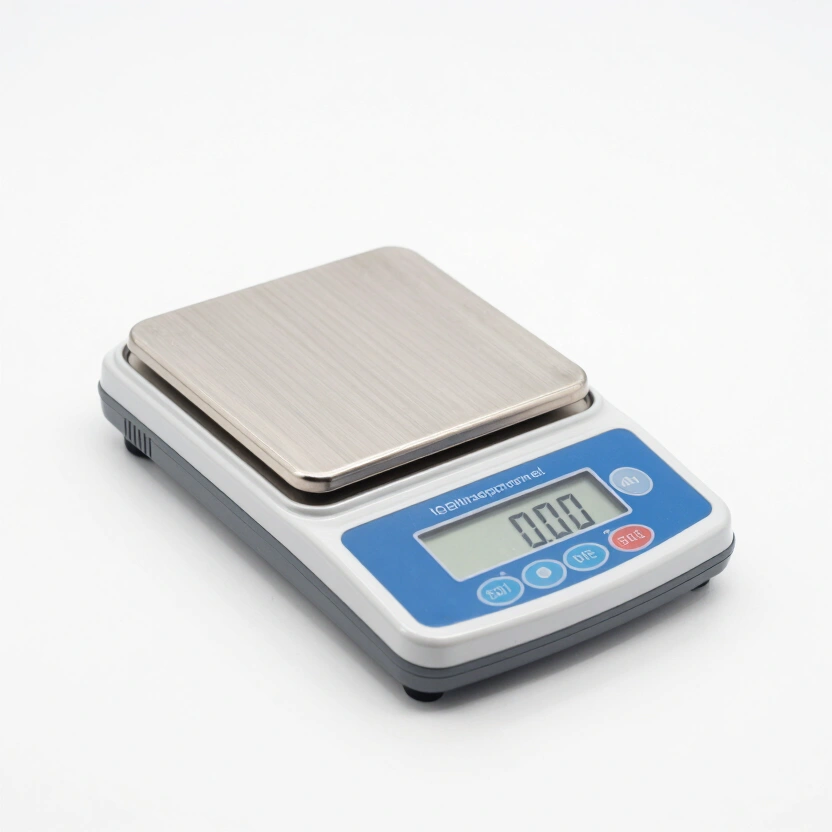
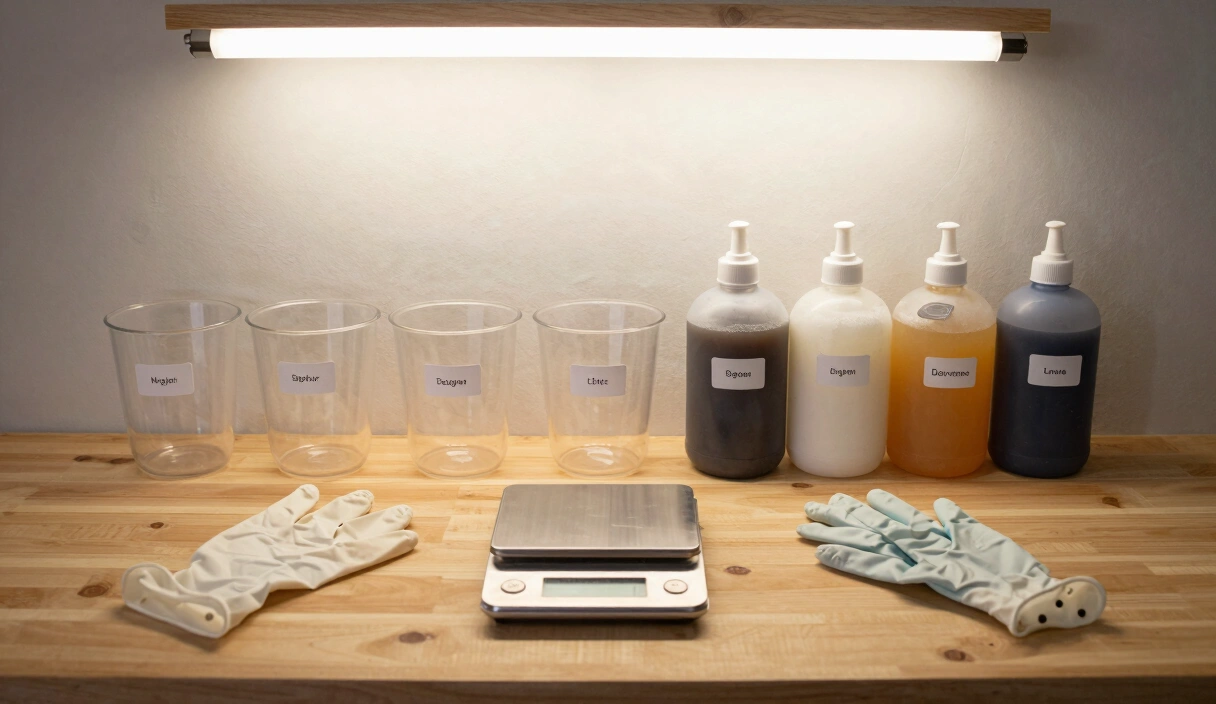
Fuzion Digital Scale (0.01g Precision)
Precise to 0.01g for accurate resin mixing ratios. Tare function, backlit display. Essential for consistent pours.
Check Price on Amazon* Affiliate links. Prices last updated March 6, 2026.
Internal dimensions: 13 inches wide by 14.75 inches deep — fits a full 7-die set with room to spare. Portable enough to move between workbench and storage shelf.
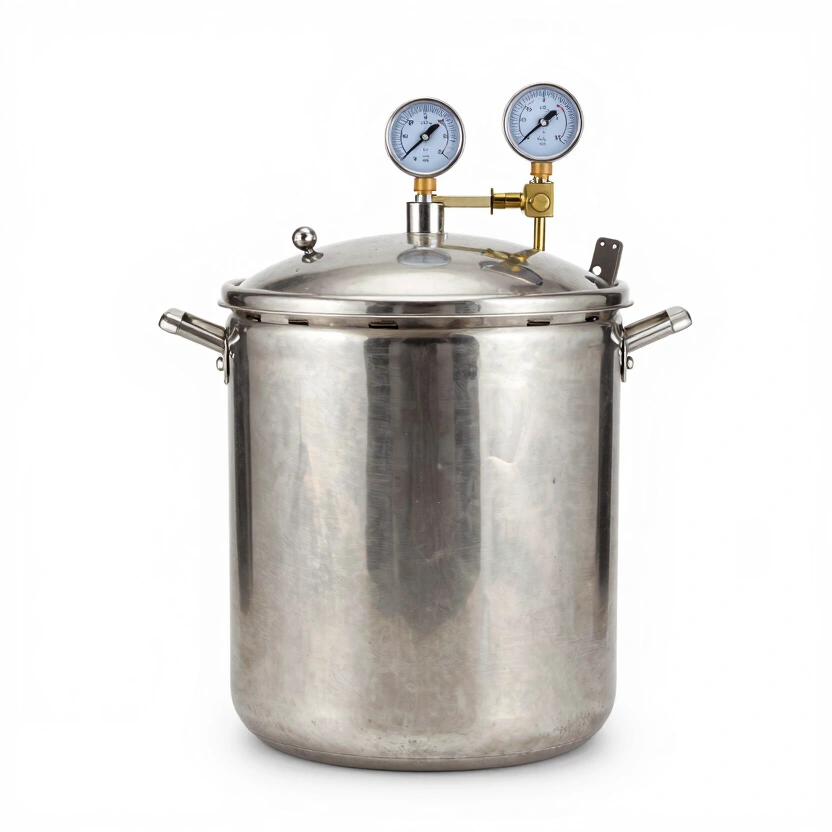
TCP Global 2.5 Gallon — The Budget Alternative
Heavier-duty steel construction with a clamp lid and included regulator. Comes with a spray gun you won’t use for dice, but the pot itself is solid. Rated for 80 PSI, though you’ll never need more than 50.
The trade-off: no Teflon coating, and the lid seal can be finicky on early uses. Some makers report needing to apply Teflon tape to the fittings out of the box. At $40 less than the California Air Tools, it’s a reasonable entry point if you’re watching your budget.
Harbor Freight Paint Pressure Pot — The Cheap Mod Project
The community classic. Harbor Freight sells paint pressure pots for under $100 that can be converted for resin casting. The catch: you’ll need to remove the internal fluid tube, plug the pickup fitting, and potentially replace the lid gasket.
The modification takes about 30 minutes and requires a few dollars in brass fittings from the hardware store. Rybonator’s YouTube series covers the process step by step. It works, but if your time is worth anything, the California Air Tools pays for itself in avoided frustration.
| Feature | CA Air Tools 255C | TCP Global 2.5gal | Harbor Freight (modded) |
|---|---|---|---|
| Price | ~$188 | ~$160 | ~$90 + $15 parts |
| Capacity | 2.5 gal | 2.5 gal | 2.5 gal |
| Max PSI | 60 | 80 | 60-80 (varies) |
| Teflon Coating | Yes | No | No |
| Modification Needed | No | Minor (Teflon tape) | Yes (30 min) |
| Best For | Most dice makers | Budget-conscious | DIY enthusiasts |
Setting Up Your Pressure Pot
Whether you bought the California Air Tools or modified a Harbor Freight pot, the setup process is the same.
Step 1: Inspect every fitting. Check the lid gasket for cracks or warping. Verify the pressure gauge reads zero when disconnected. Ensure the safety relief valve moves freely — pull the pin and it should snap back.
Step 2: Connect the air line. Use a standard 1/4-inch quick-connect fitting. The coupler should click firmly. If it wiggles, the o-ring inside the coupler may be worn.
Step 3: Leak test with soapy water. This step is not optional. Mix dish soap with water, brush it on every fitting, every seal, and the lid gasket. Pressurize to 40 PSI and watch for bubbles. Growing bubbles at a joint mean a leak.
Safety First: Test every connection with soapy water before your first pressurized pour. A slow leak won’t hurt you, but it will drop your PSI overnight — and if the pressure falls below 30 PSI during the cure, those compressed bubbles expand back to visible size. You’ll open the pot to cloudy dice and no explanation until you find the leaking fitting.
Step 4: Test hold. Pressurize to 45 PSI, disconnect the air line, and wait 30 minutes. If the gauge hasn’t dropped, your seal is good. If it dropped more than 2 PSI, re-check fittings with Teflon tape.
The Right PSI for Dice
Forty PSI. That’s the number. Not 30, not 60 — forty.
At 30 PSI, bubble compression is noticeable but incomplete. You’ll see a reduction in visible bubbles, but micro-bubbles still scatter light and create a slight haze. Hold one of those dice up to a window and you’ll see the difference between “fewer bubbles” and “no bubbles.”
At 40 PSI, micro-bubbles compress below the visible threshold. Your dice will be optically clear — the kind of clarity where you can read text through a D20. This is the sweet spot where every common pressure pot operates safely and effectively.
At 60 PSI, you’re pushing the rated limit on many pots. The marginal improvement in clarity over 40 PSI is essentially zero, but you’re adding stress to gaskets and fittings. Not worth it.
You might be wondering: does the exact number matter? The dice-making community has spirited debates about 38 versus 42 PSI, gauge accuracy, and whether altitude affects the outcome. Relax. Anything between 38 and 45 works. Your $15 gauge isn’t accurate to the decimal anyway. Hit 40, disconnect, and walk away.
Temperature plays a role too. Warm resin (75-80°F / 24-27°C) has lower viscosity, which means fewer bubbles get trapped during mixing in the first place. Don’t heat it above 80°F though — that accelerates the cure and can cause exothermic spikes, especially in larger pours. Room temperature resin in a 40 PSI pot produces consistently clear dice.
Air Compressors: What You Actually Need
Good news: you probably don’t need to buy an expensive compressor. A pressure pot for dice isn’t like running an air nailer or spray gun. You fill the pot once, disconnect the hose, and don’t touch the compressor again for 24 hours.
What matters: The compressor needs to reach 60 PSI. That’s it. Almost every compressor sold — even the $60 pancake compressors at hardware stores — reaches 60 PSI easily.
What doesn’t matter:
- CFM (cubic feet per minute): Irrelevant. You’re not running a continuous tool. A 2.5-gallon pressure pot fills to 40 PSI in under 60 seconds from any compressor.
- Tank size: Also irrelevant. You’re doing a single fill, not sustained operation. A 3-gallon compressor tank is more than enough.
- Oil-free vs. oil-lubricated: Either works. Oil-free is quieter and lower maintenance. The air never contacts your resin directly.
If you already own any compressor — for tires, for woodworking, for anything — it will work for resin casting. Don’t buy a new one unless you have nothing.
Pressure Pot Troubleshooting
Even with good equipment, problems happen. Here are the most common issues and their fixes.
Pot loses pressure overnight. The resin needs to stay pressurized for the entire cure (typically 24 hours for epoxy). If your gauge drops more than 5 PSI, you have a leak. Re-do the soapy water test on every fitting. The most common culprit: the safety relief valve isn’t seating properly. Remove it, clean the threads, wrap with fresh Teflon tape, and reinstall.
Resin cures too fast inside the pot. Epoxy curing is exothermic — it generates heat. In an enclosed pressure pot, that heat can’t dissipate as quickly, which accelerates the reaction further. The result: resin that gels in 15 minutes instead of 45. Solution: pour smaller batches (one or two dice at a time rather than a full set) or use a longer working-time resin formulation.
Lid won’t seal evenly. If your pot has wing nuts, tighten them in a star pattern — opposite corners first, like tightening wheel lug nuts. If the gasket is compressed flat and hard, replace it. A new gasket costs a few dollars and restores the seal immediately.
Gauge reads differently each time. Cheap gauges drift. If accuracy matters to you, buy a $12 digital gauge. But honestly, the difference between 38 and 42 PSI produces identical dice. Don’t chase gauge precision.
Being honest here: a pressure pot eliminates bubbles. It doesn’t eliminate every possible dice-making problem. Sticky resin from bad mix ratios, yellowing from UV exposure, cloudy spots from moisture in inclusions — those are separate issues with separate fixes. The pot does one thing, and it does that thing perfectly. Expect perfection in bubble removal. Don’t expect it to compensate for other mistakes.
FAQ
Can I use a pressure cooker instead of a pressure pot? No. Pressure cookers use steam and heat, which will ruin your resin and create a dangerous situation. A pressure pot uses compressed air at room temperature. Completely different tools despite the similar names. Never substitute one for the other.
How long should I leave resin in the pressure pot? For the entire cure time specified by your resin manufacturer — usually 24 hours for epoxy. Some resins claim a shorter demold time, but releasing pressure early risks bubble expansion in partially cured resin. Just leave it the full duration.
Do I need to maintain pressure the entire cure? Yes. If pressure drops significantly before the resin fully gels (usually 6-12 hours), bubbles can re-expand. That’s why leak testing is critical. Fill to 40 PSI, disconnect the hose, and don’t touch it until cure time is complete.
Can I reuse a modified paint pot for painting later? Technically yes, but practically no. Once you’ve removed the fluid pickup tube and plugged the fittings for resin use, converting back is more hassle than it’s worth. Dedicate the pot to resin. Paint pots are cheap enough to have a second one.
Is a vacuum chamber better than a pressure pot? For mold making, a vacuum chamber degasses silicone effectively. For casting resin dice, a pressure pot wins. They solve different problems: vacuum removes trapped air before curing, pressure compresses remaining bubbles during curing. Most serious dice makers own both, but if you can only buy one, buy the pressure pot.
That hiss of the regulator, the gauge climbing to 40, the patience of waiting 24 hours — it becomes ritual. The first time you crack open a pressure pot and pull out dice with zero bubbles, not fewer bubbles but literally none, the investment makes sense in a way that reading about it never quite captures.
A pressure pot won’t make you a better artist. It won’t improve your color choices or your mold design. But it removes the single most frustrating variable in dice making, permanently. Every pour after that first pressurized success is one where you can focus on the craft instead of fighting physics.
Start with the basics of resin dice making, grab the right supplies, and let the pressure pot handle the bubbles. Your dice — and your sanity — will thank you.
Related Articles
Dice Making Supplies: What You Actually Need (And What Can Wait)
48.7 million search results tell you to buy everything. Here's the tiered breakdown showing exactly what you need first, what can wait, and how to start making dice for under $50.
Silicone Dice Molds: Sprue vs. Cap, Which Brands to Trust, and What to Avoid
Sprue molds or cap molds? NanoLabMaker or House of Molds? Here's the practical guide to choosing the right silicone dice mold for your skill level and goals.